Jan 2023 Candle Recipe
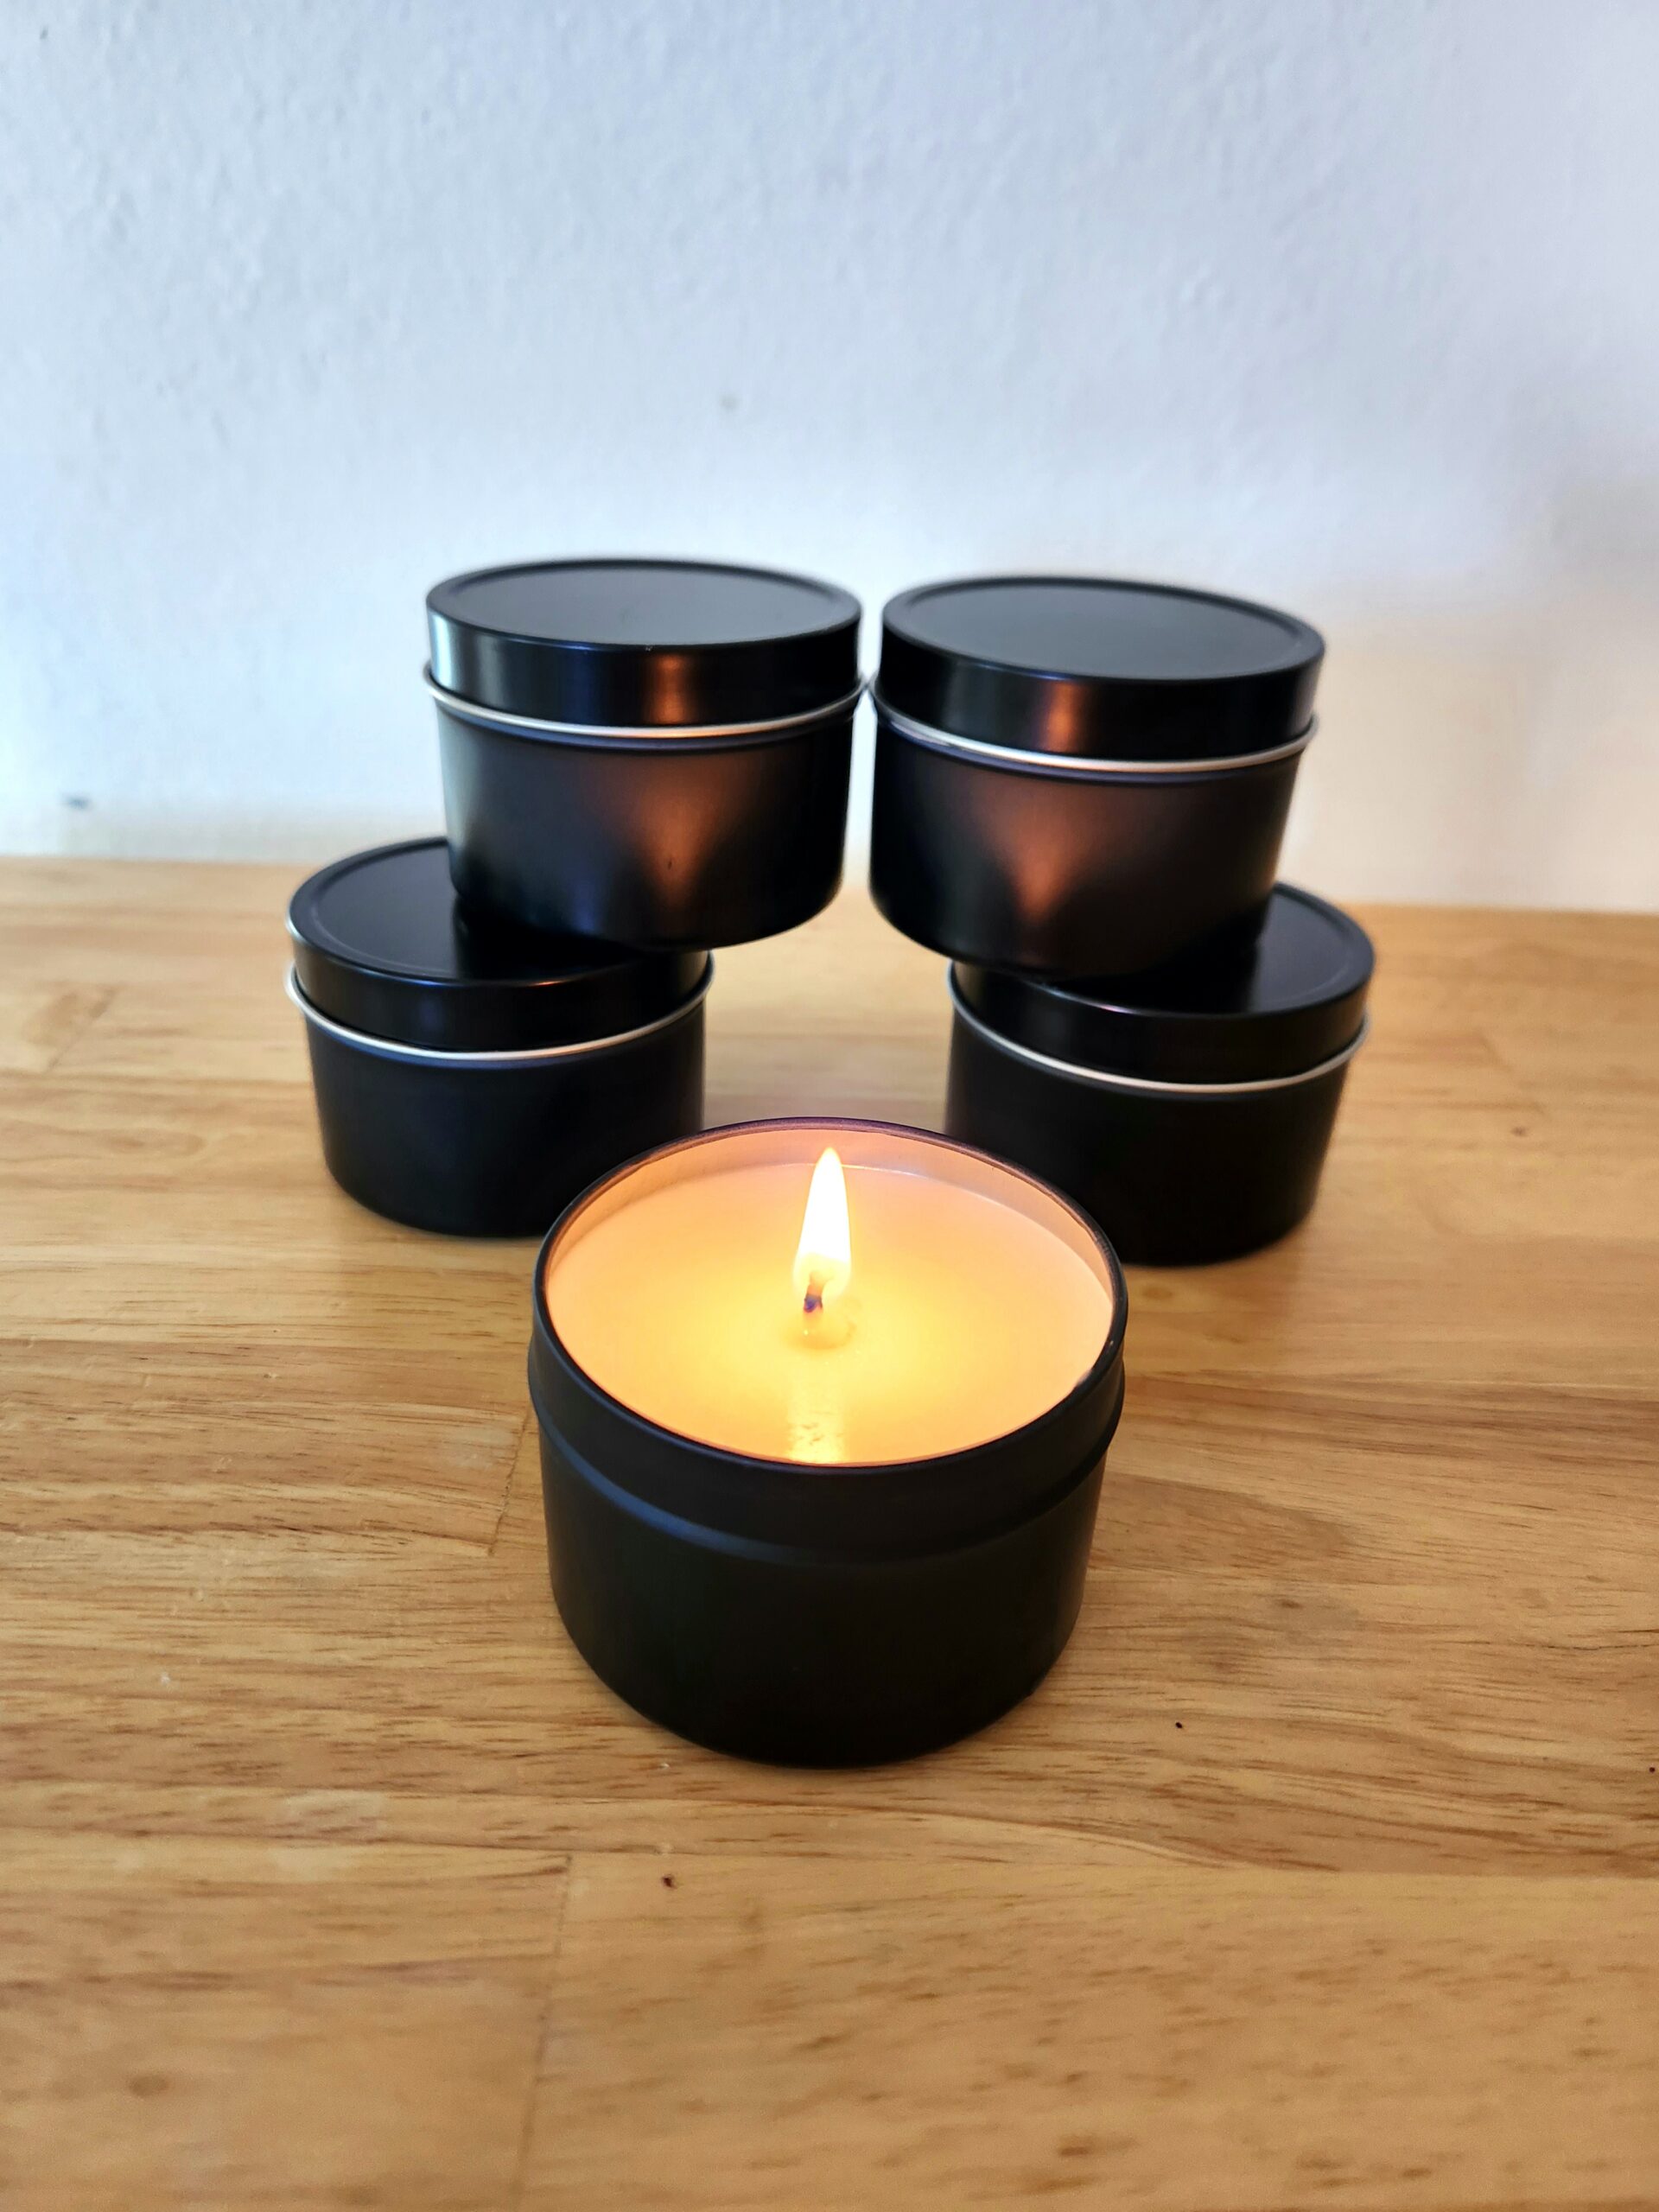
Yield – quantity 5, 4 oz candles
Equipment Needed
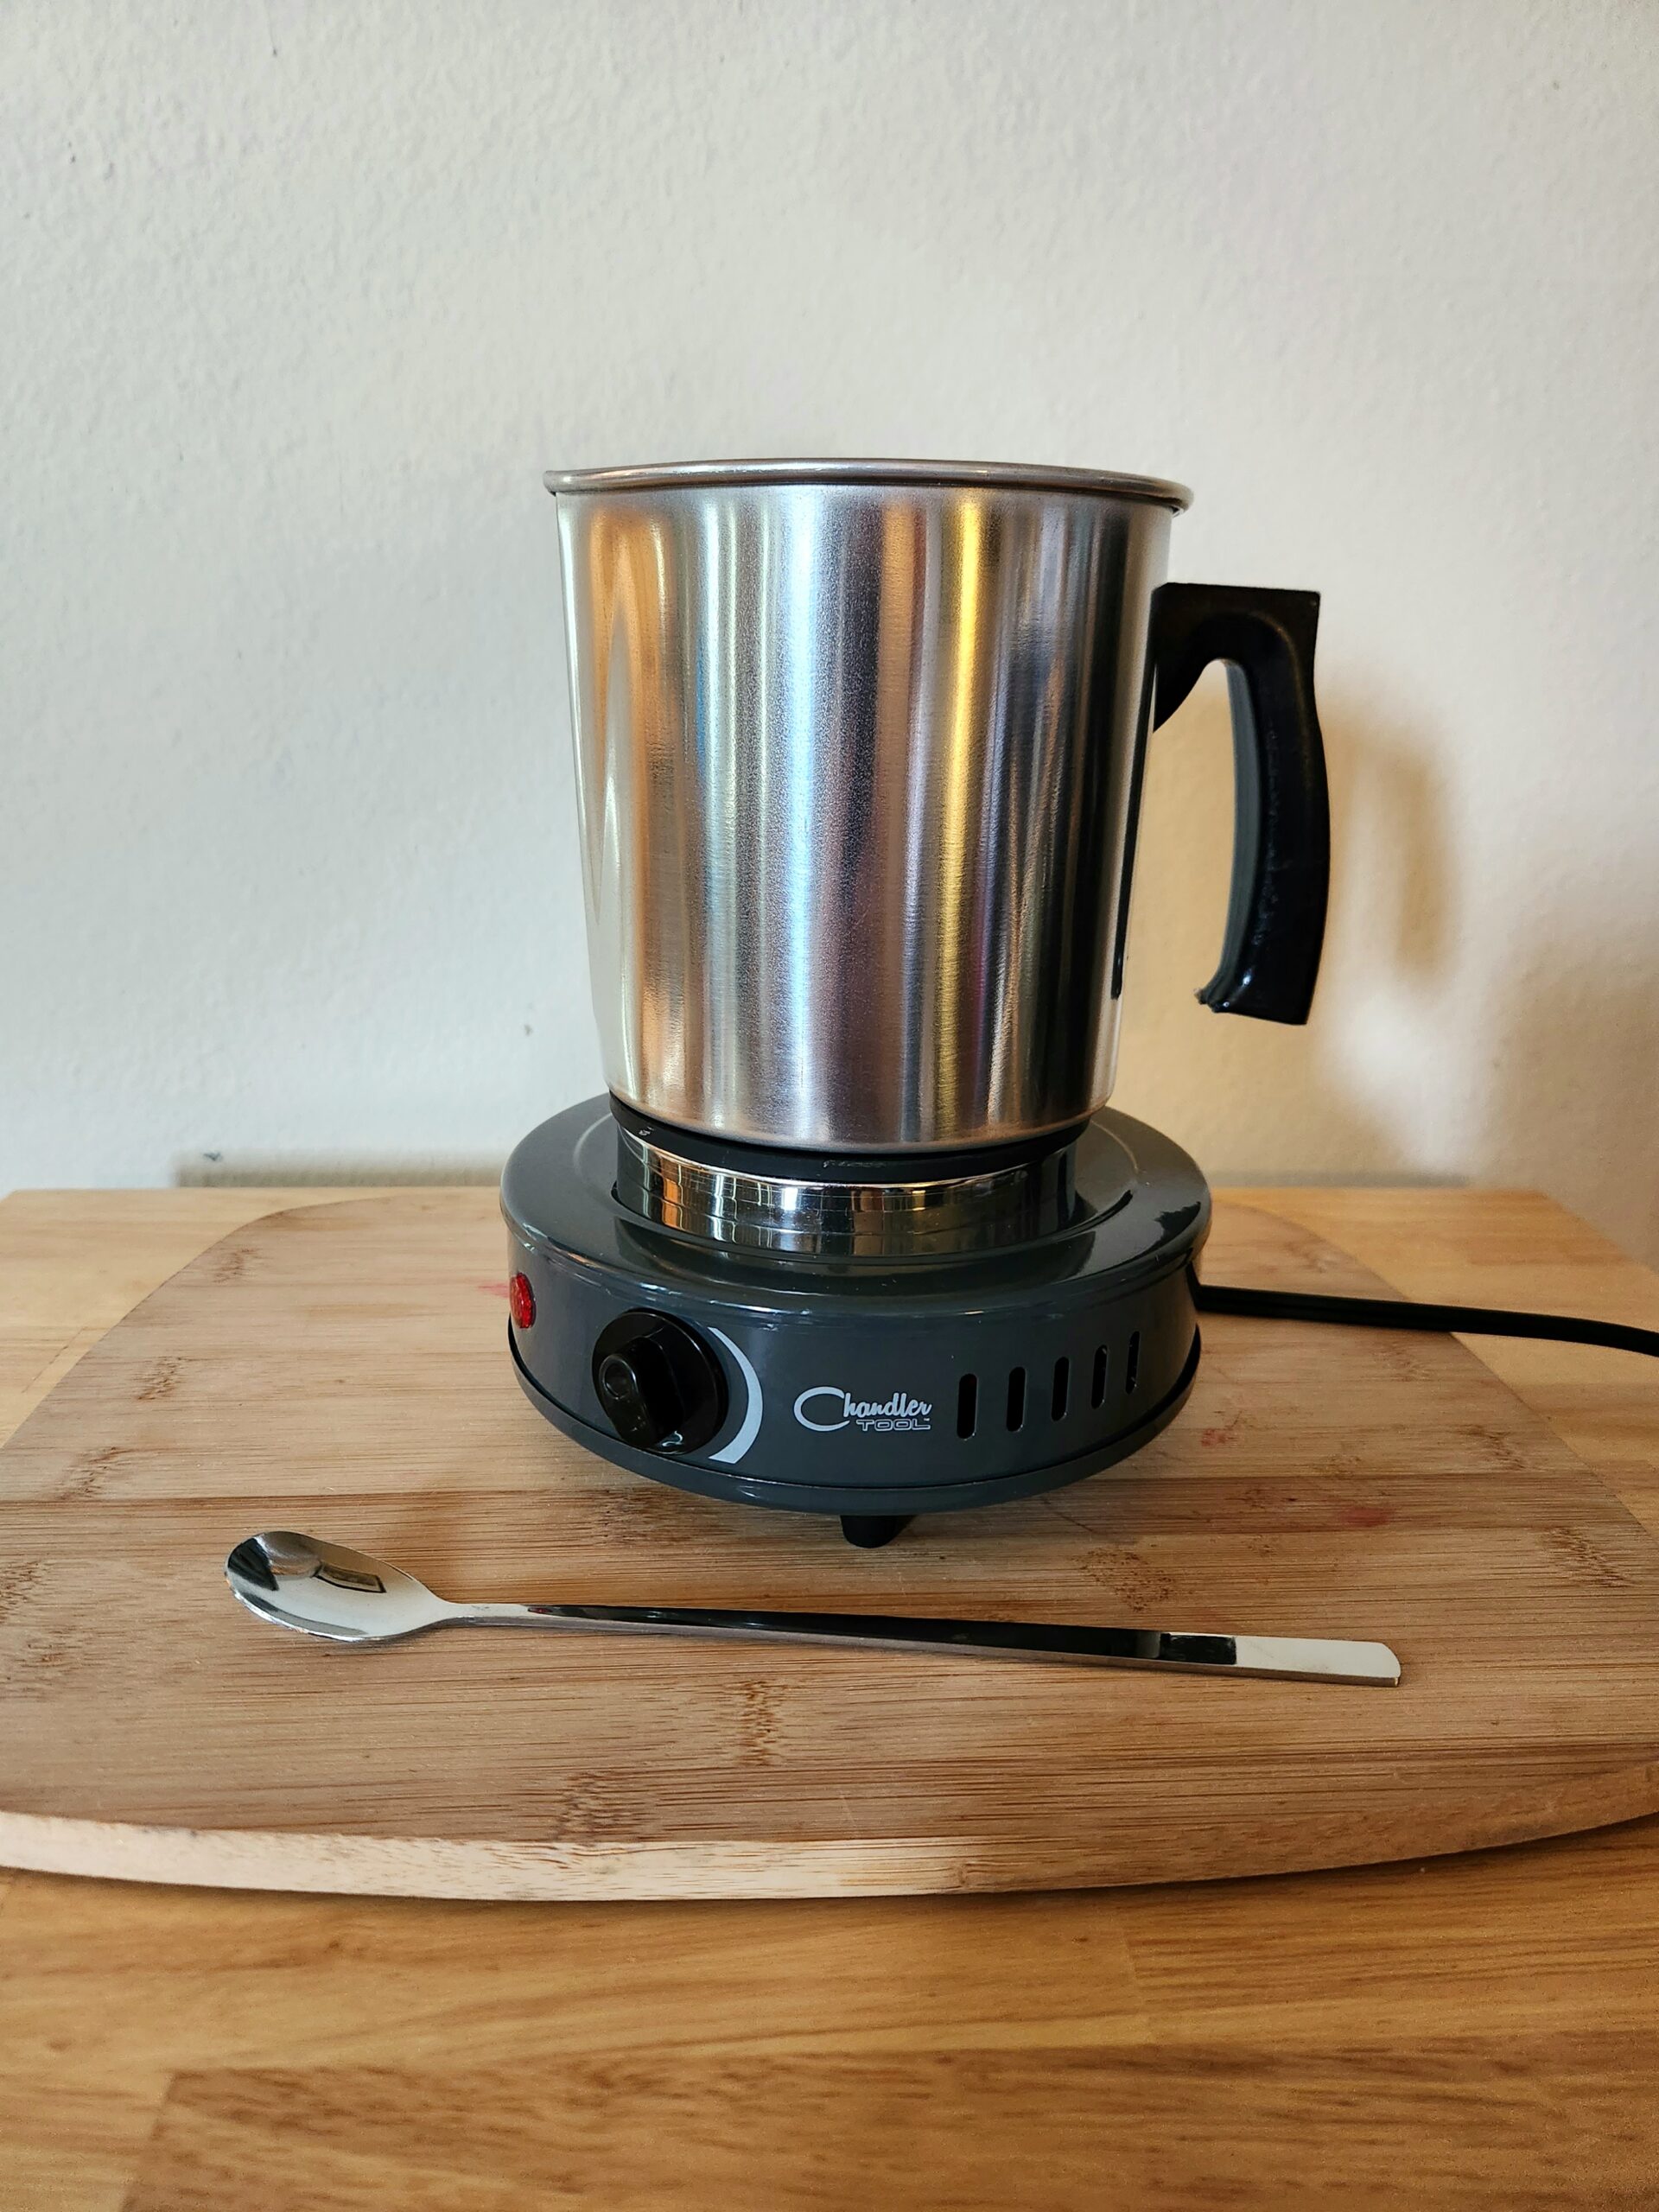
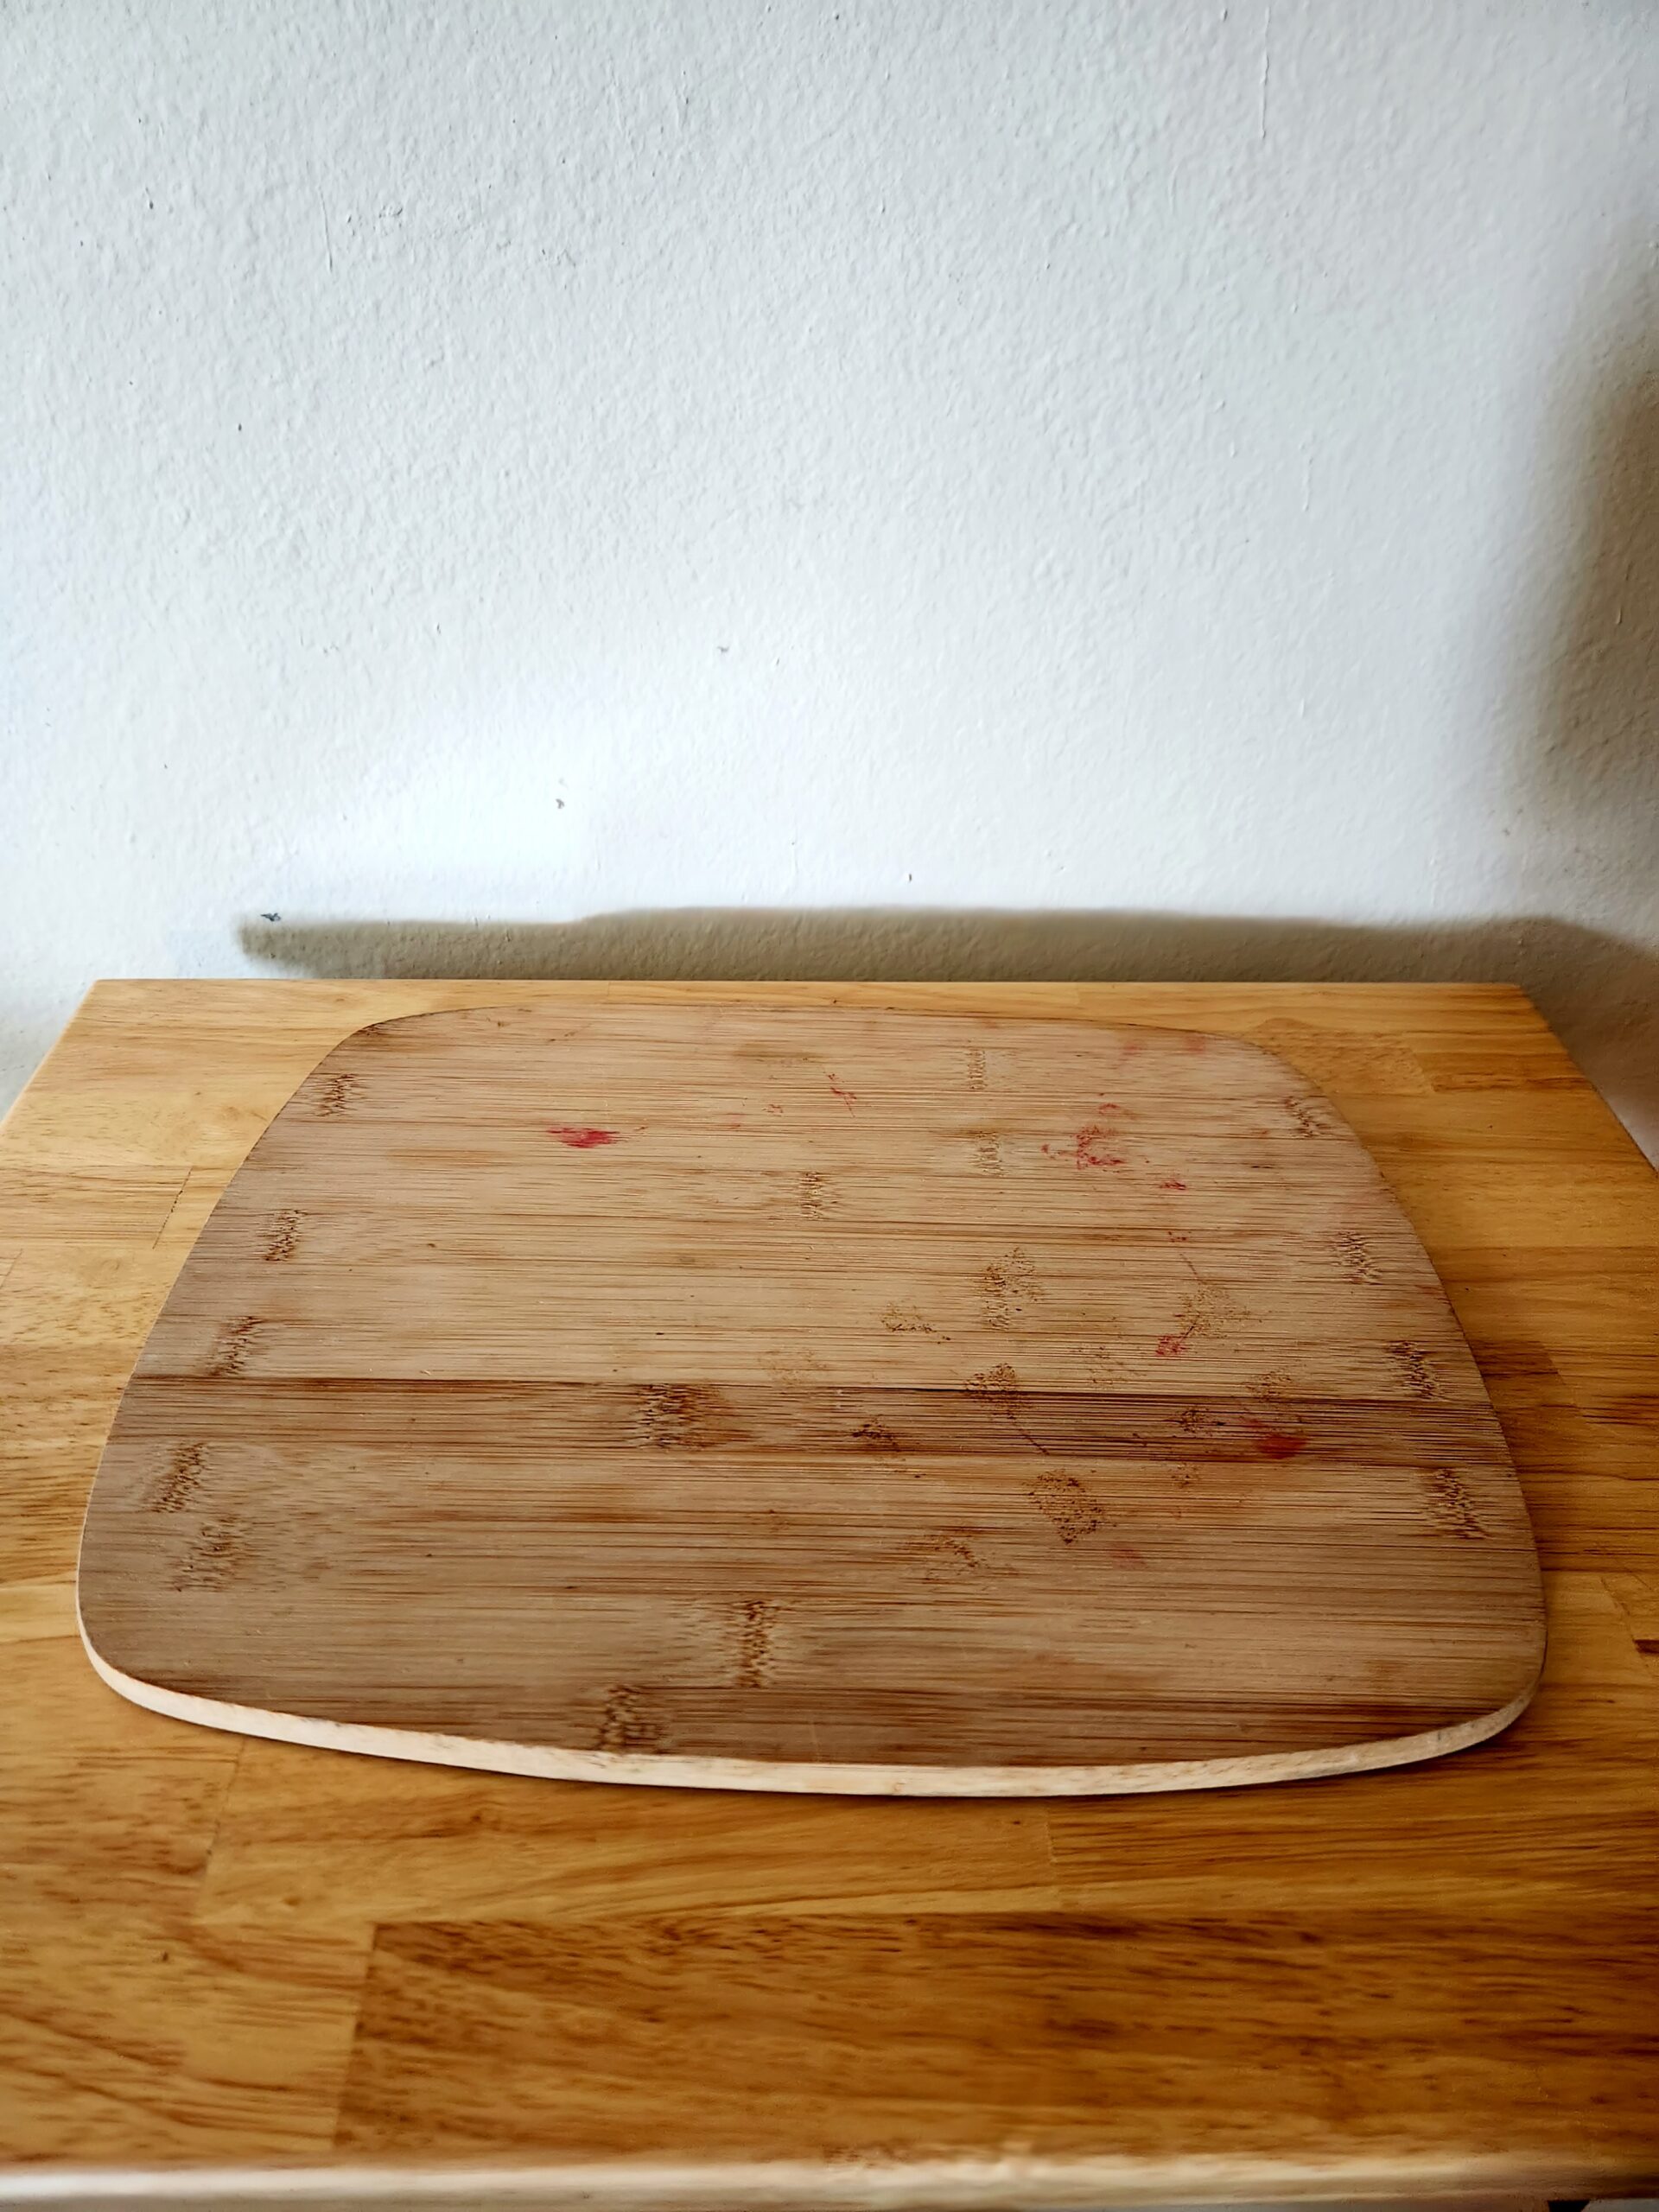
- Cutting board
- Electric hot plate
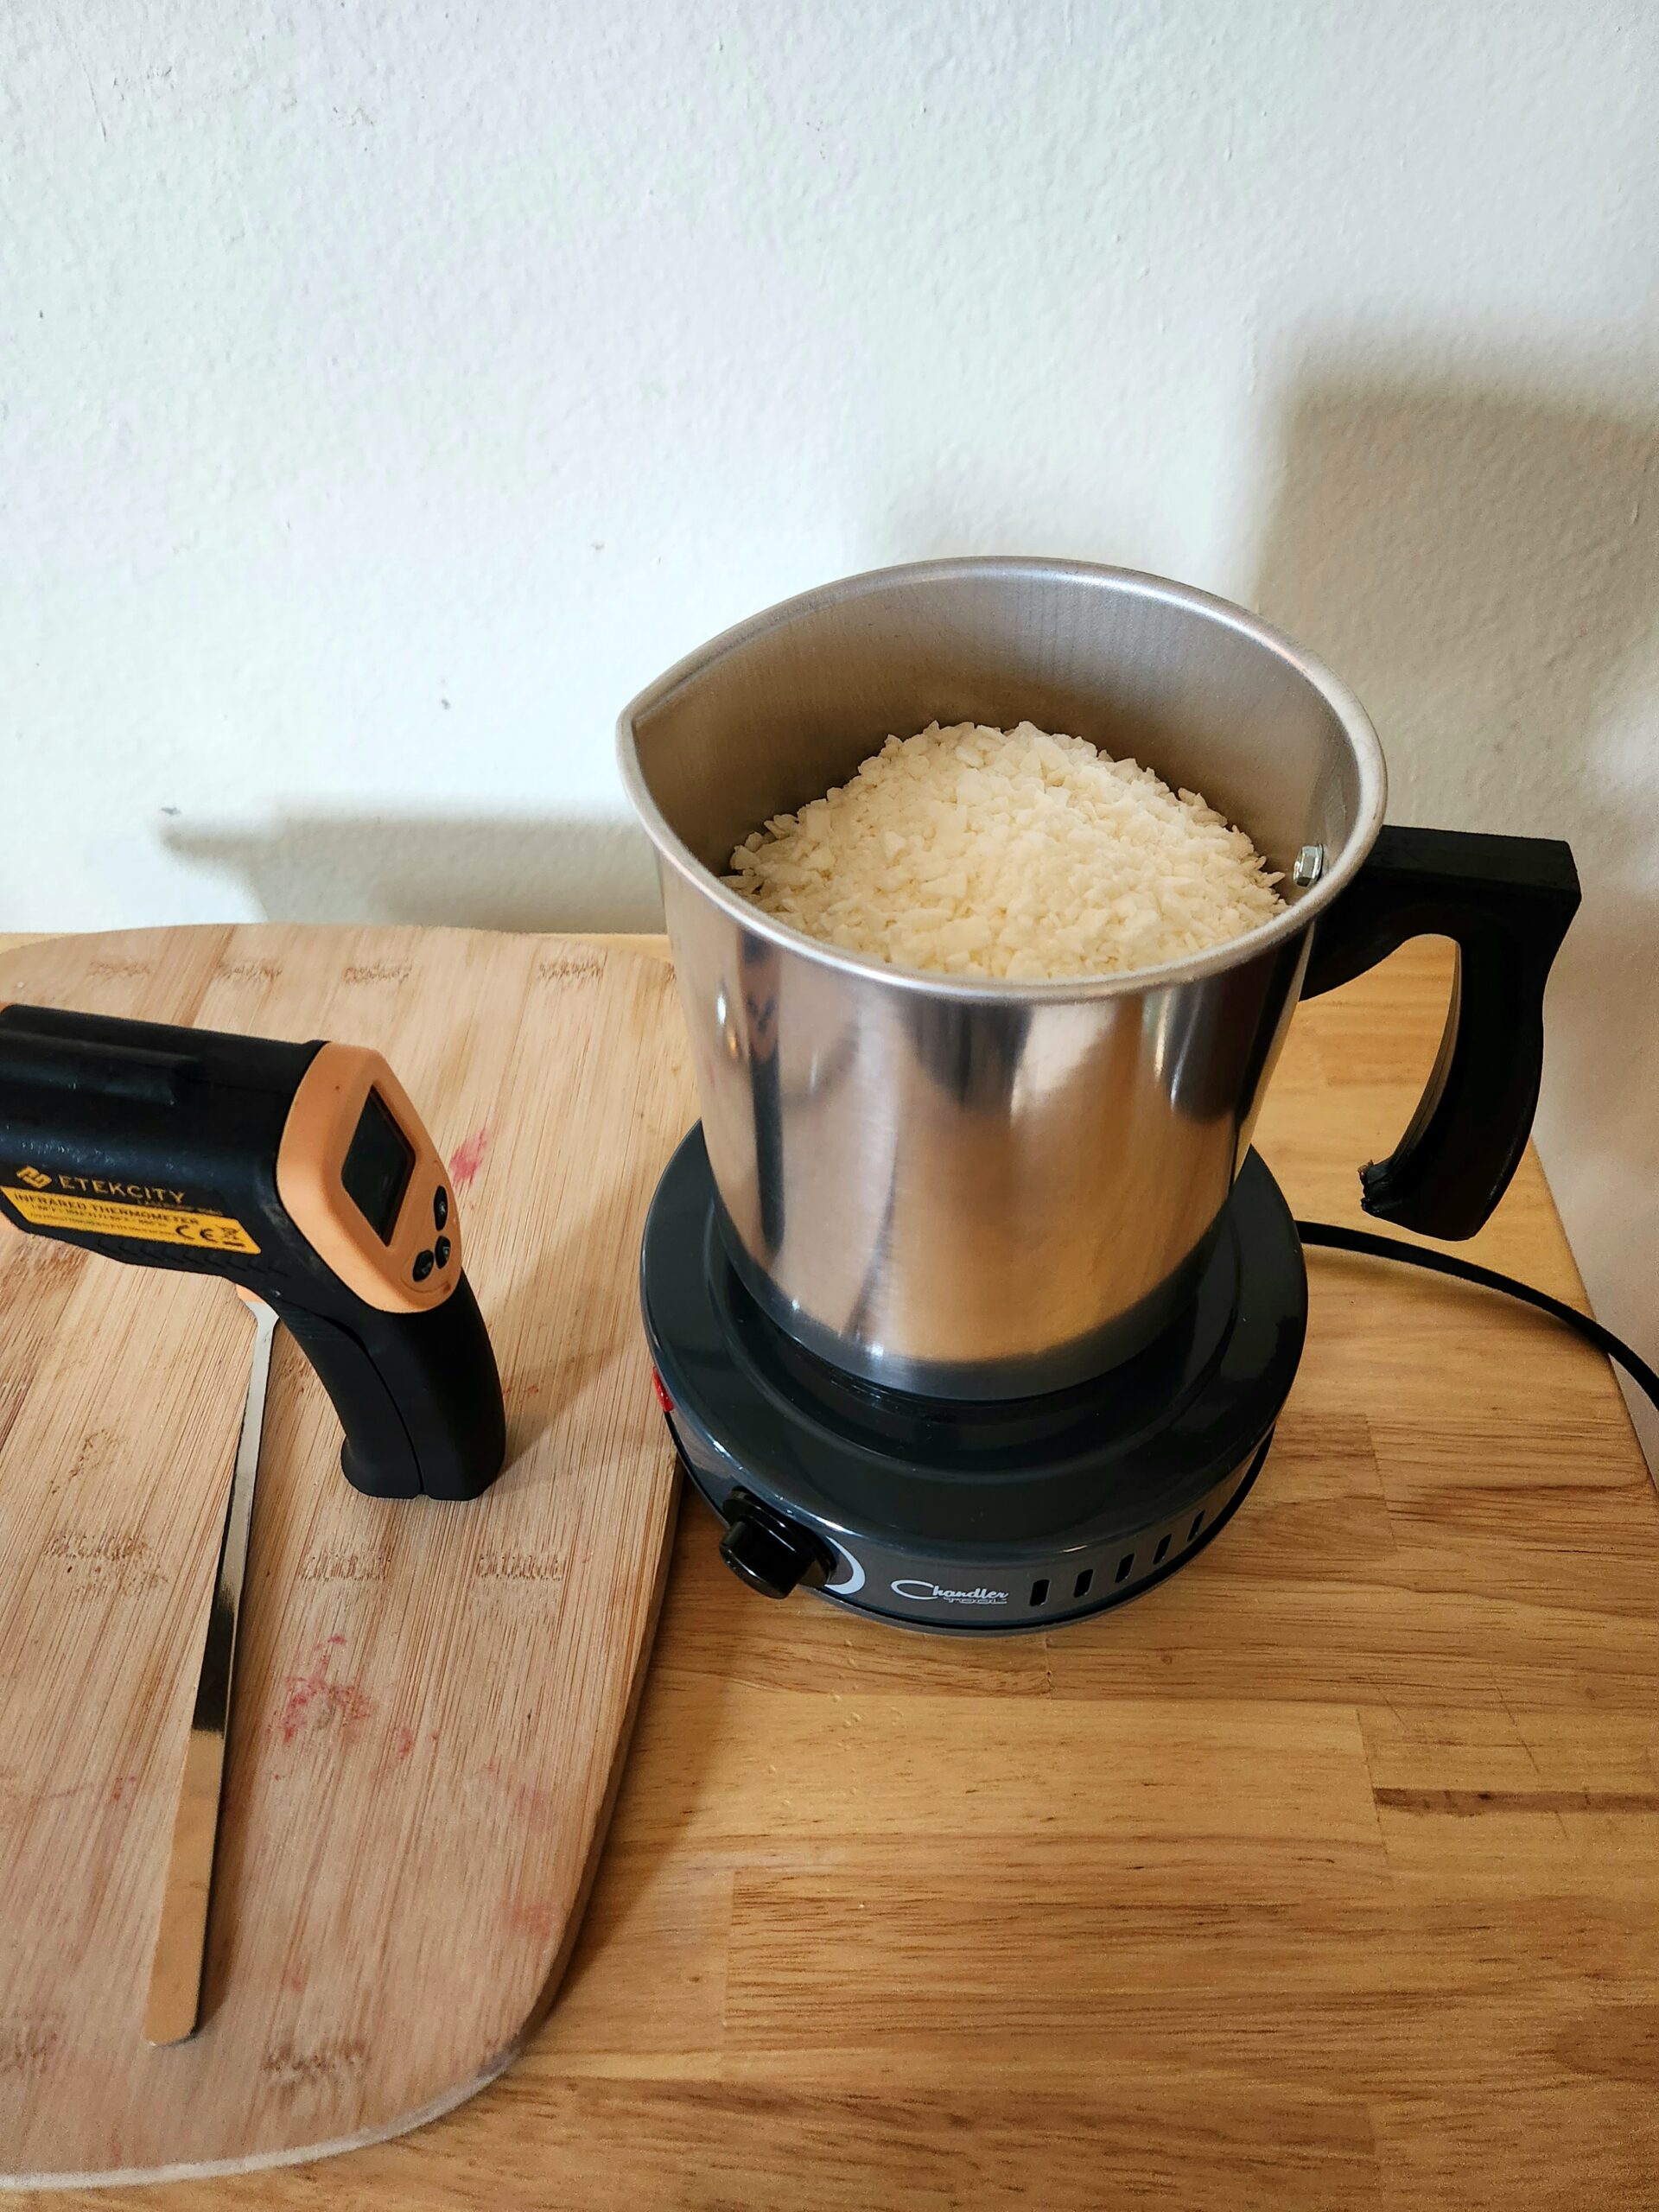
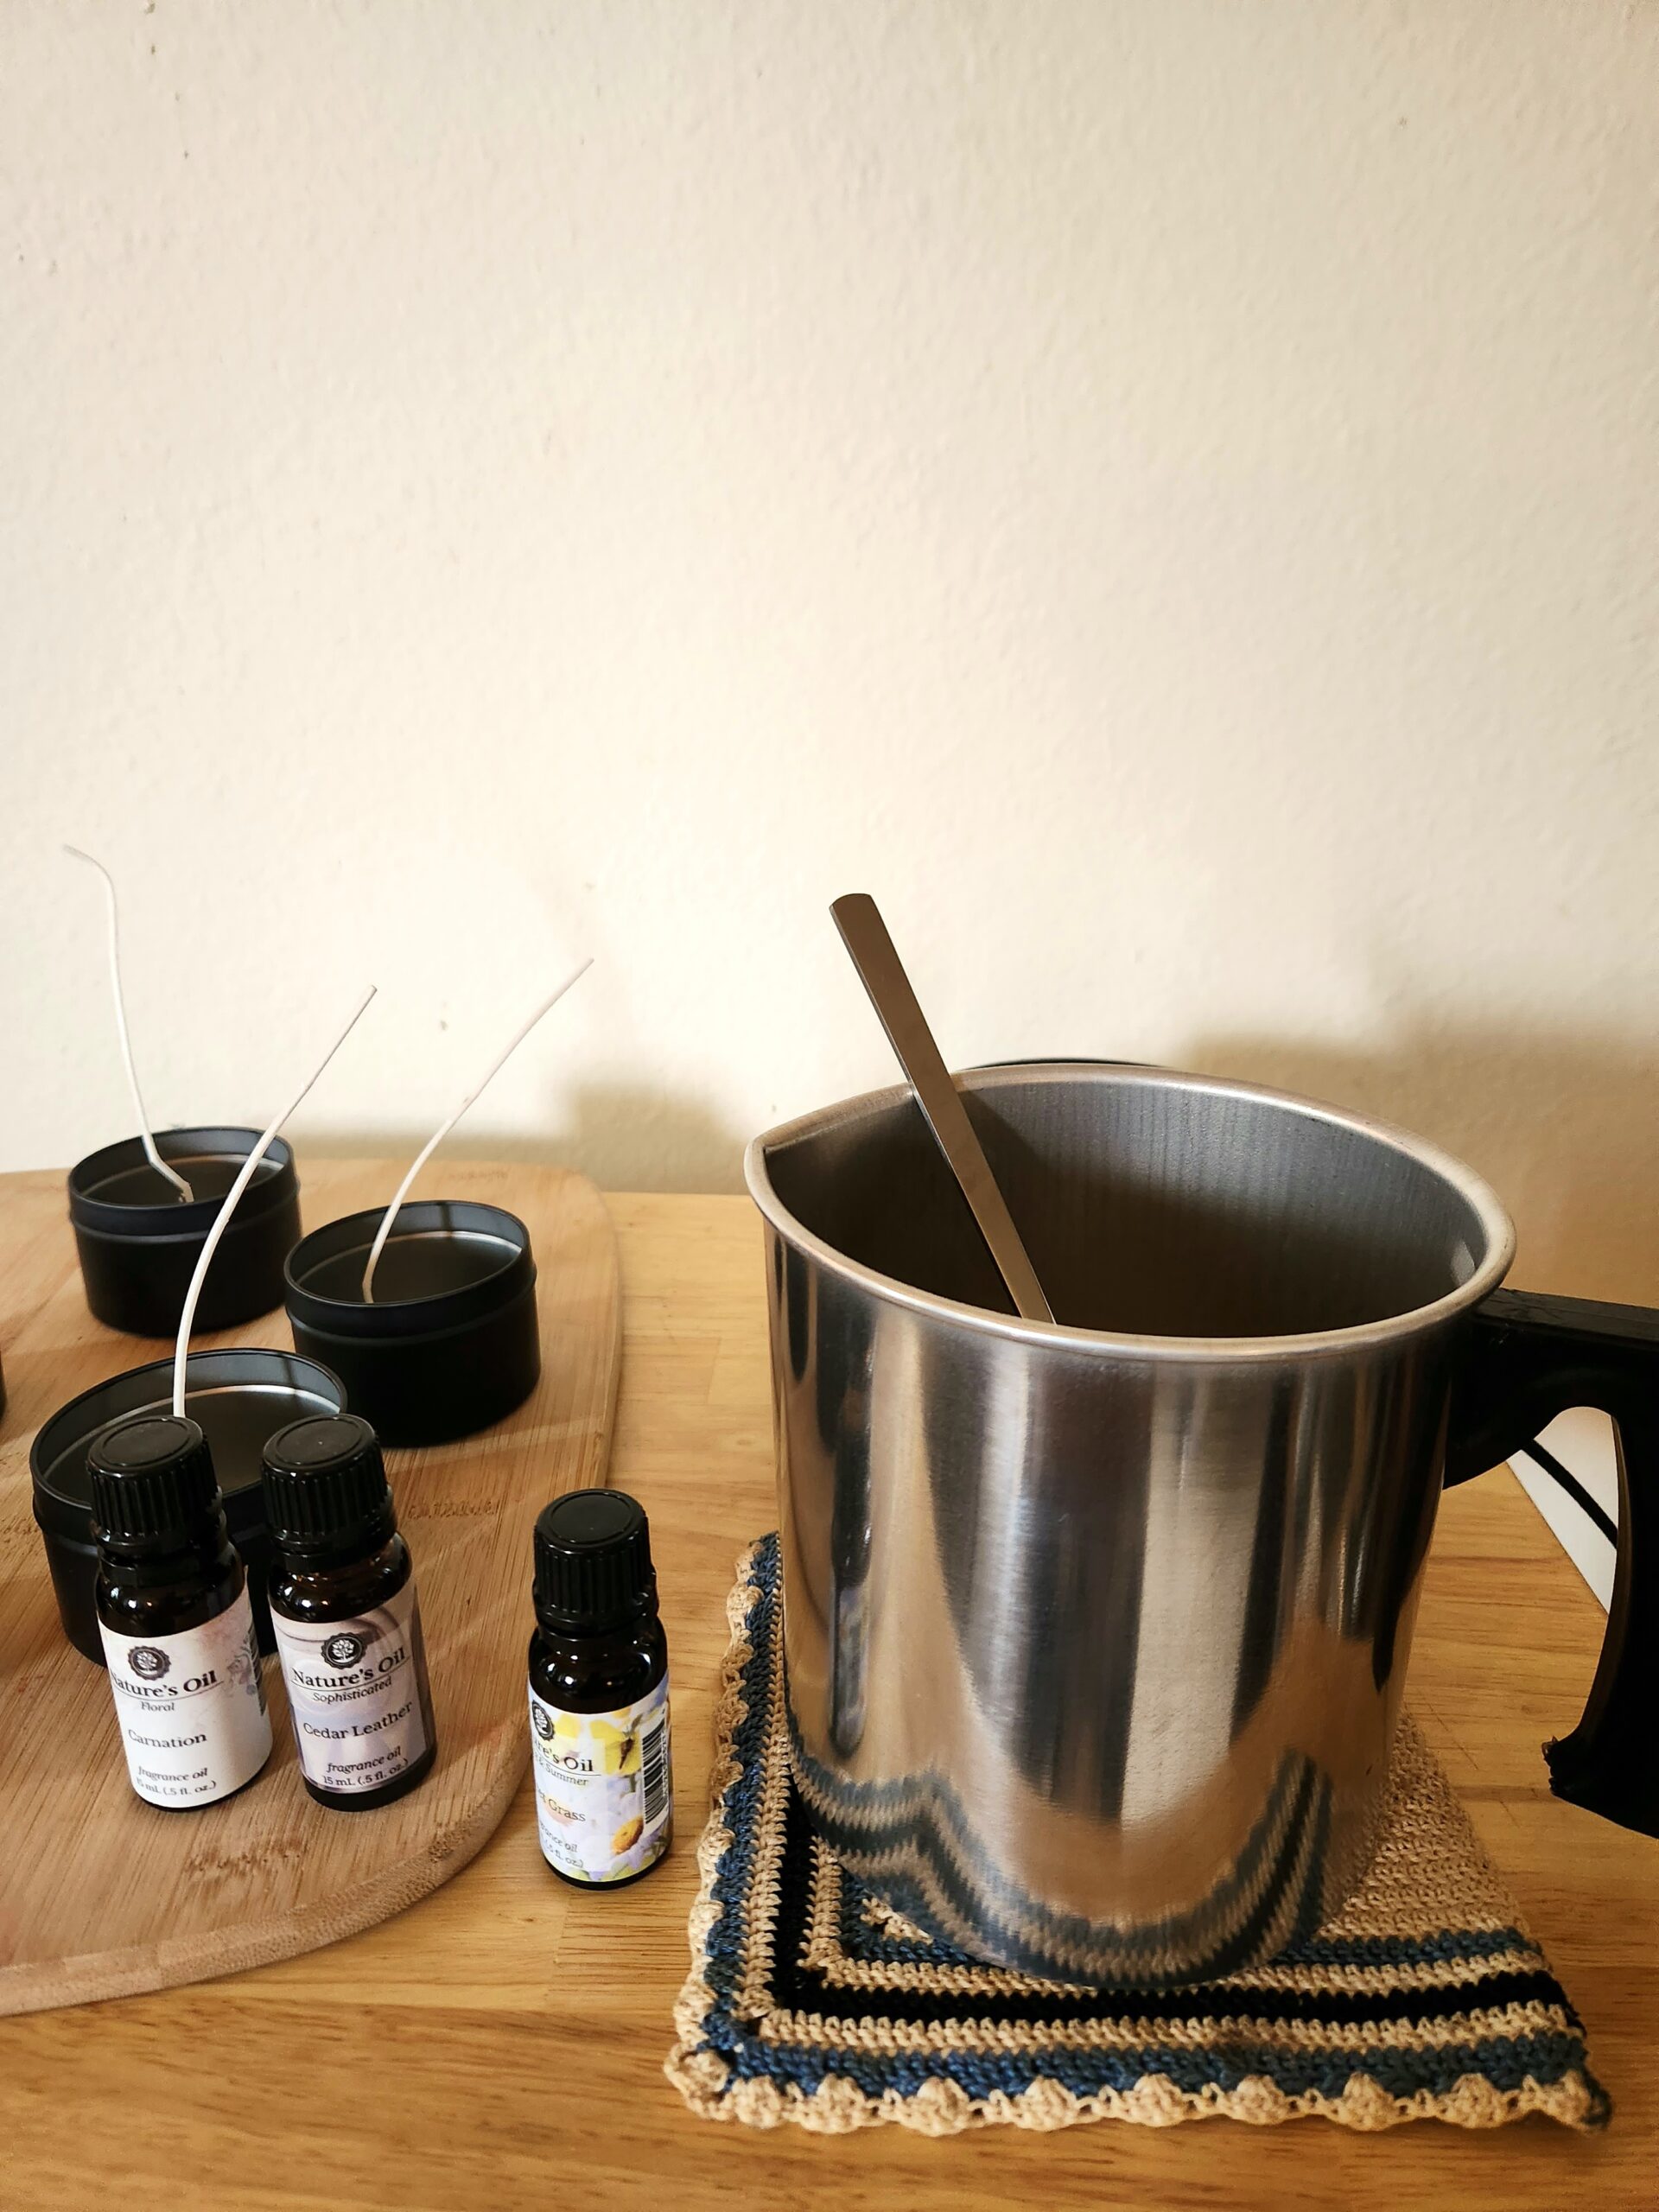
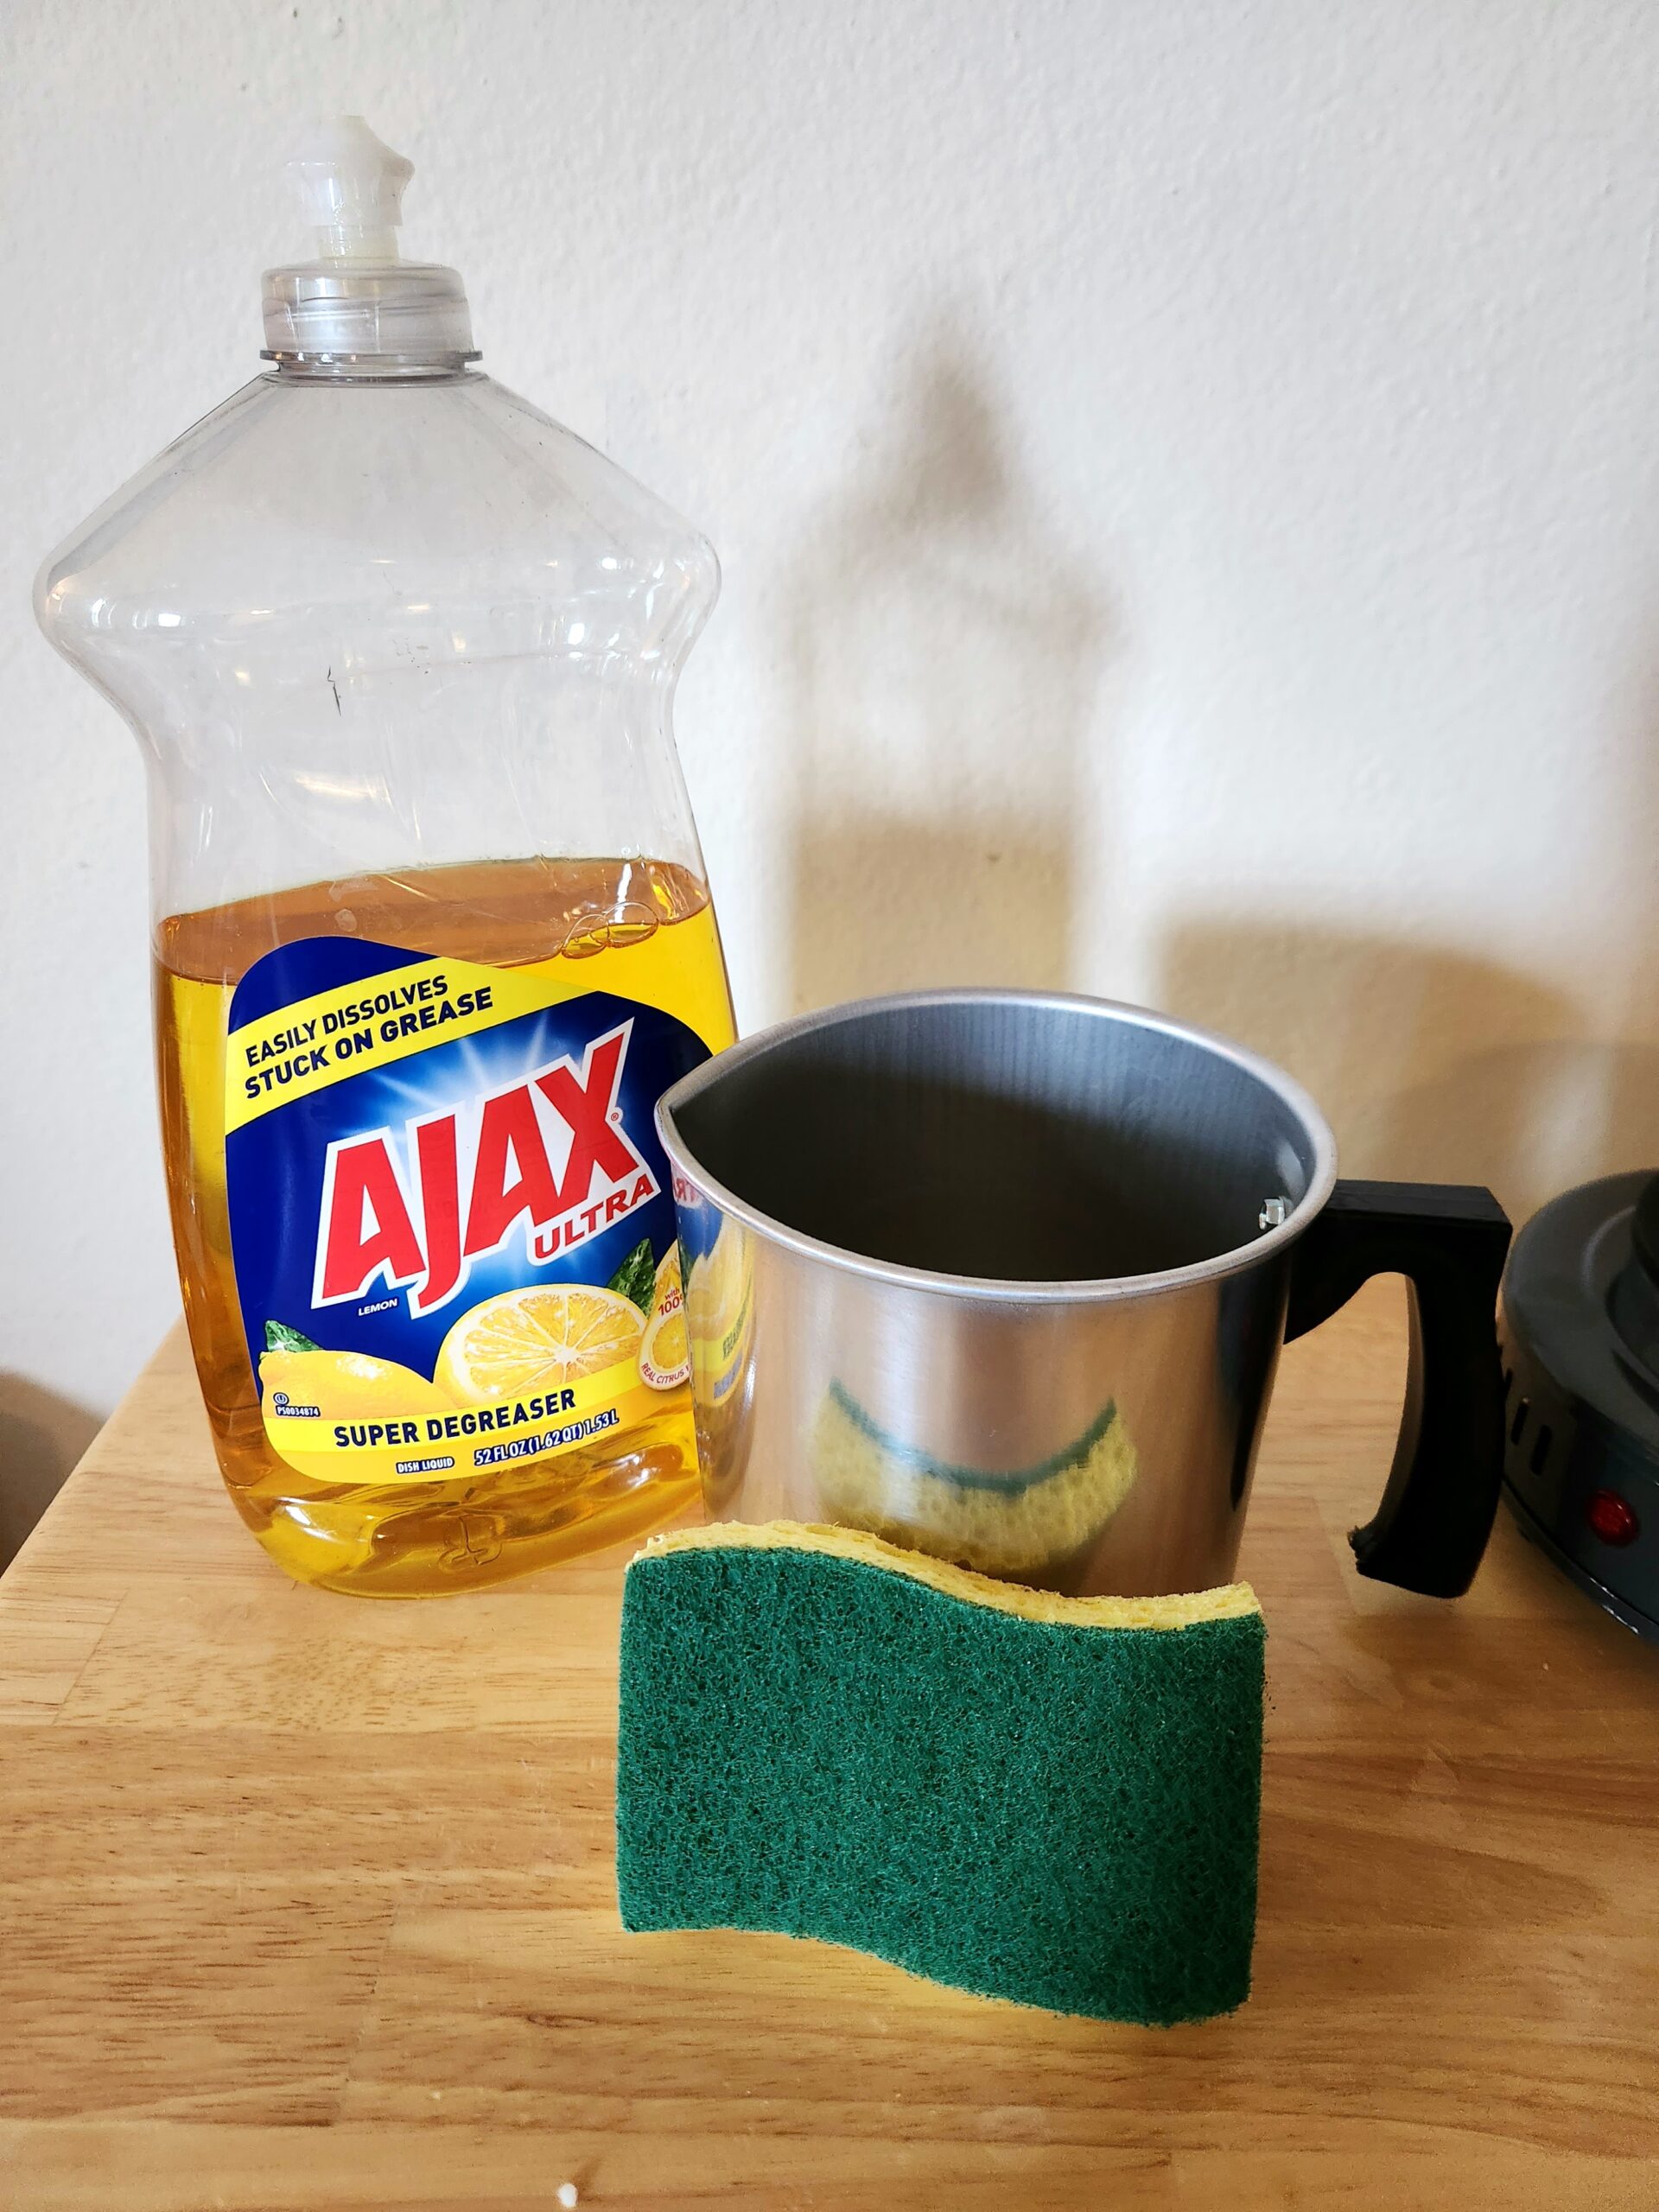
- Pouring pot, 20 oz pot
- Spoon
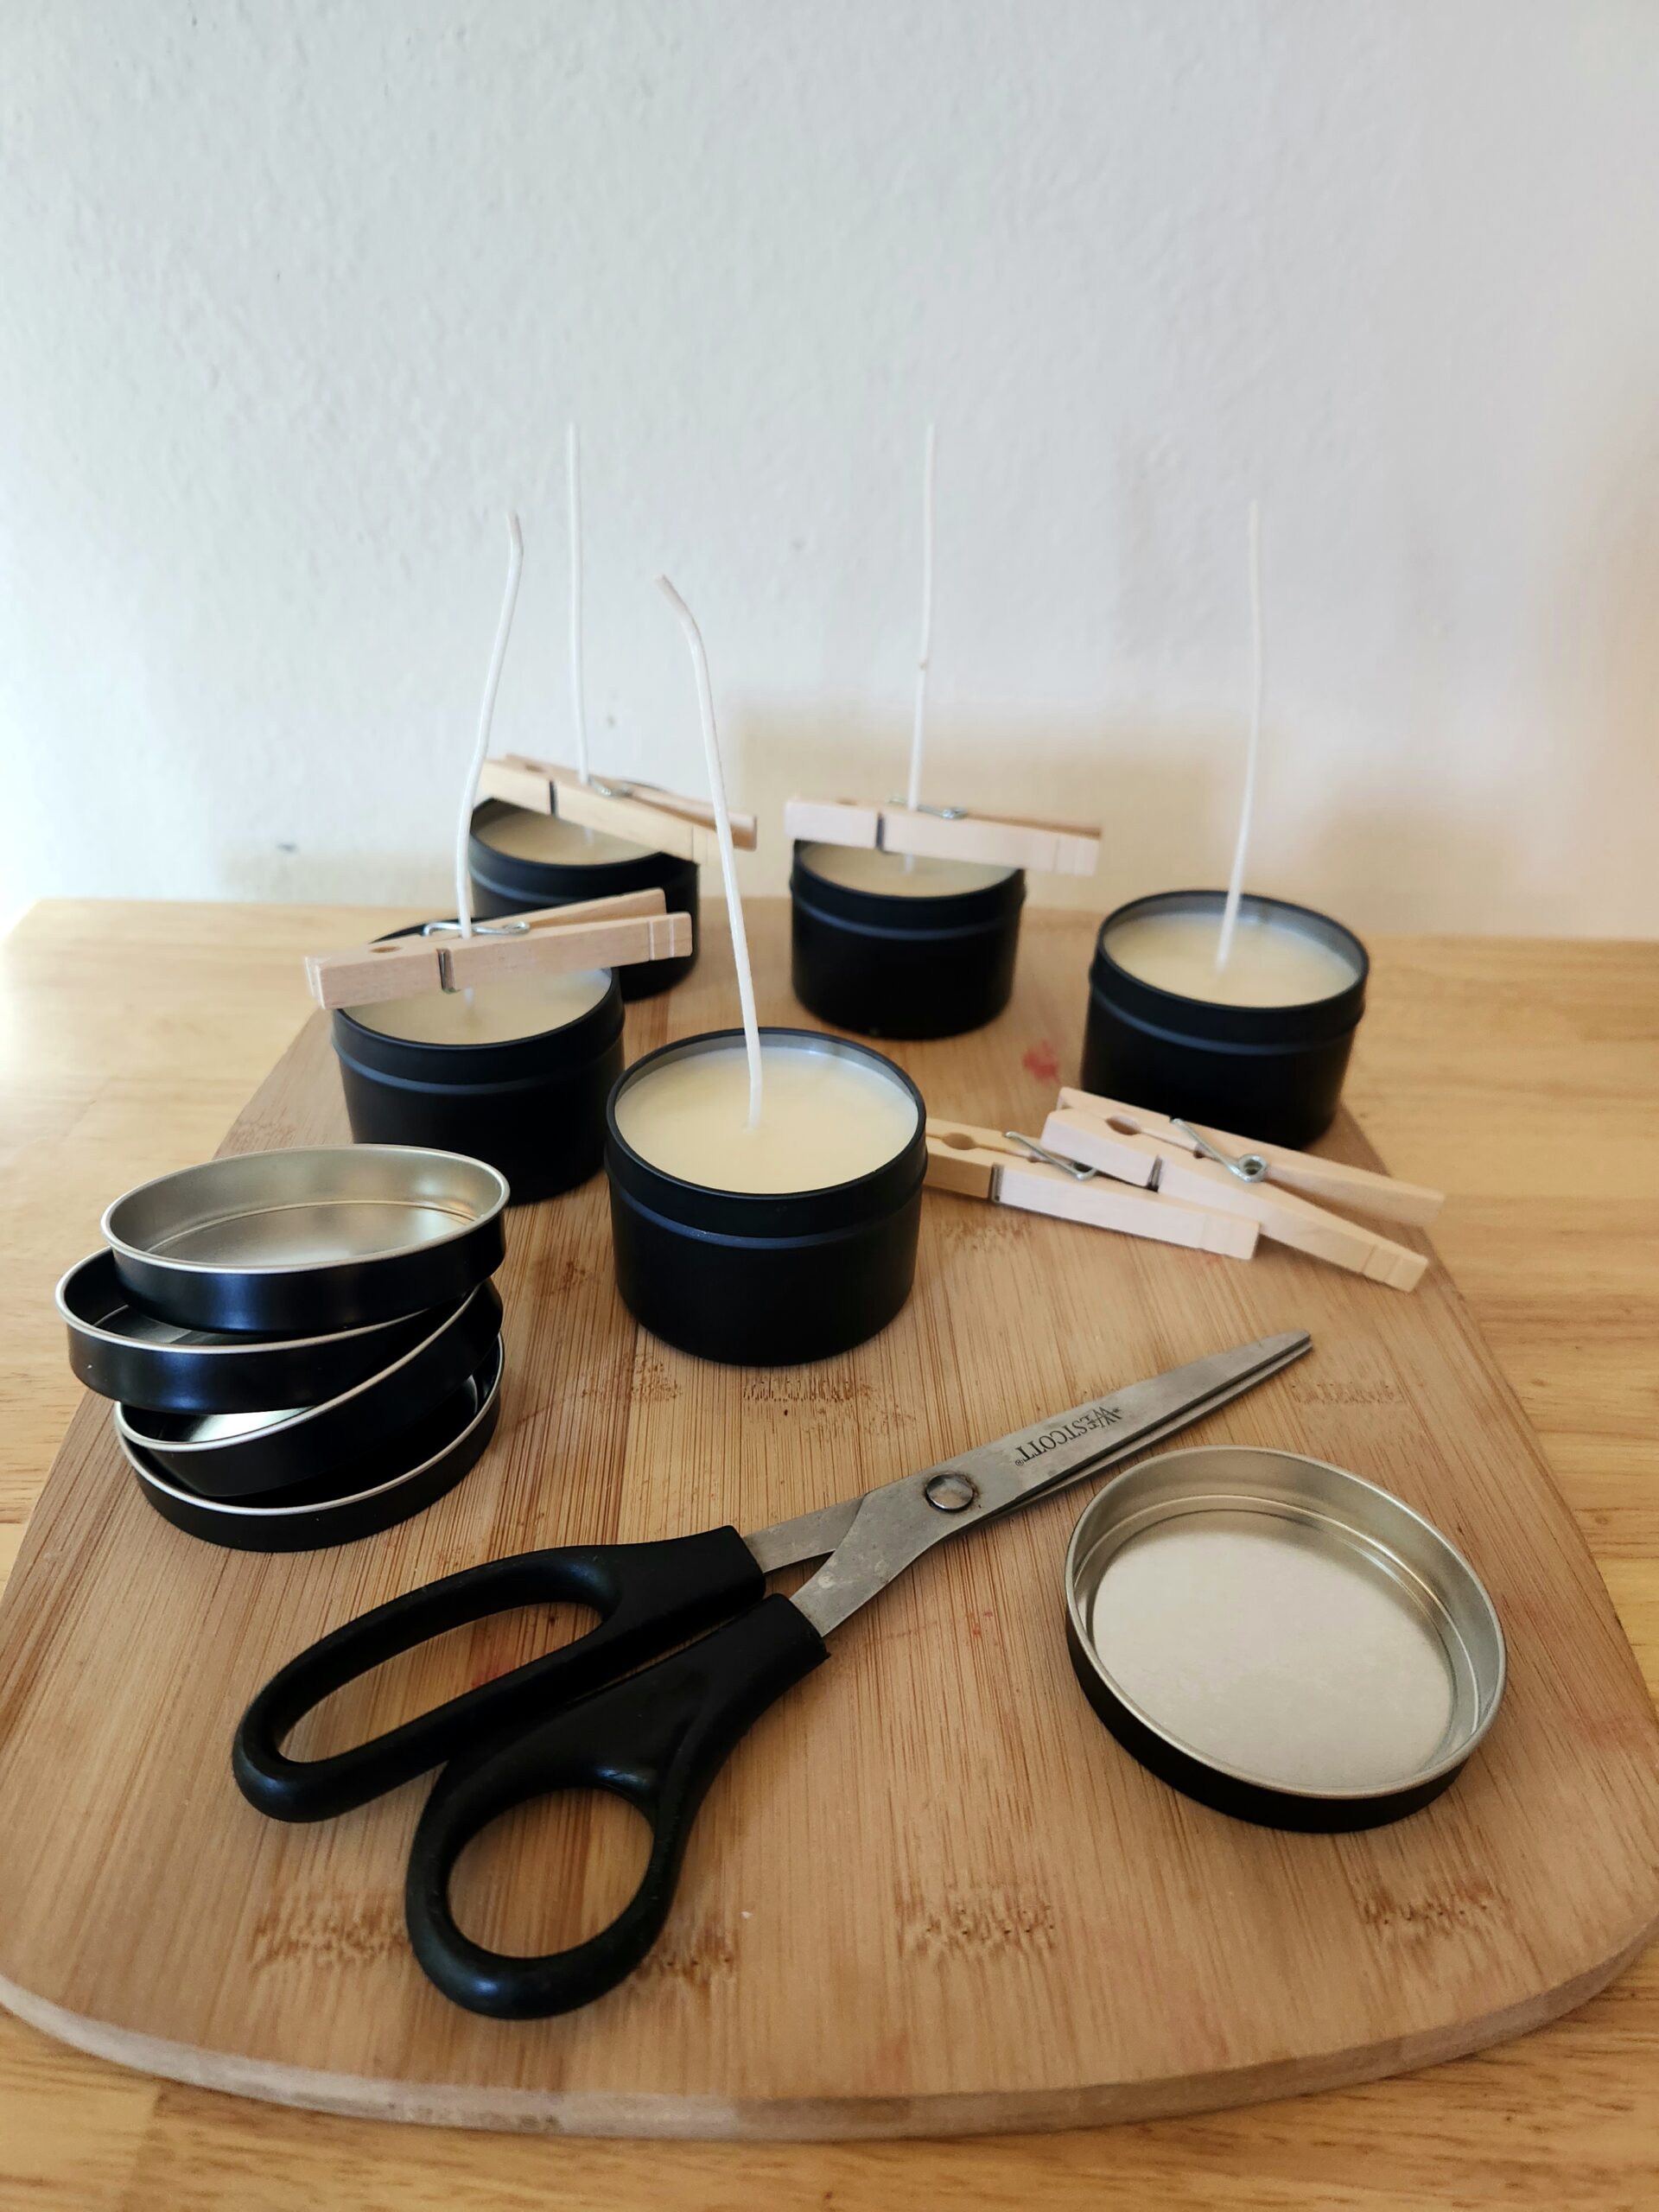
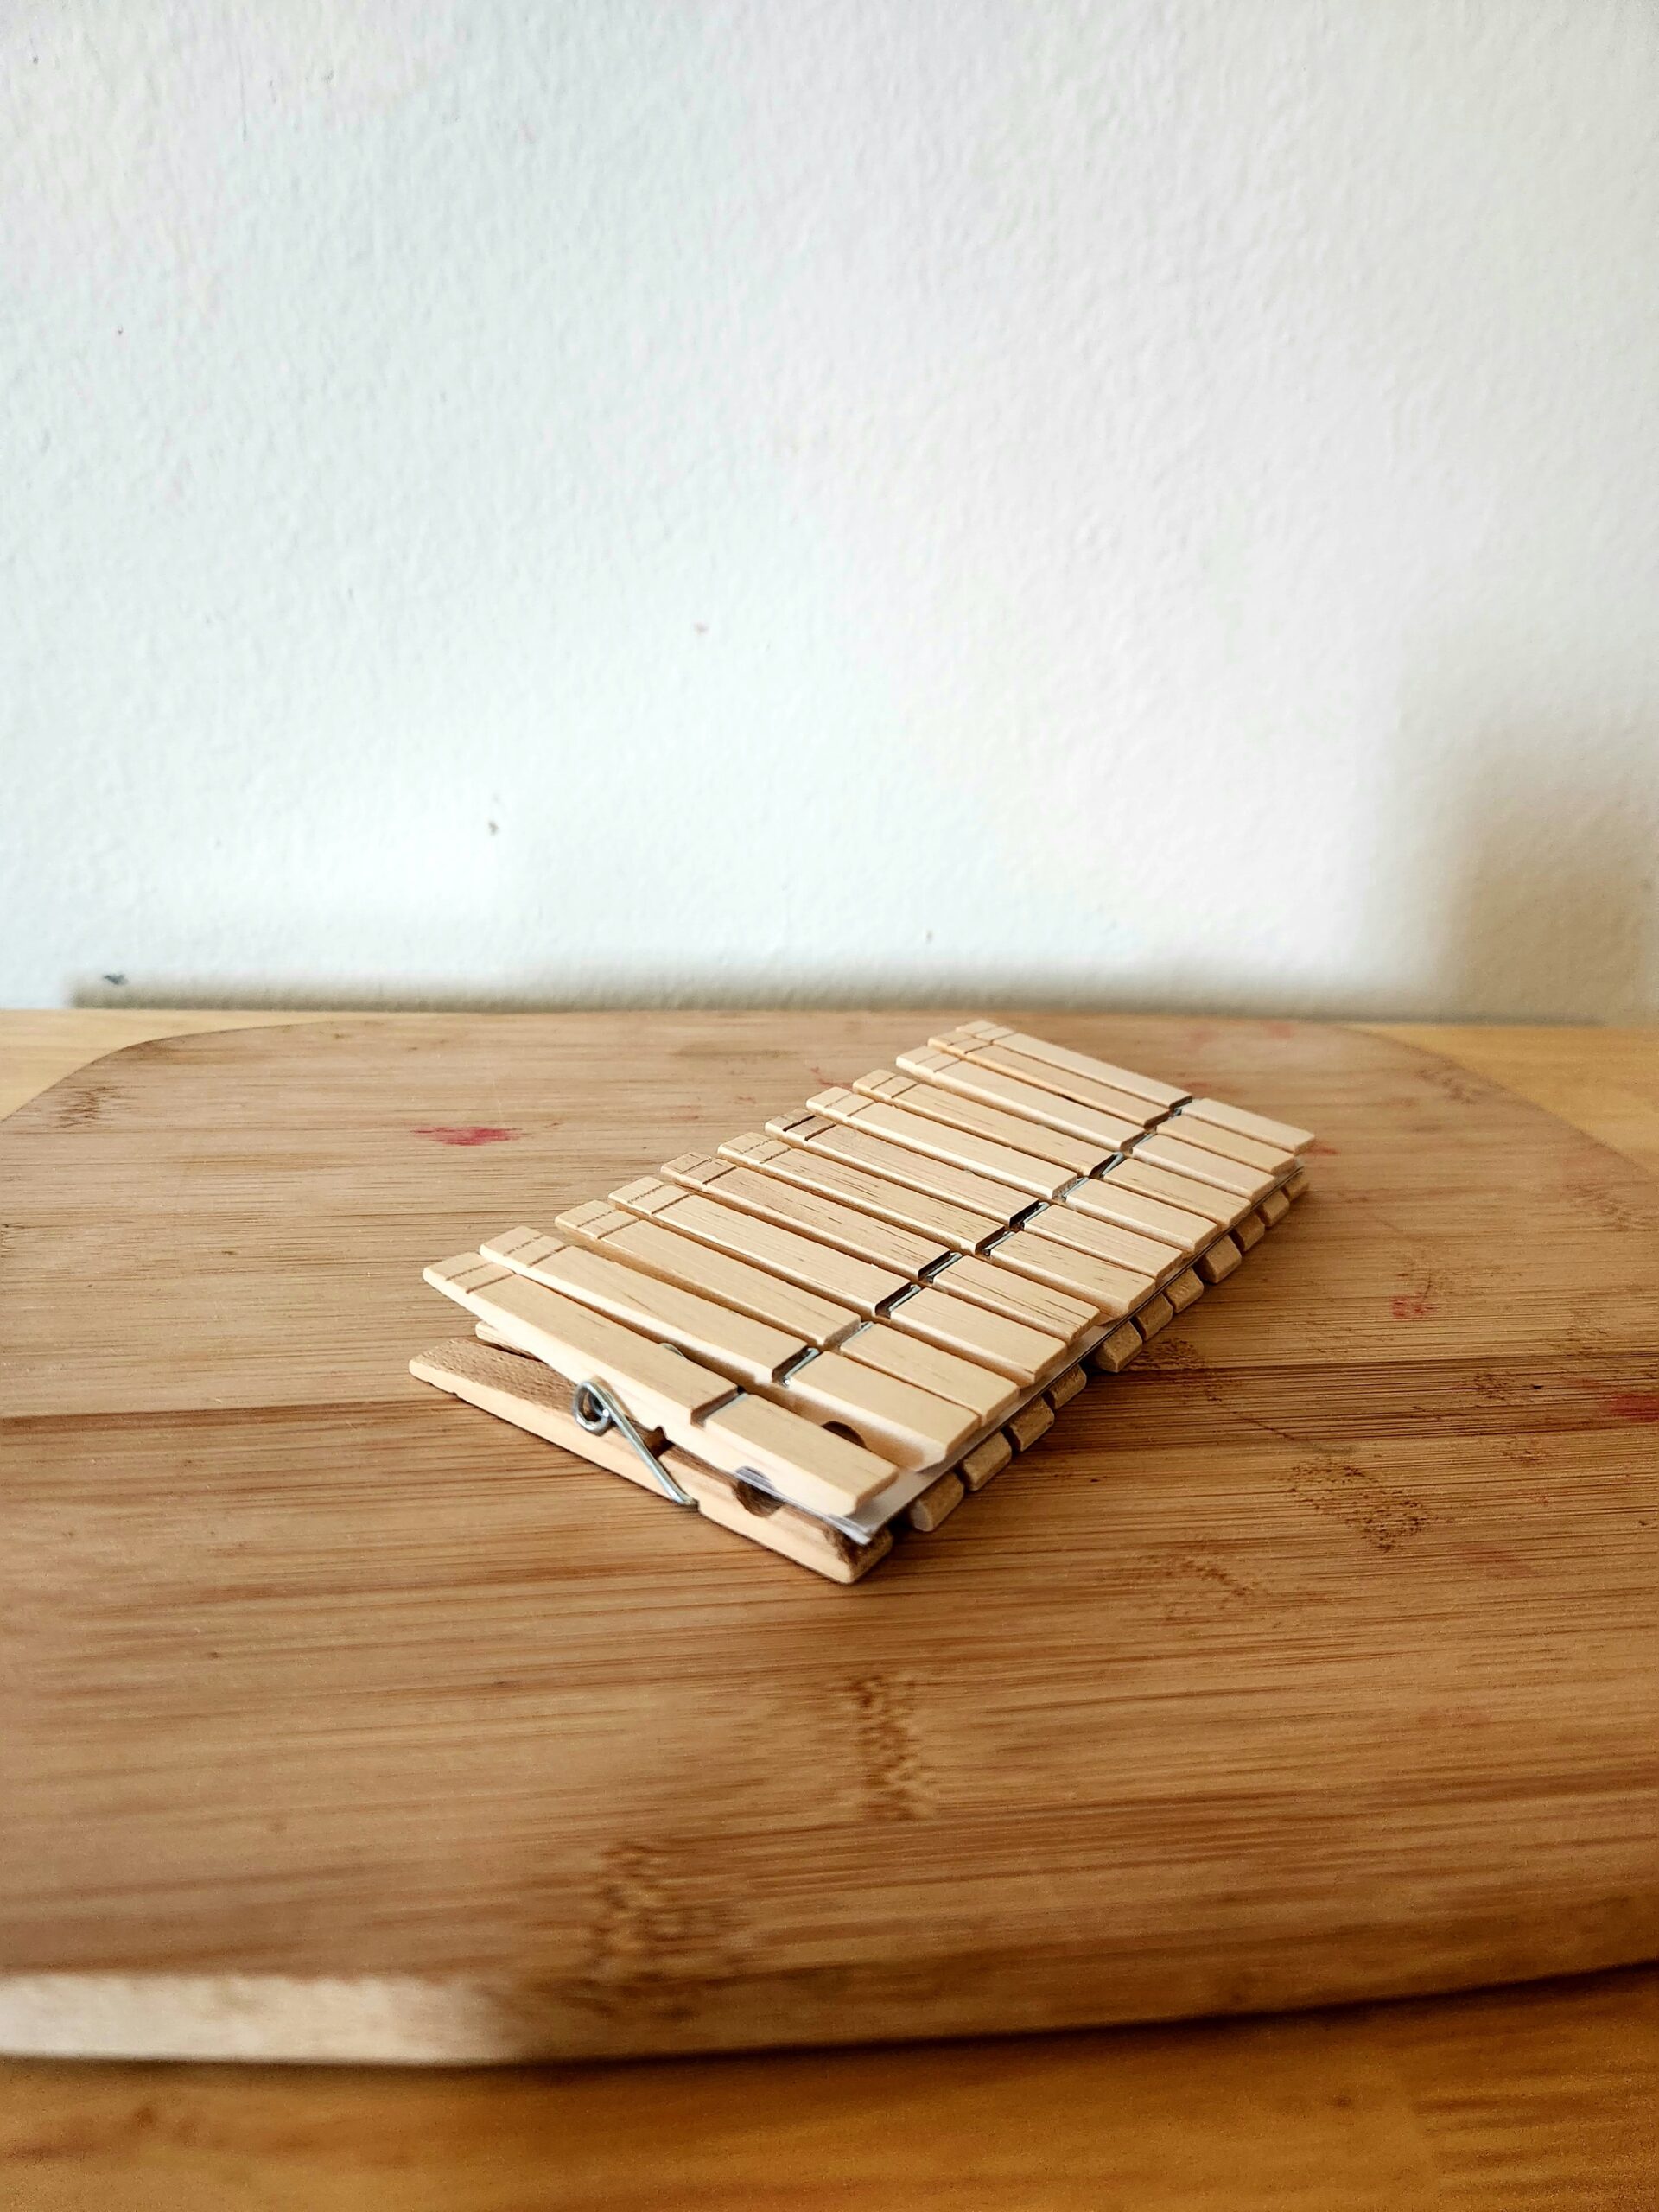
- Clothespins
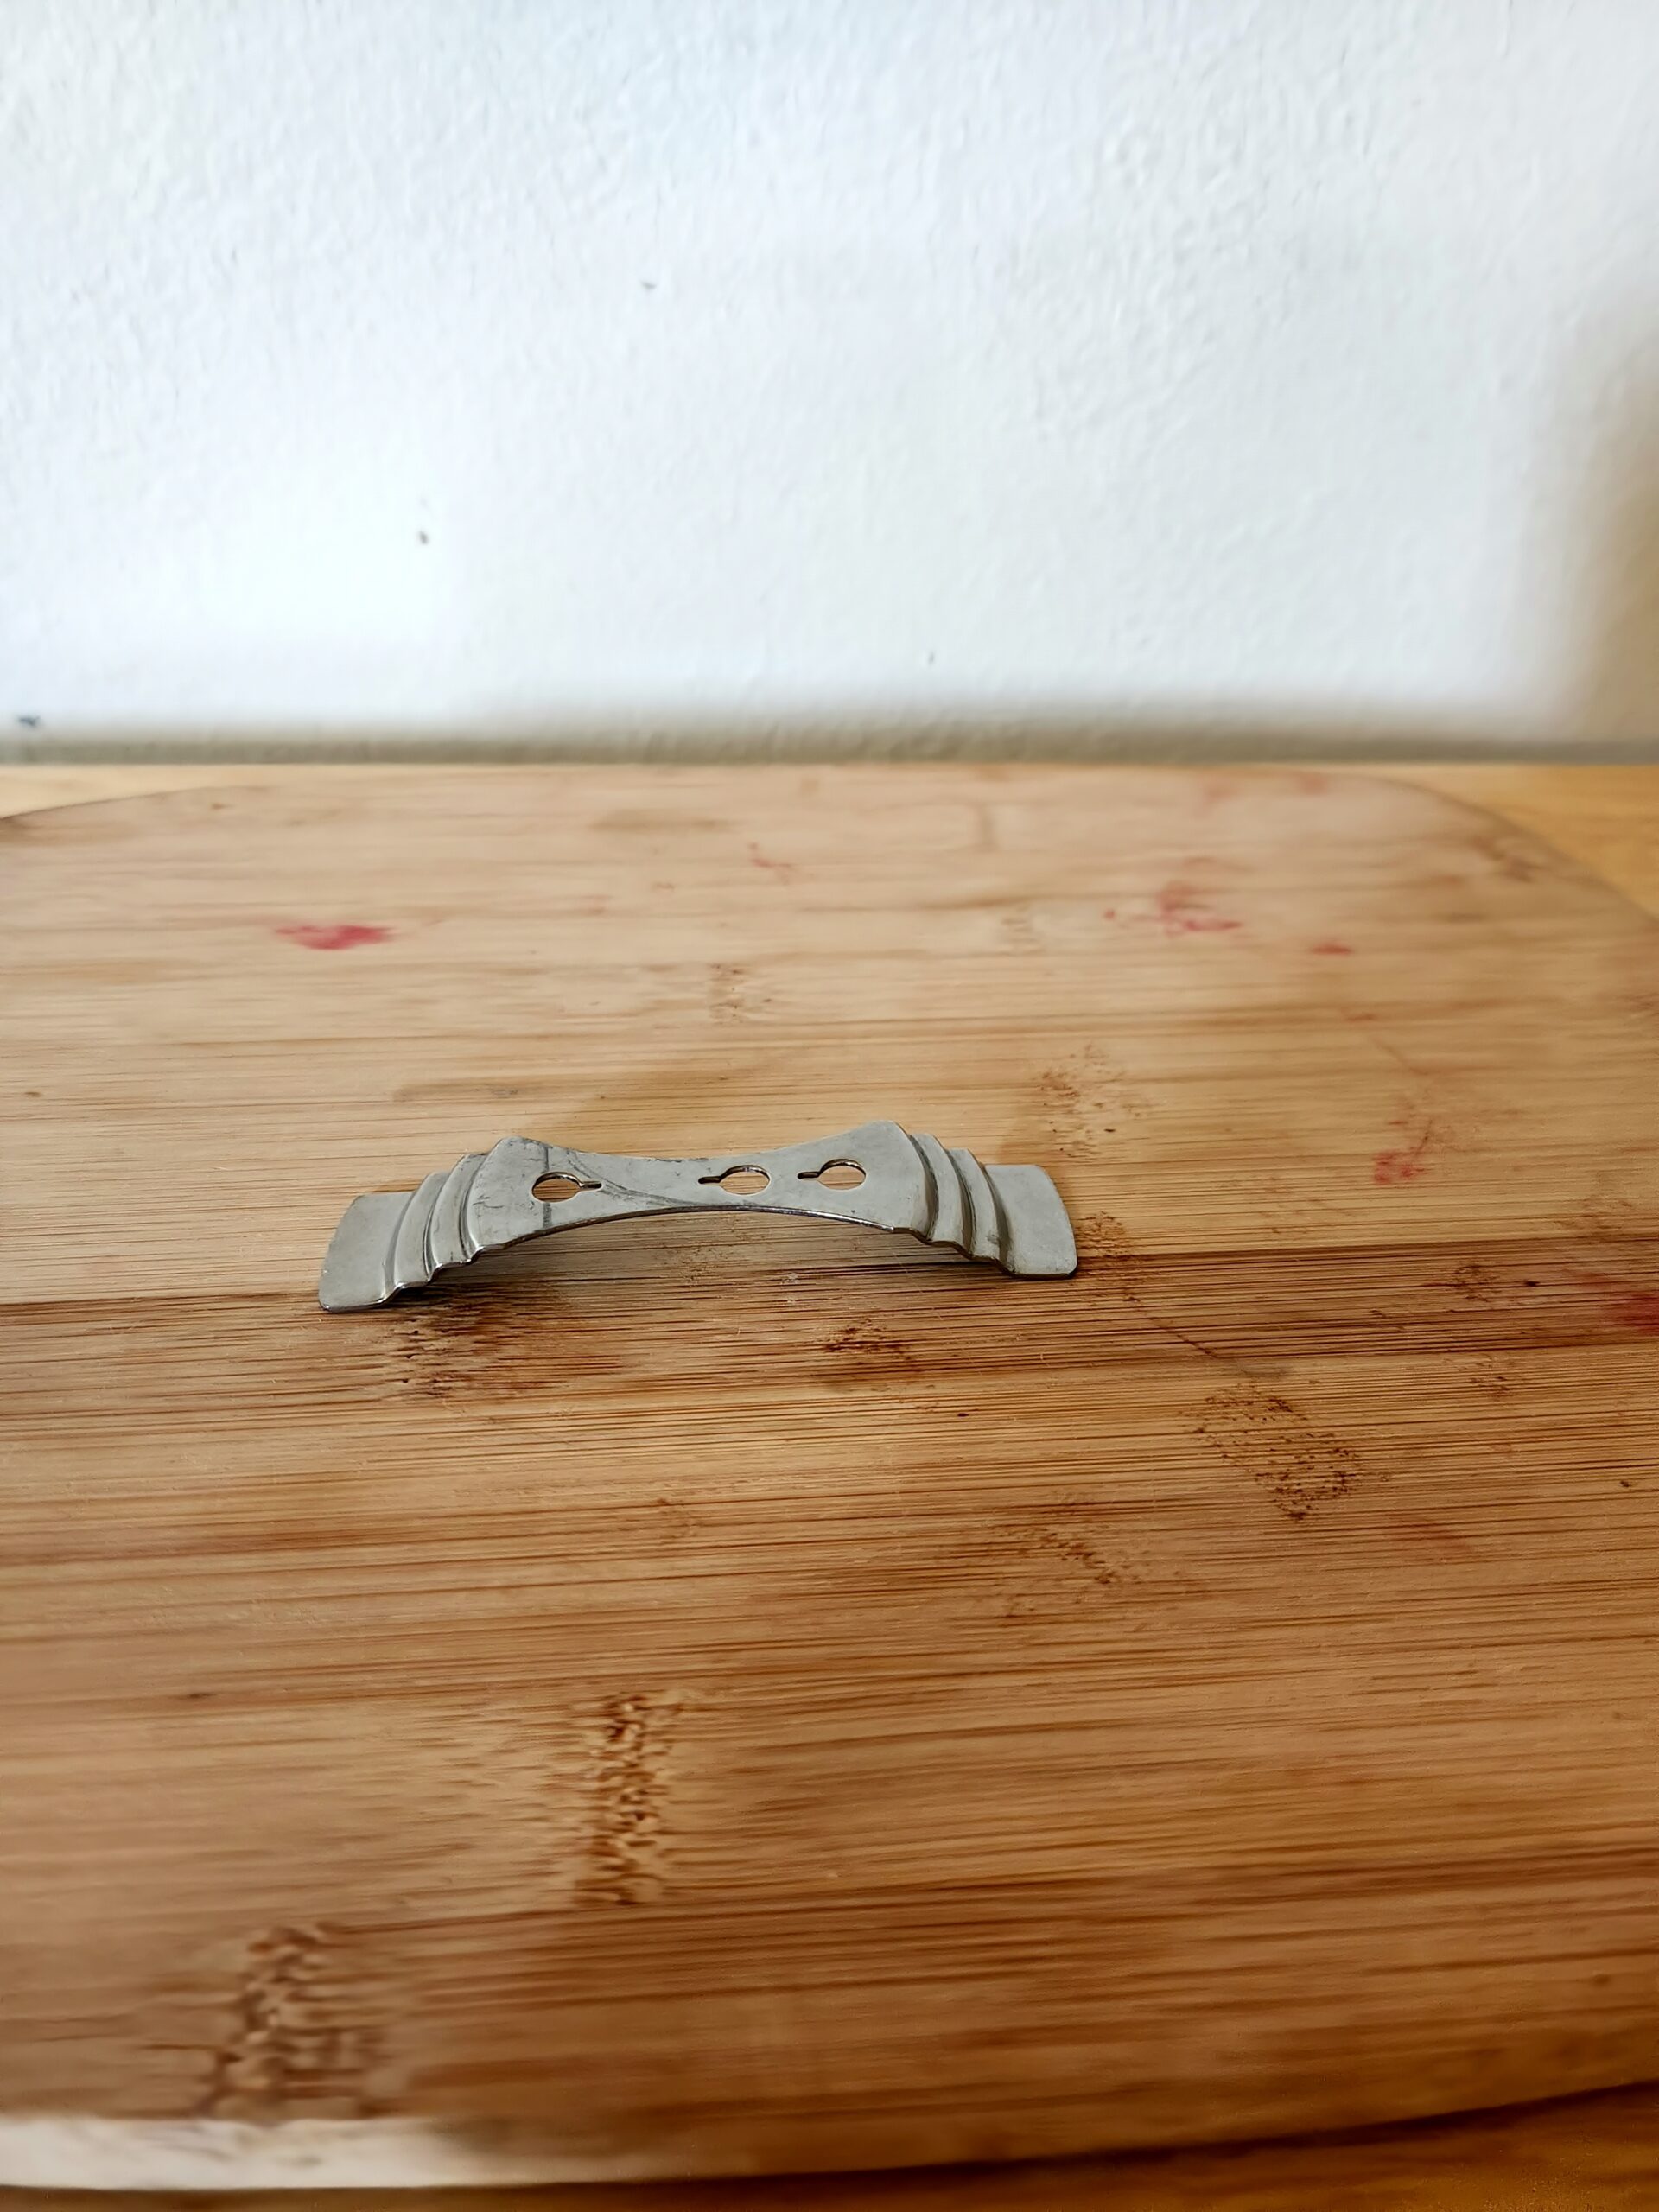
- Stainless Steel Centering Device
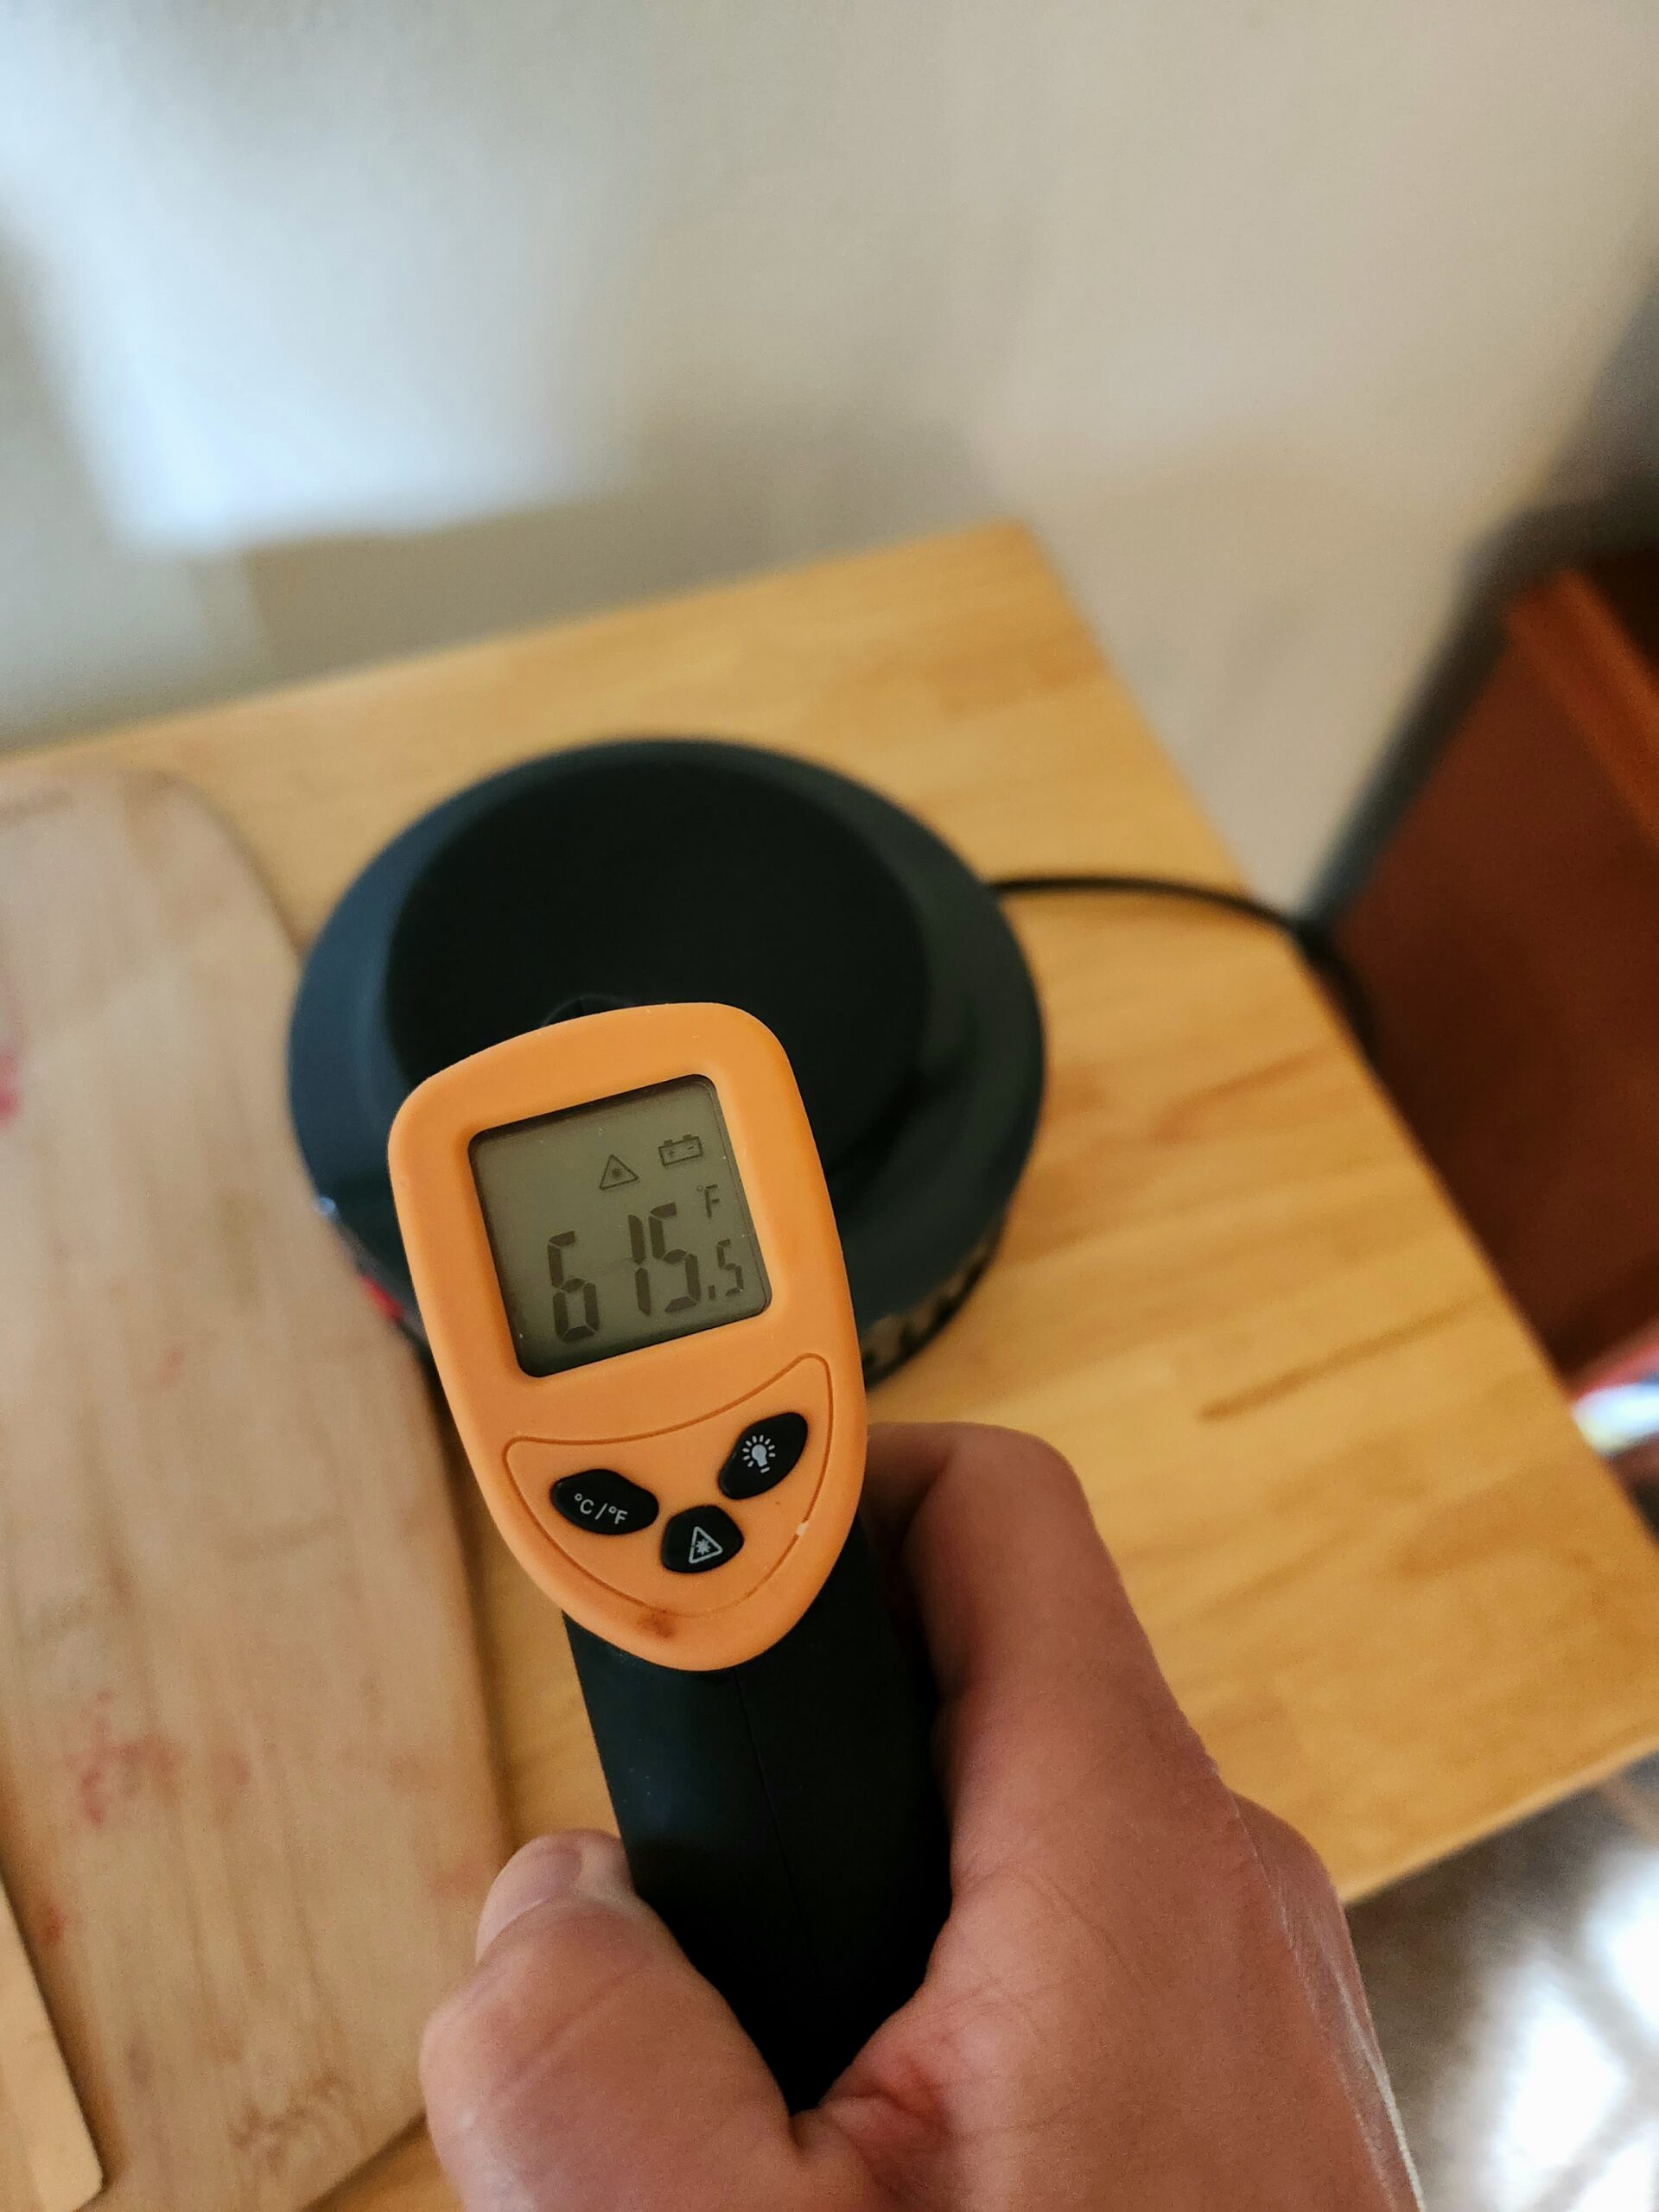
- Digital Thermometer
- Hot pad
- Etekcity Digital Scale
- Paper towels
- Dish soap
- Sponge
- Scissors
Ingredients Needed
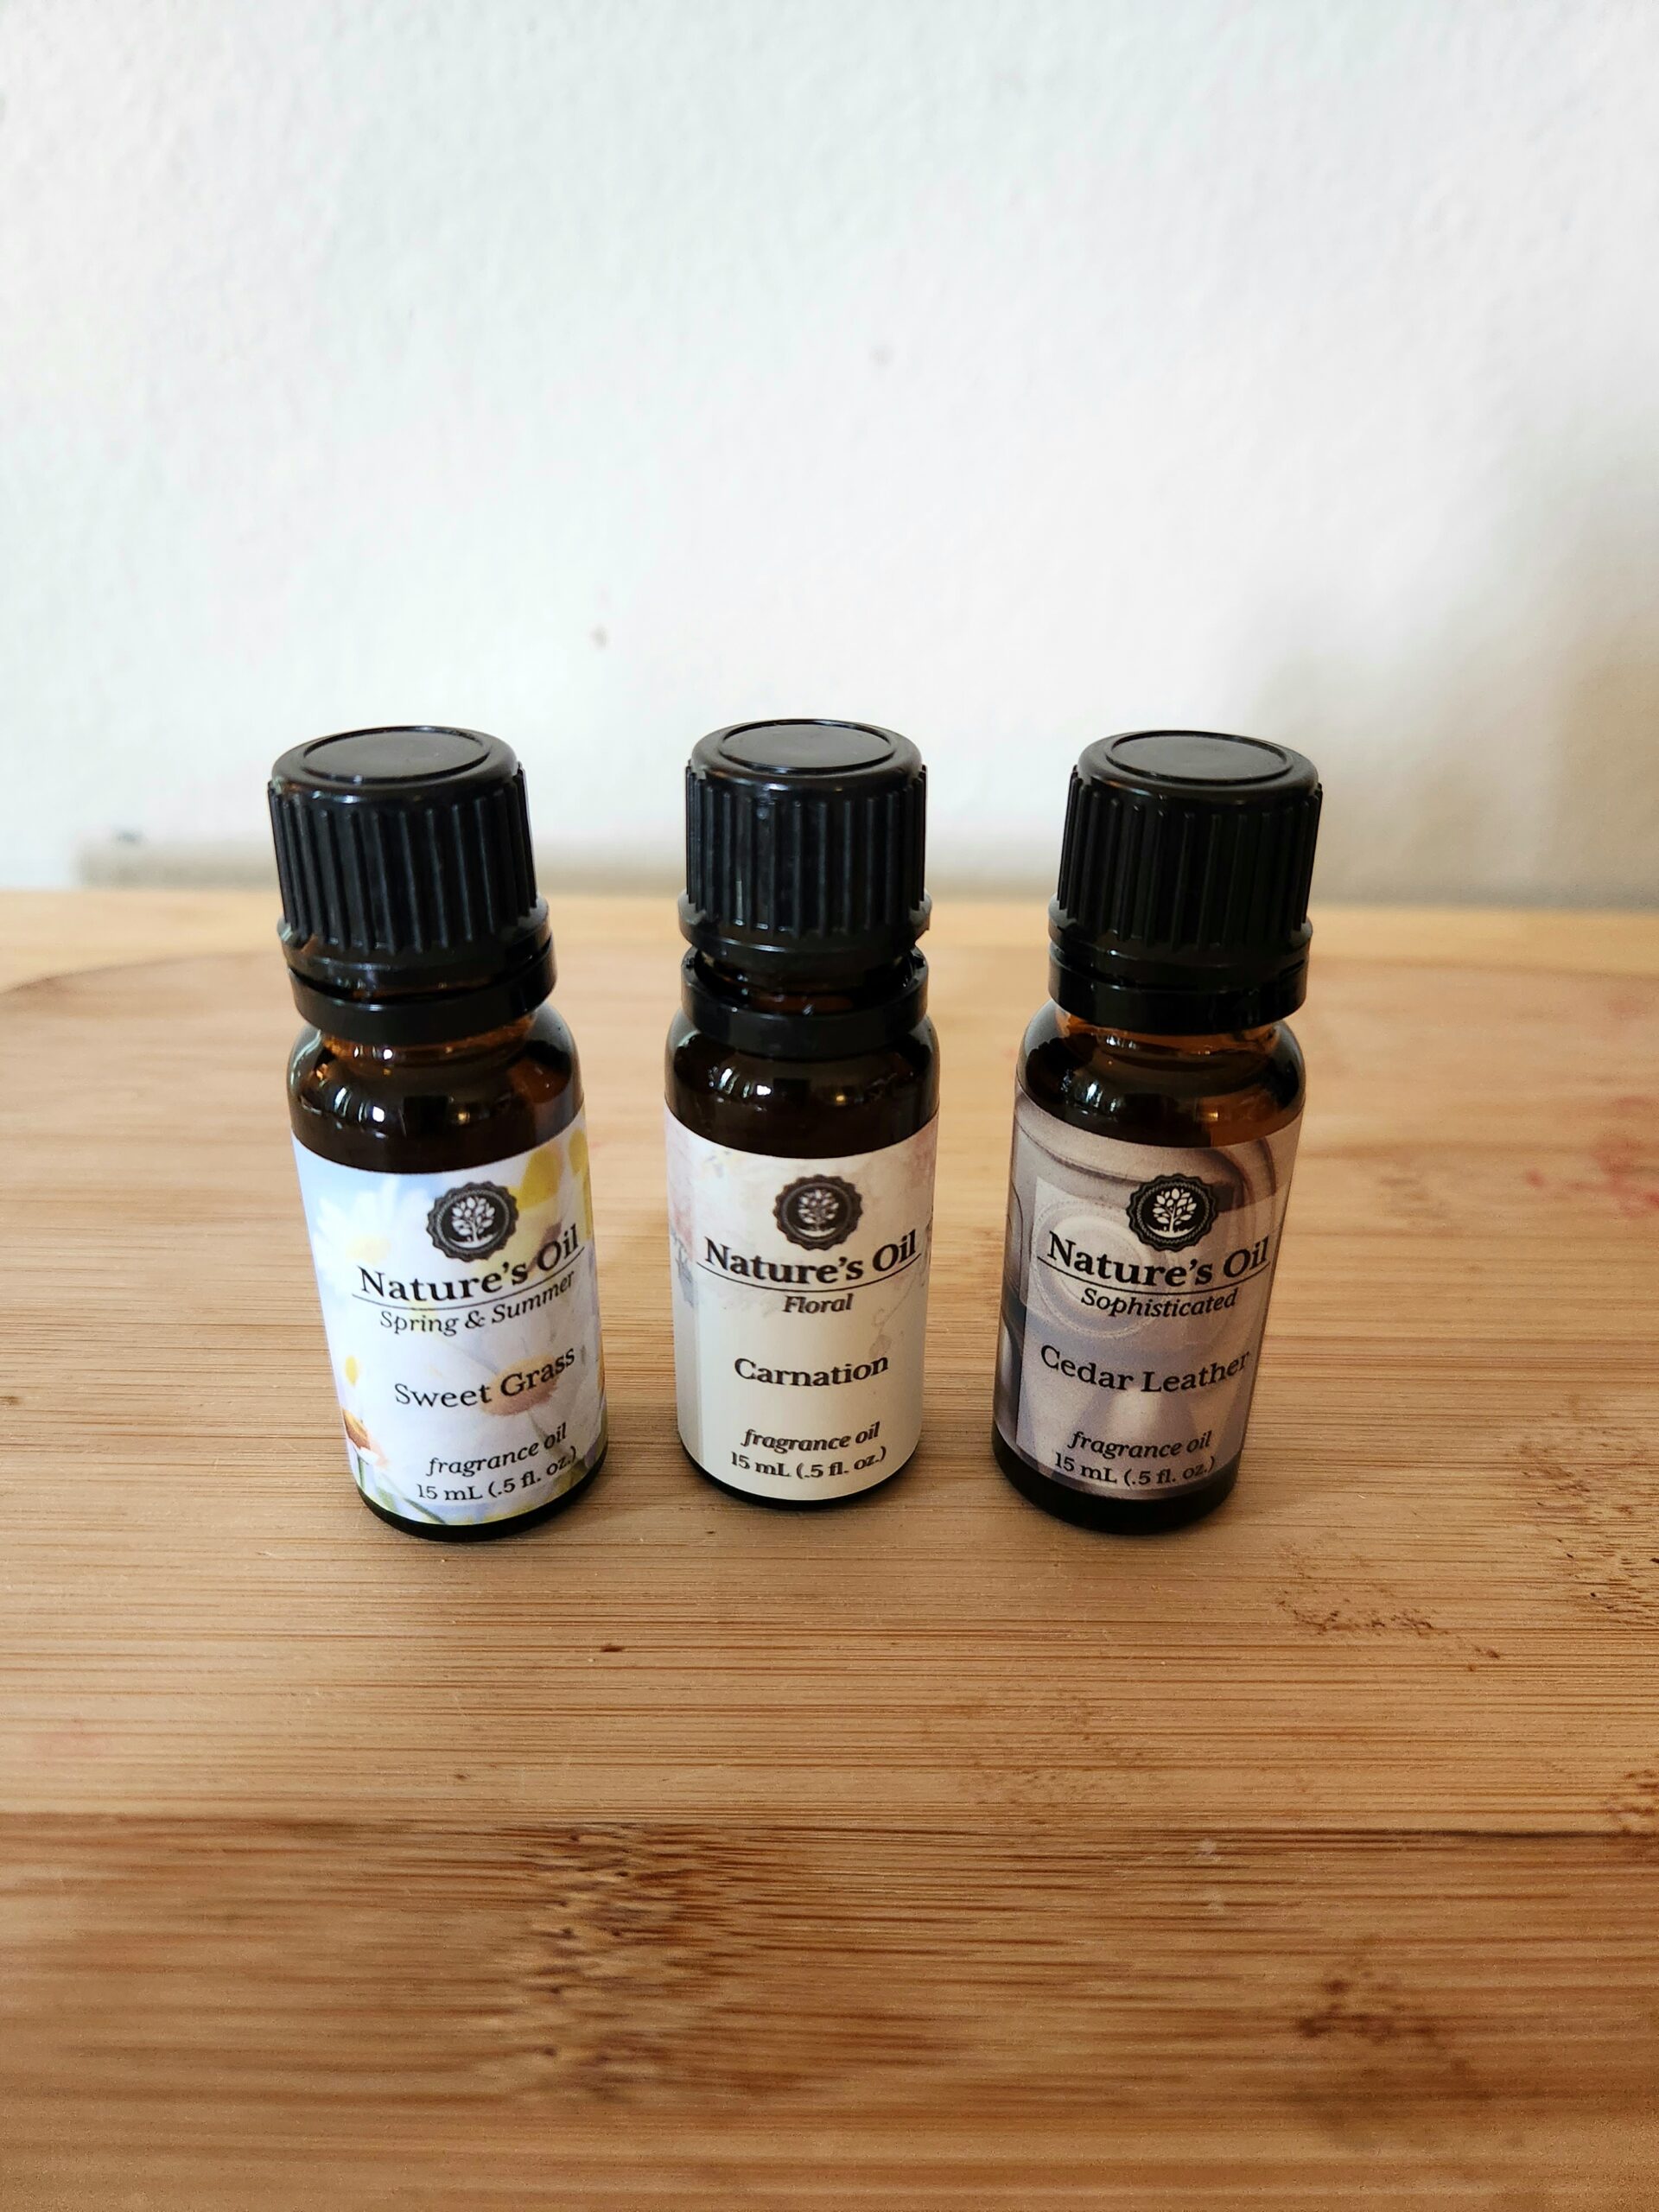
- 0.5 oz Carnation Fragrance Oil
- 0.5 oz Sweet Grass Fragrance Oil
- 0.5 oz Cedar and Leather Fragrance Oil
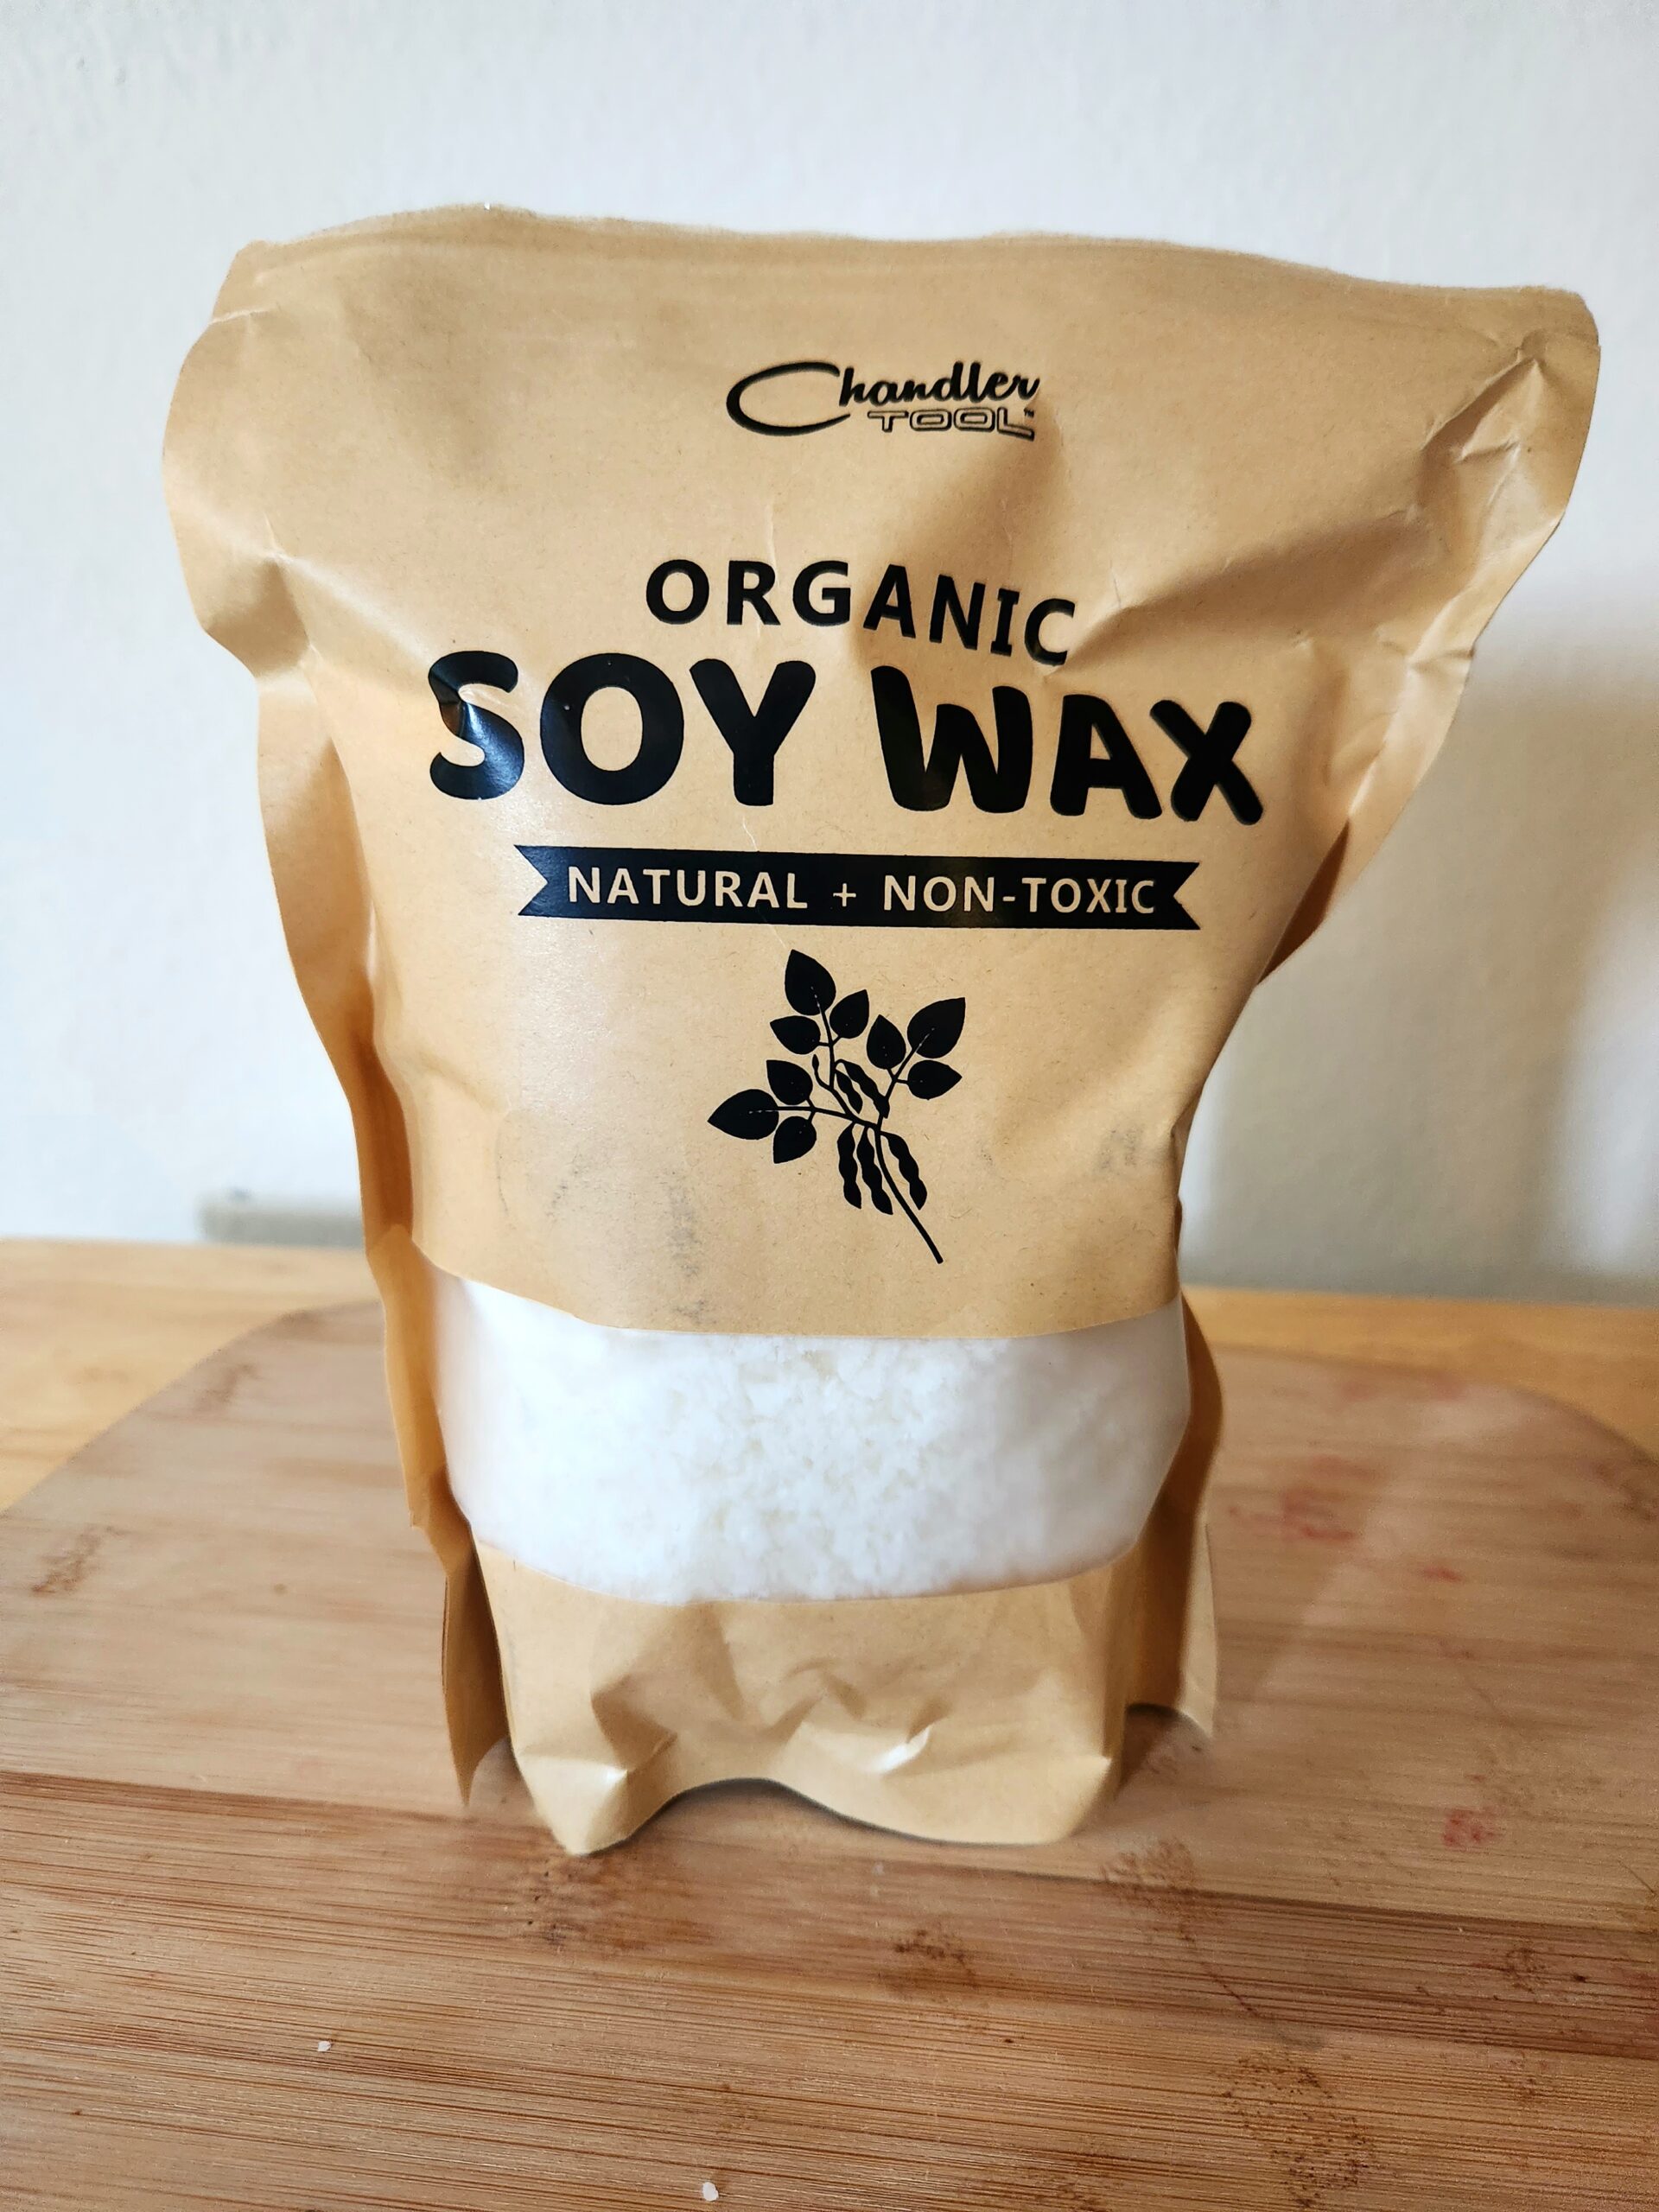
- 16 oz soy wax
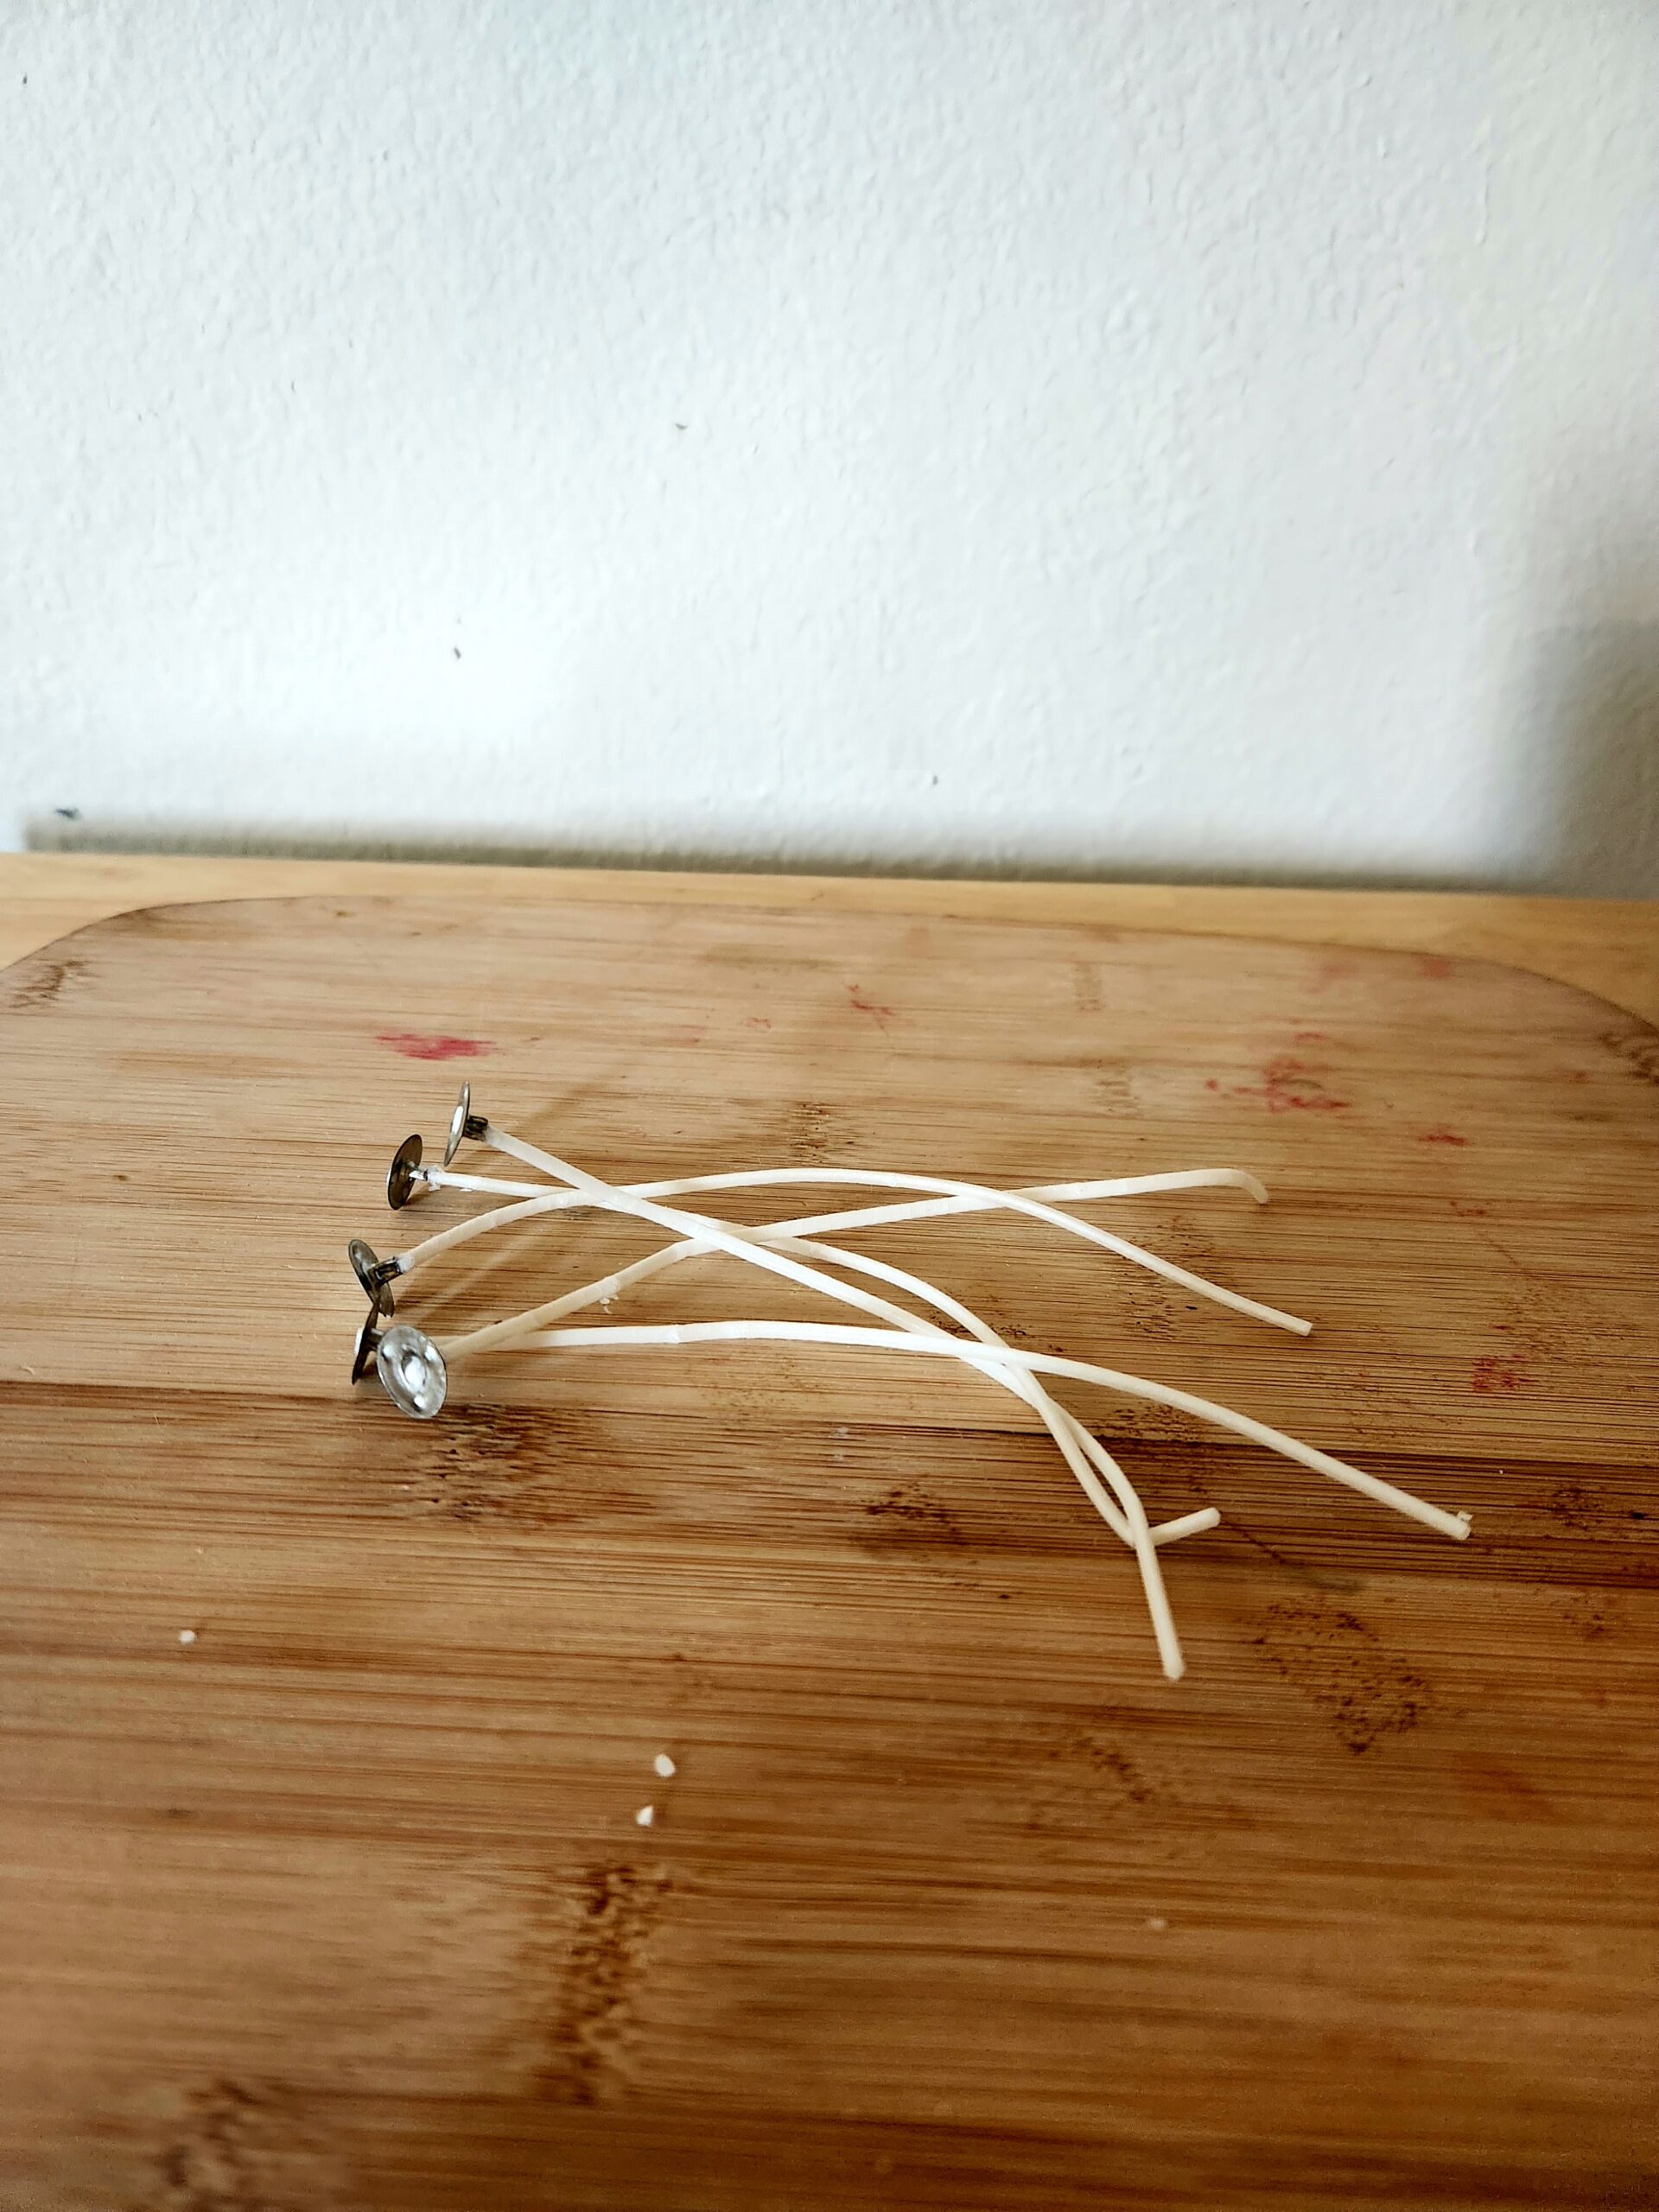
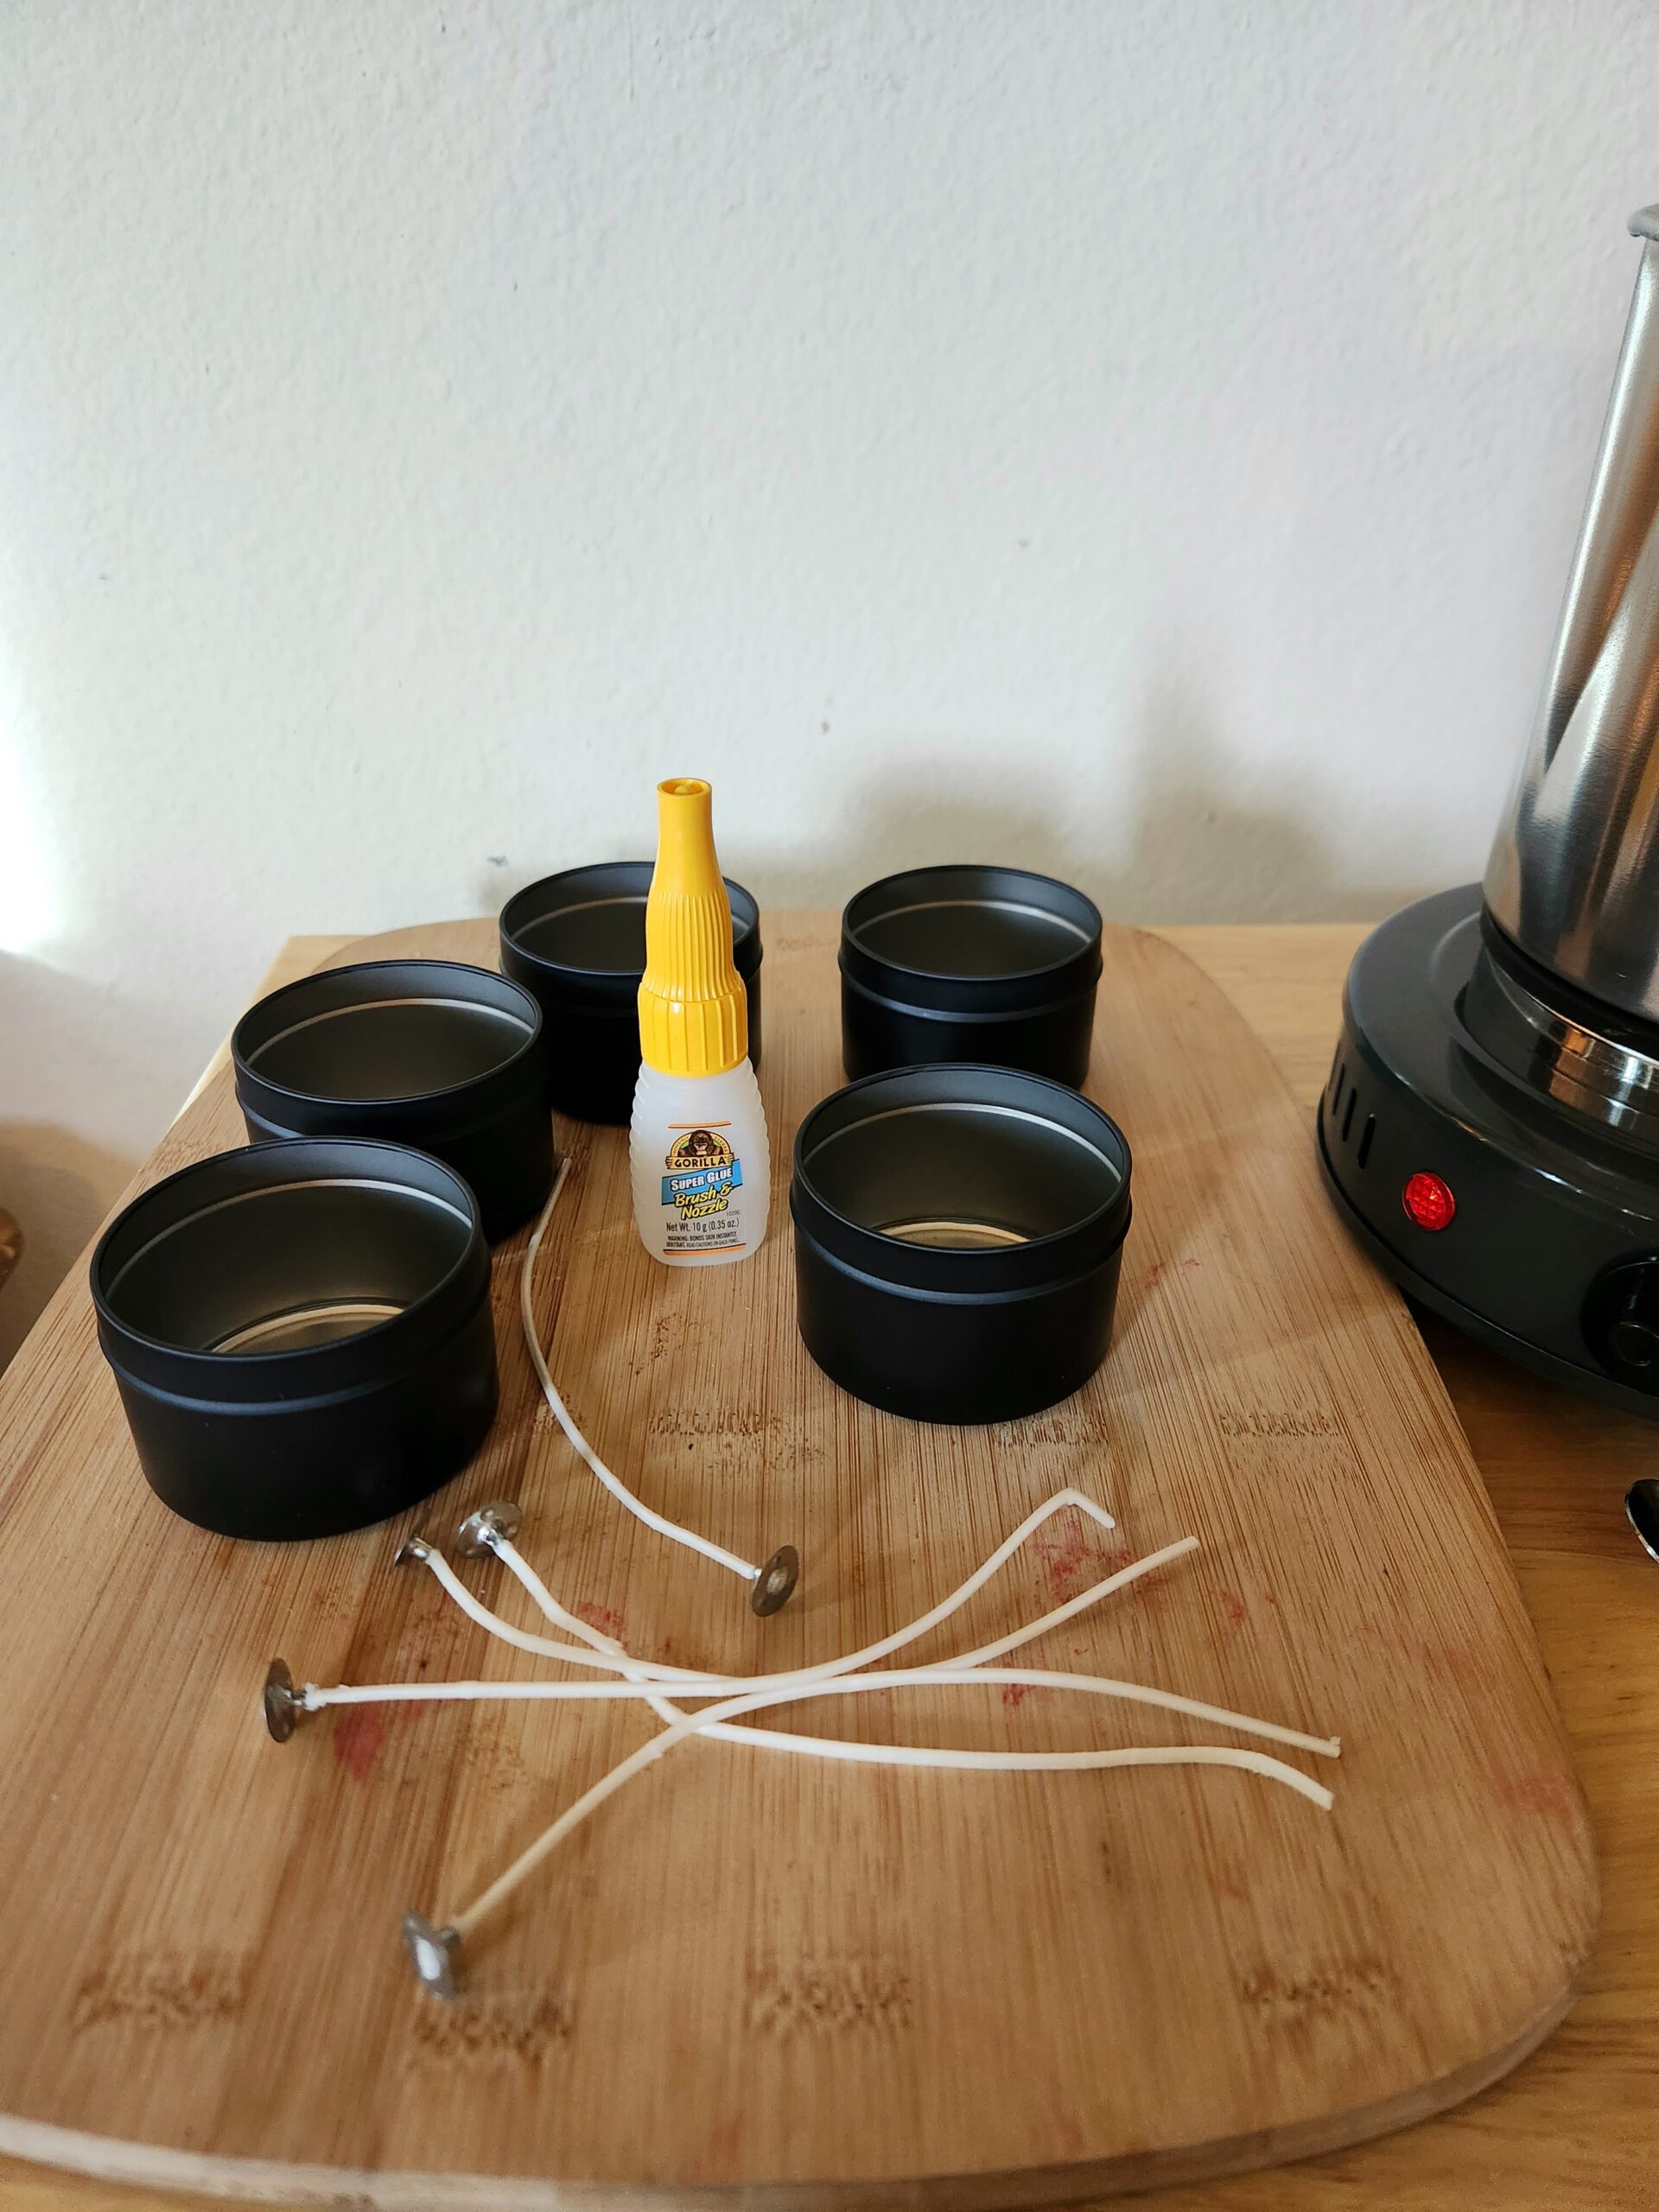
- 5 wicks
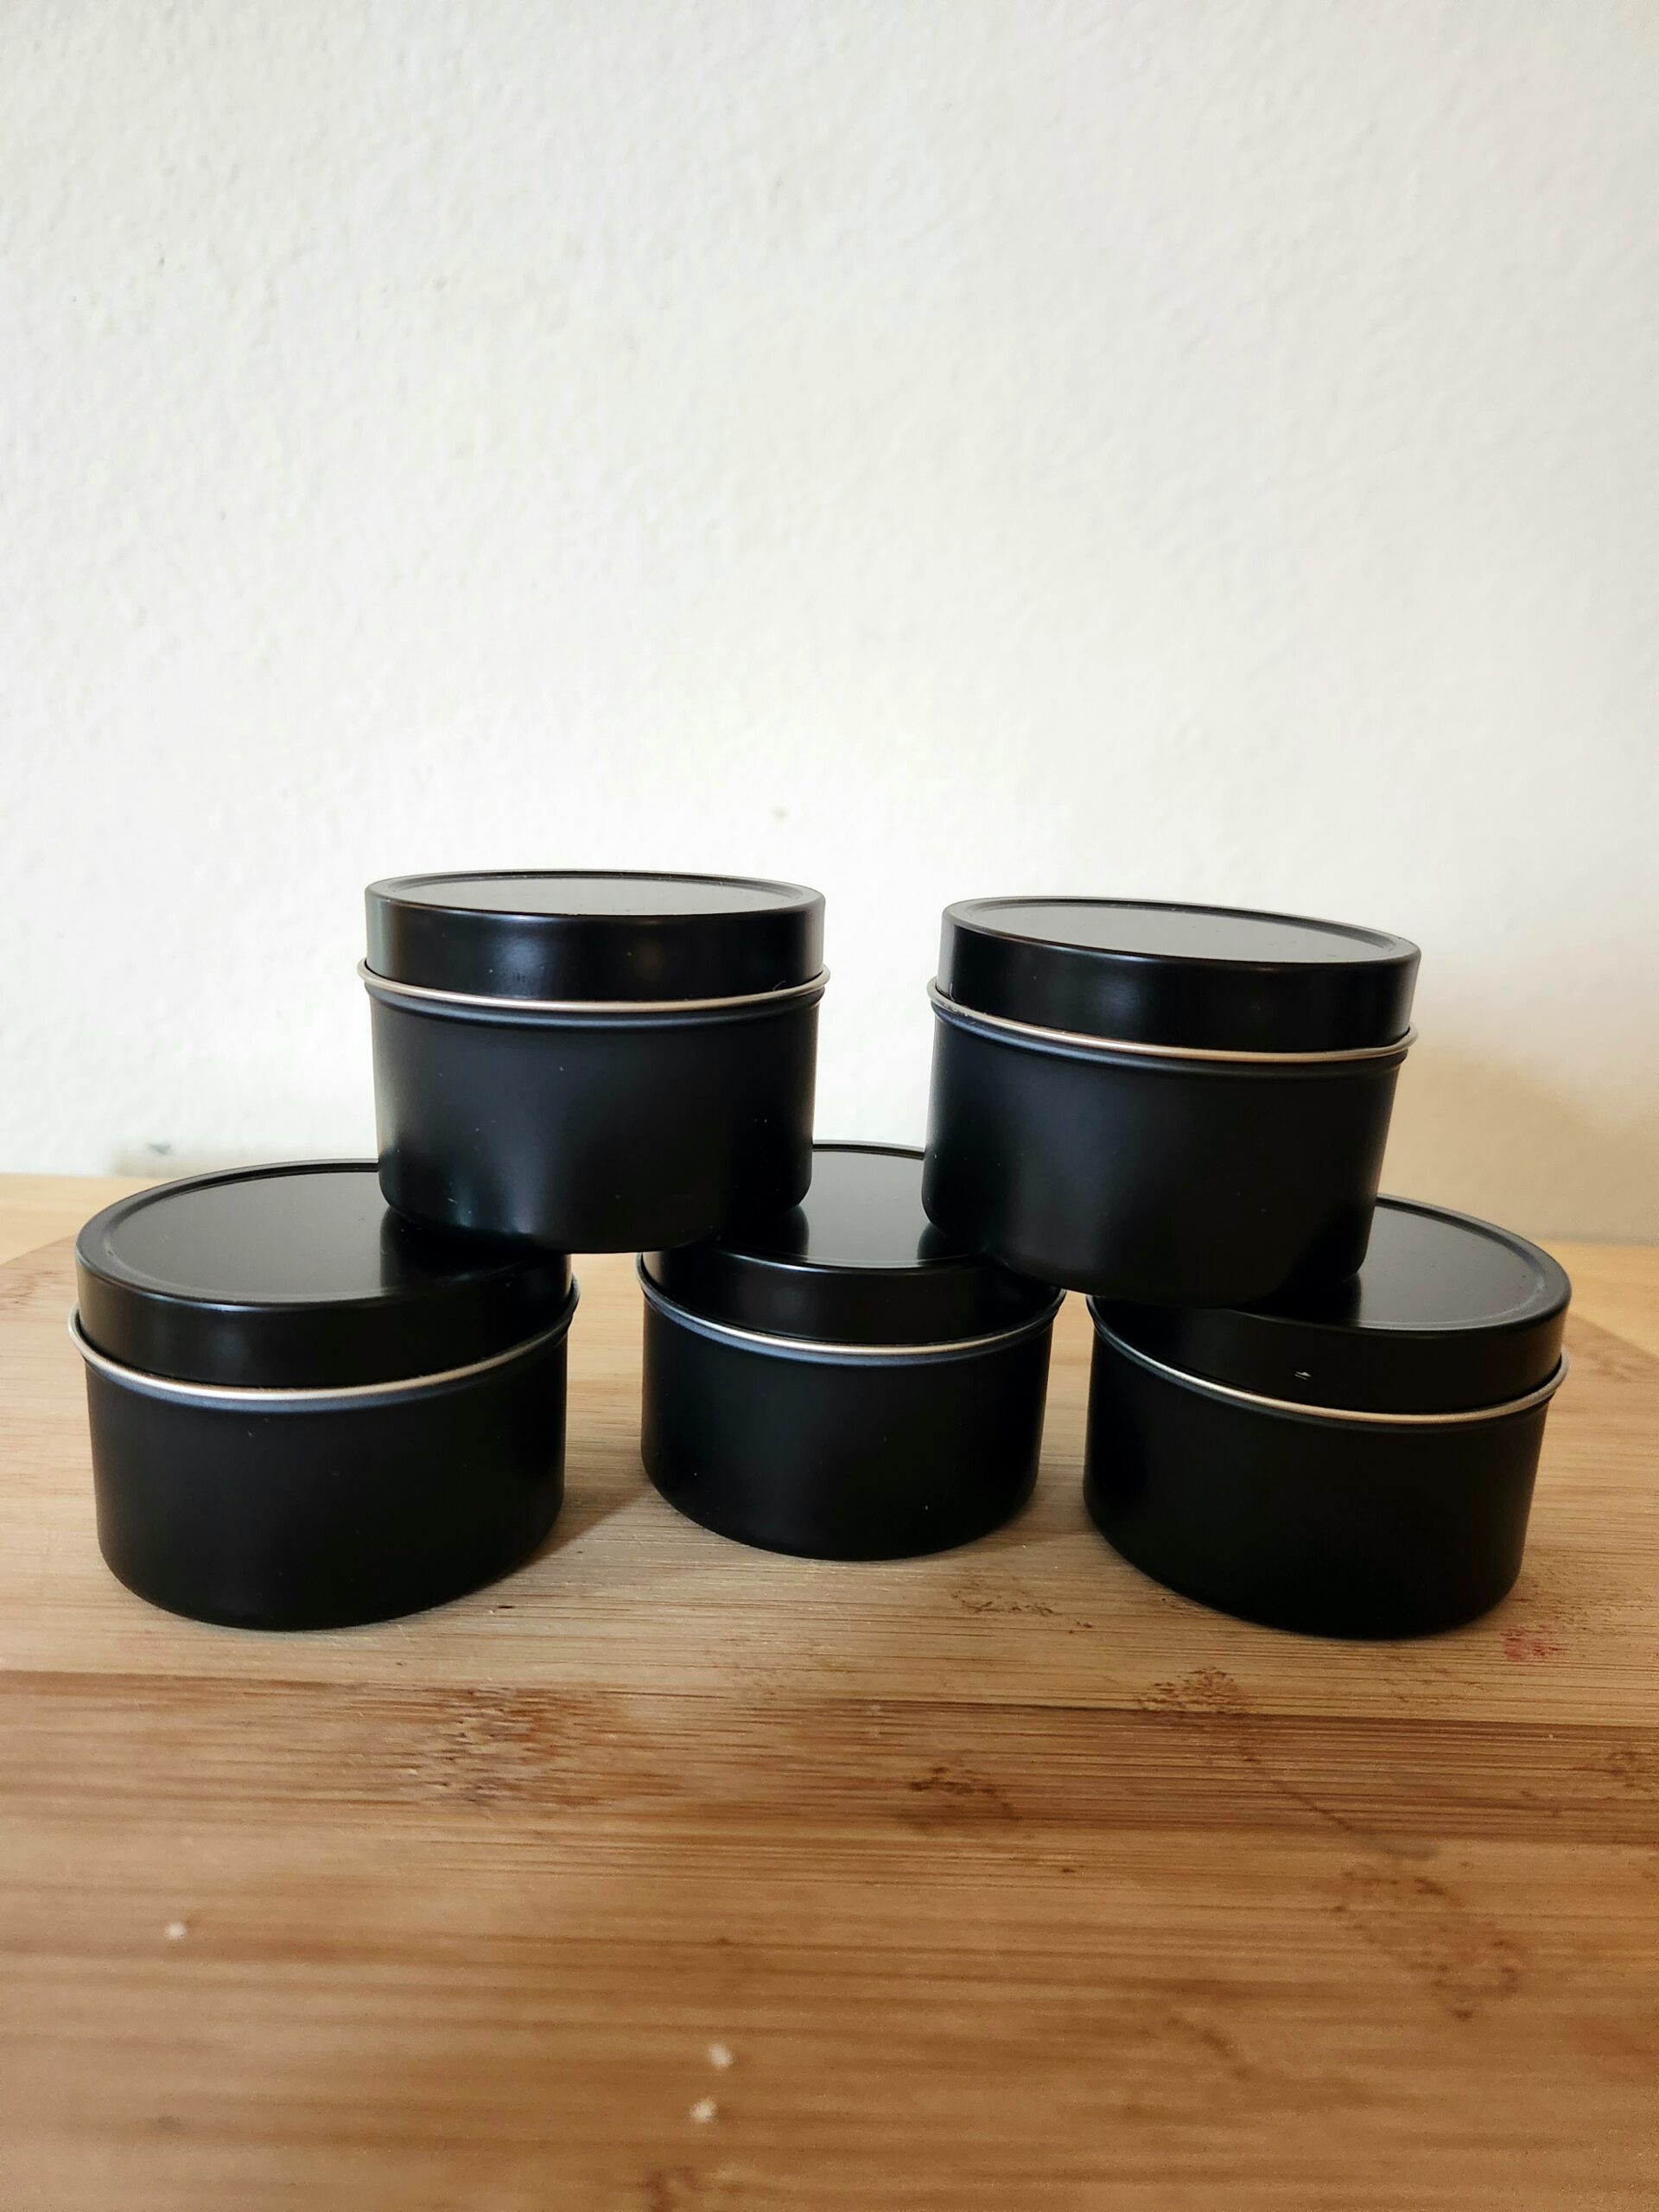
- 5, 4 oz tins (quantity 5)
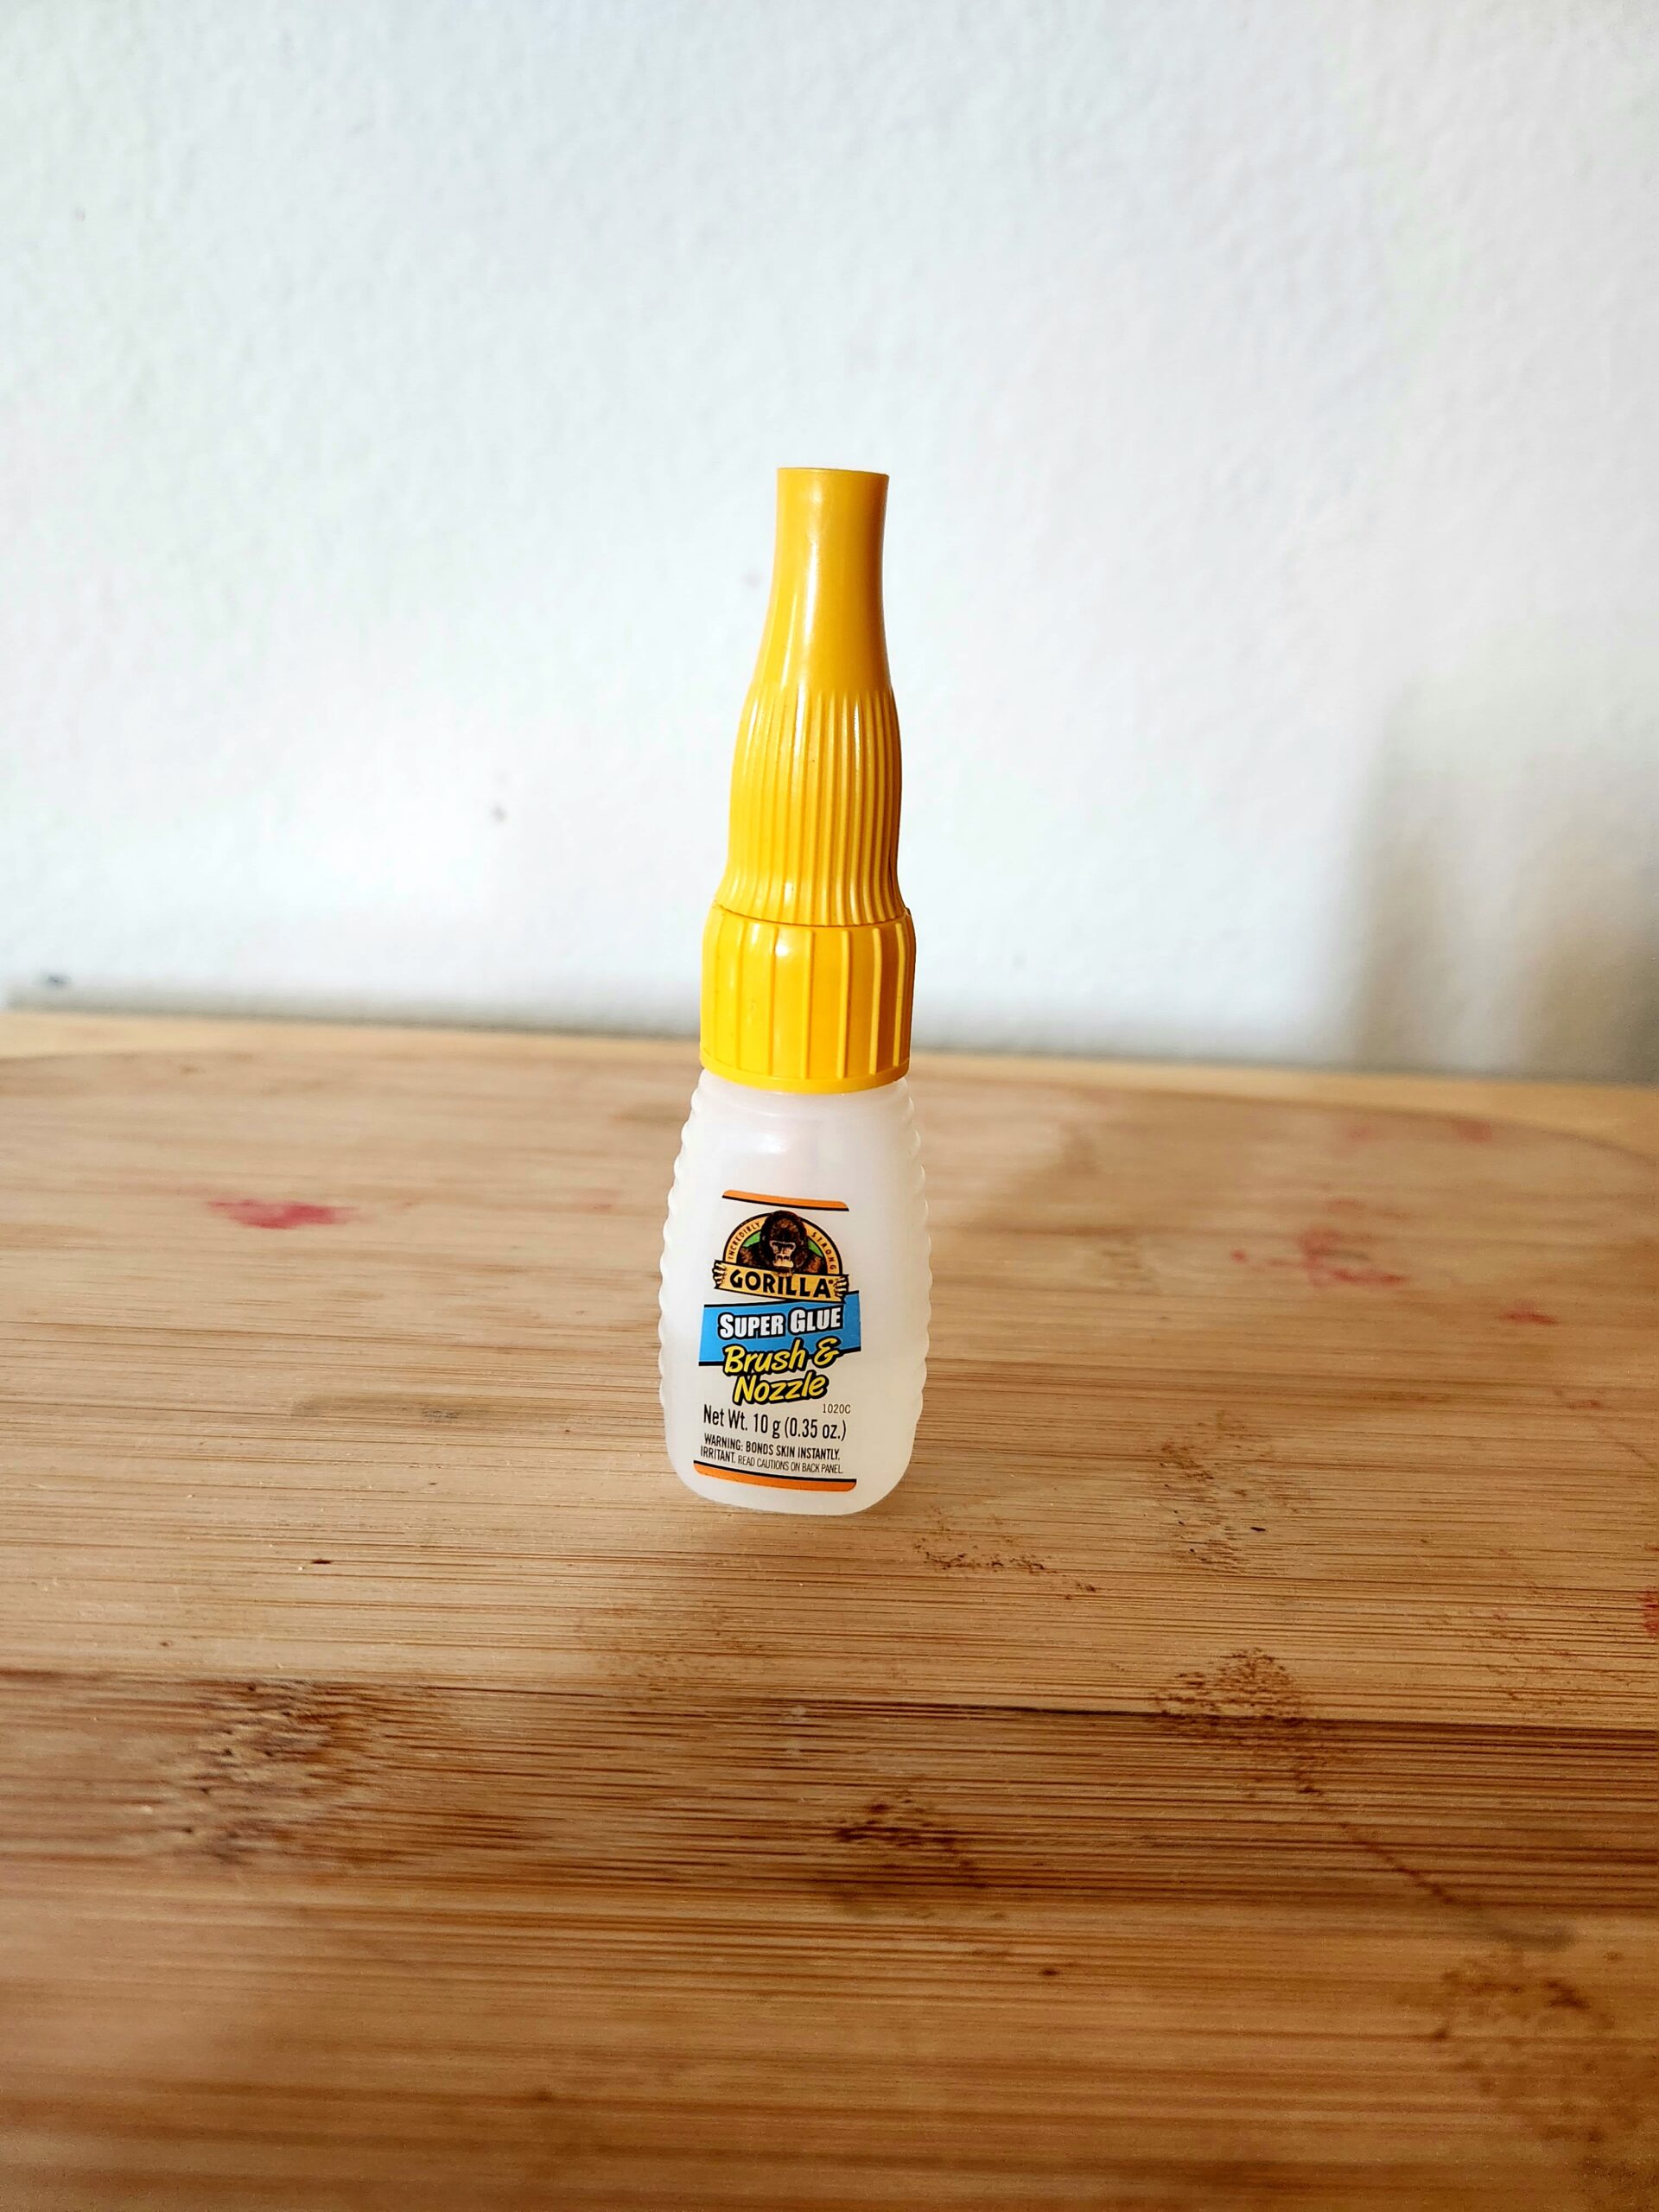
- Superglue
Procedure
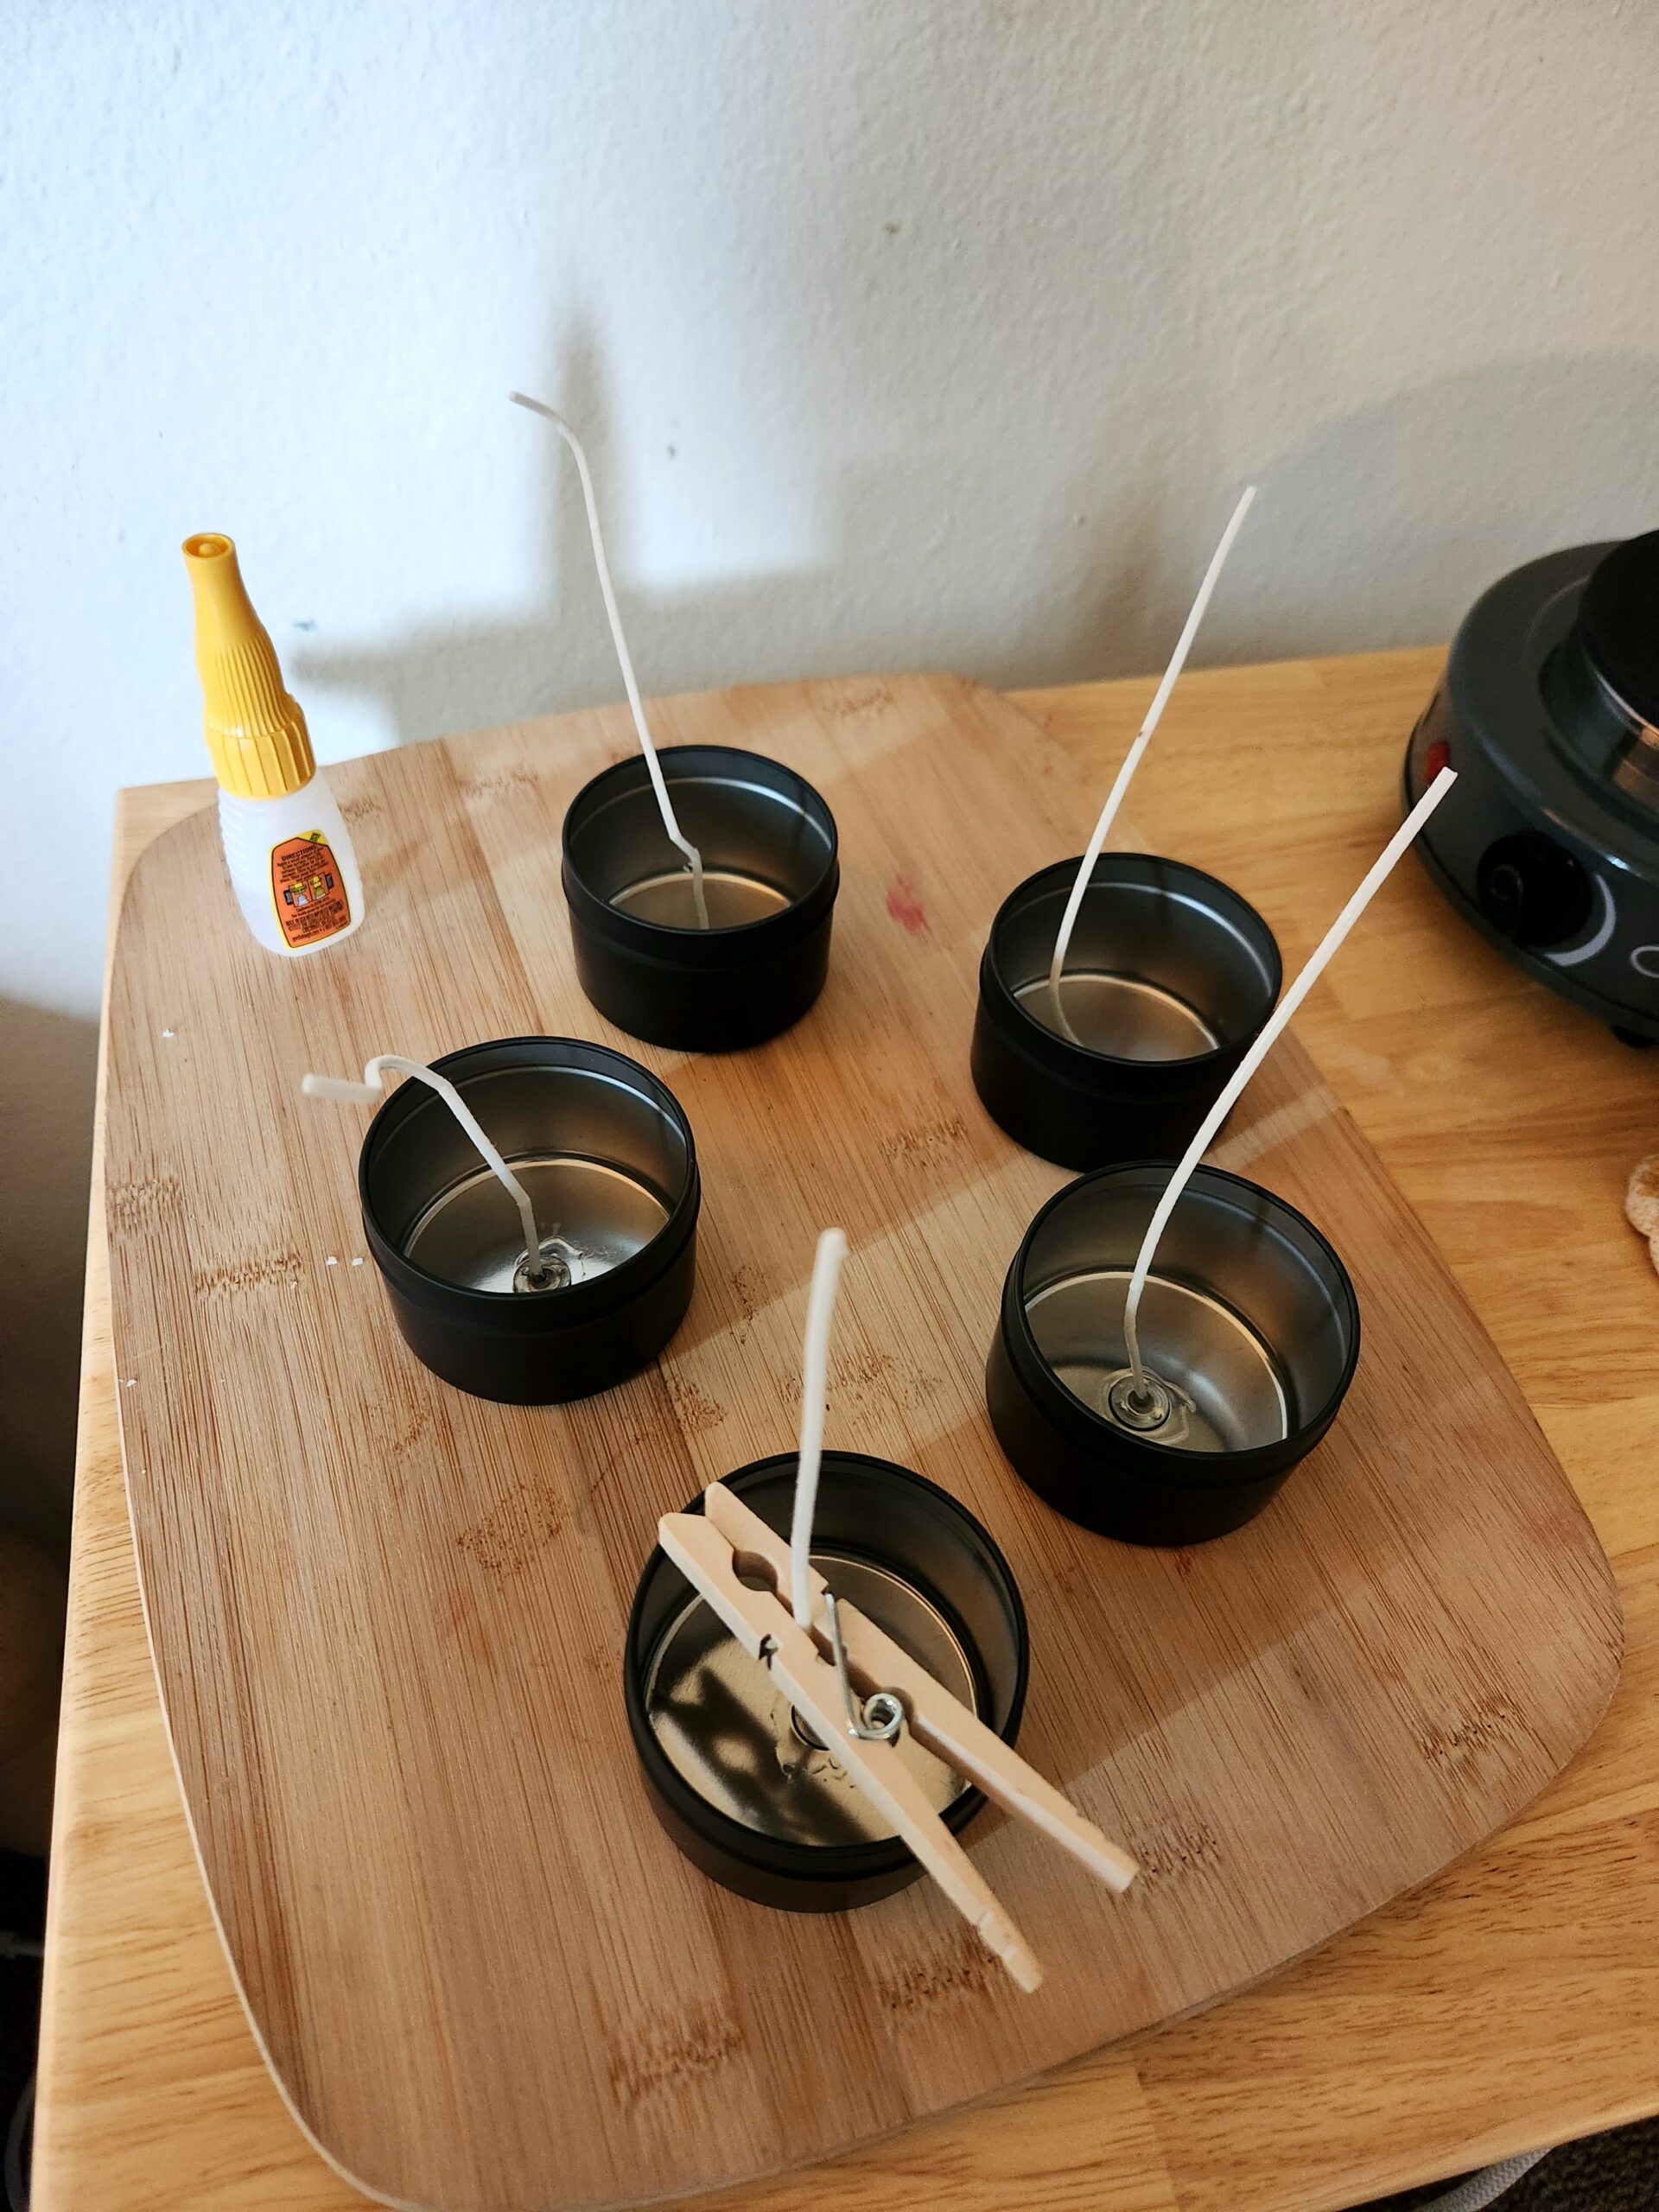
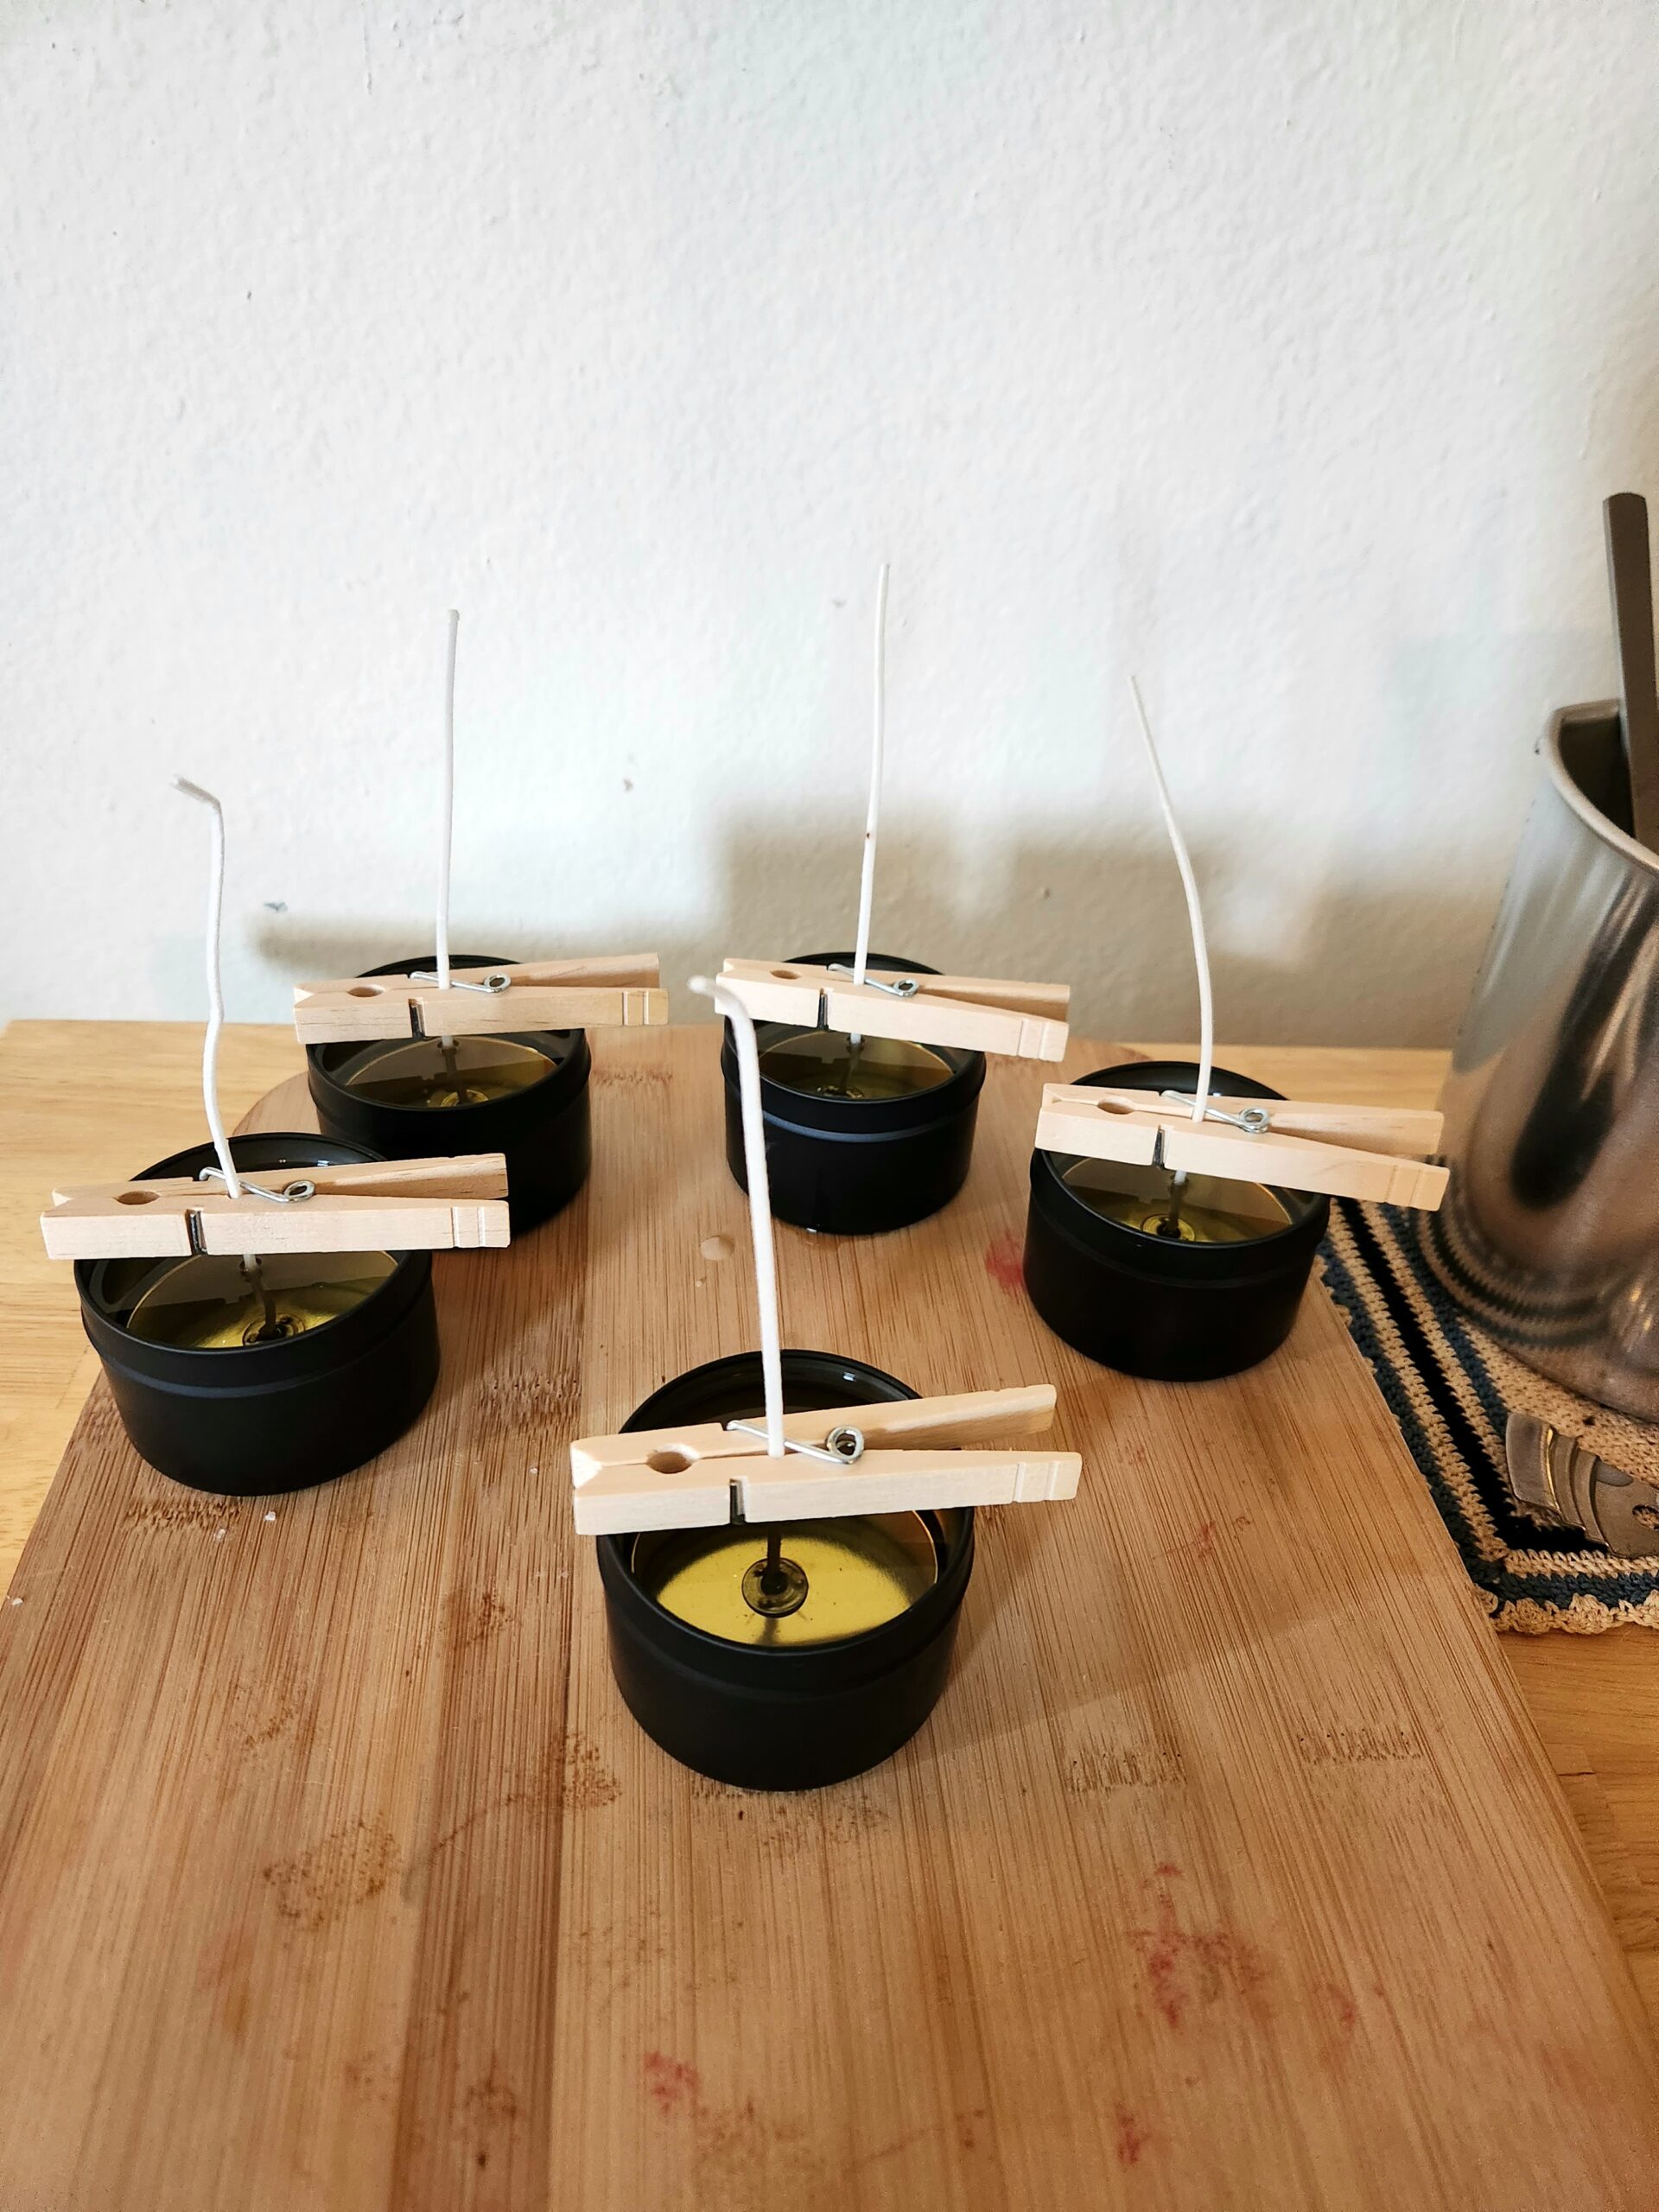
- Apply superglue to the bottom of the wick and center in the bottom of the tin. Complete this step for each of the five tins. Use the clothespins to help secure the wicks while the glue hardens.

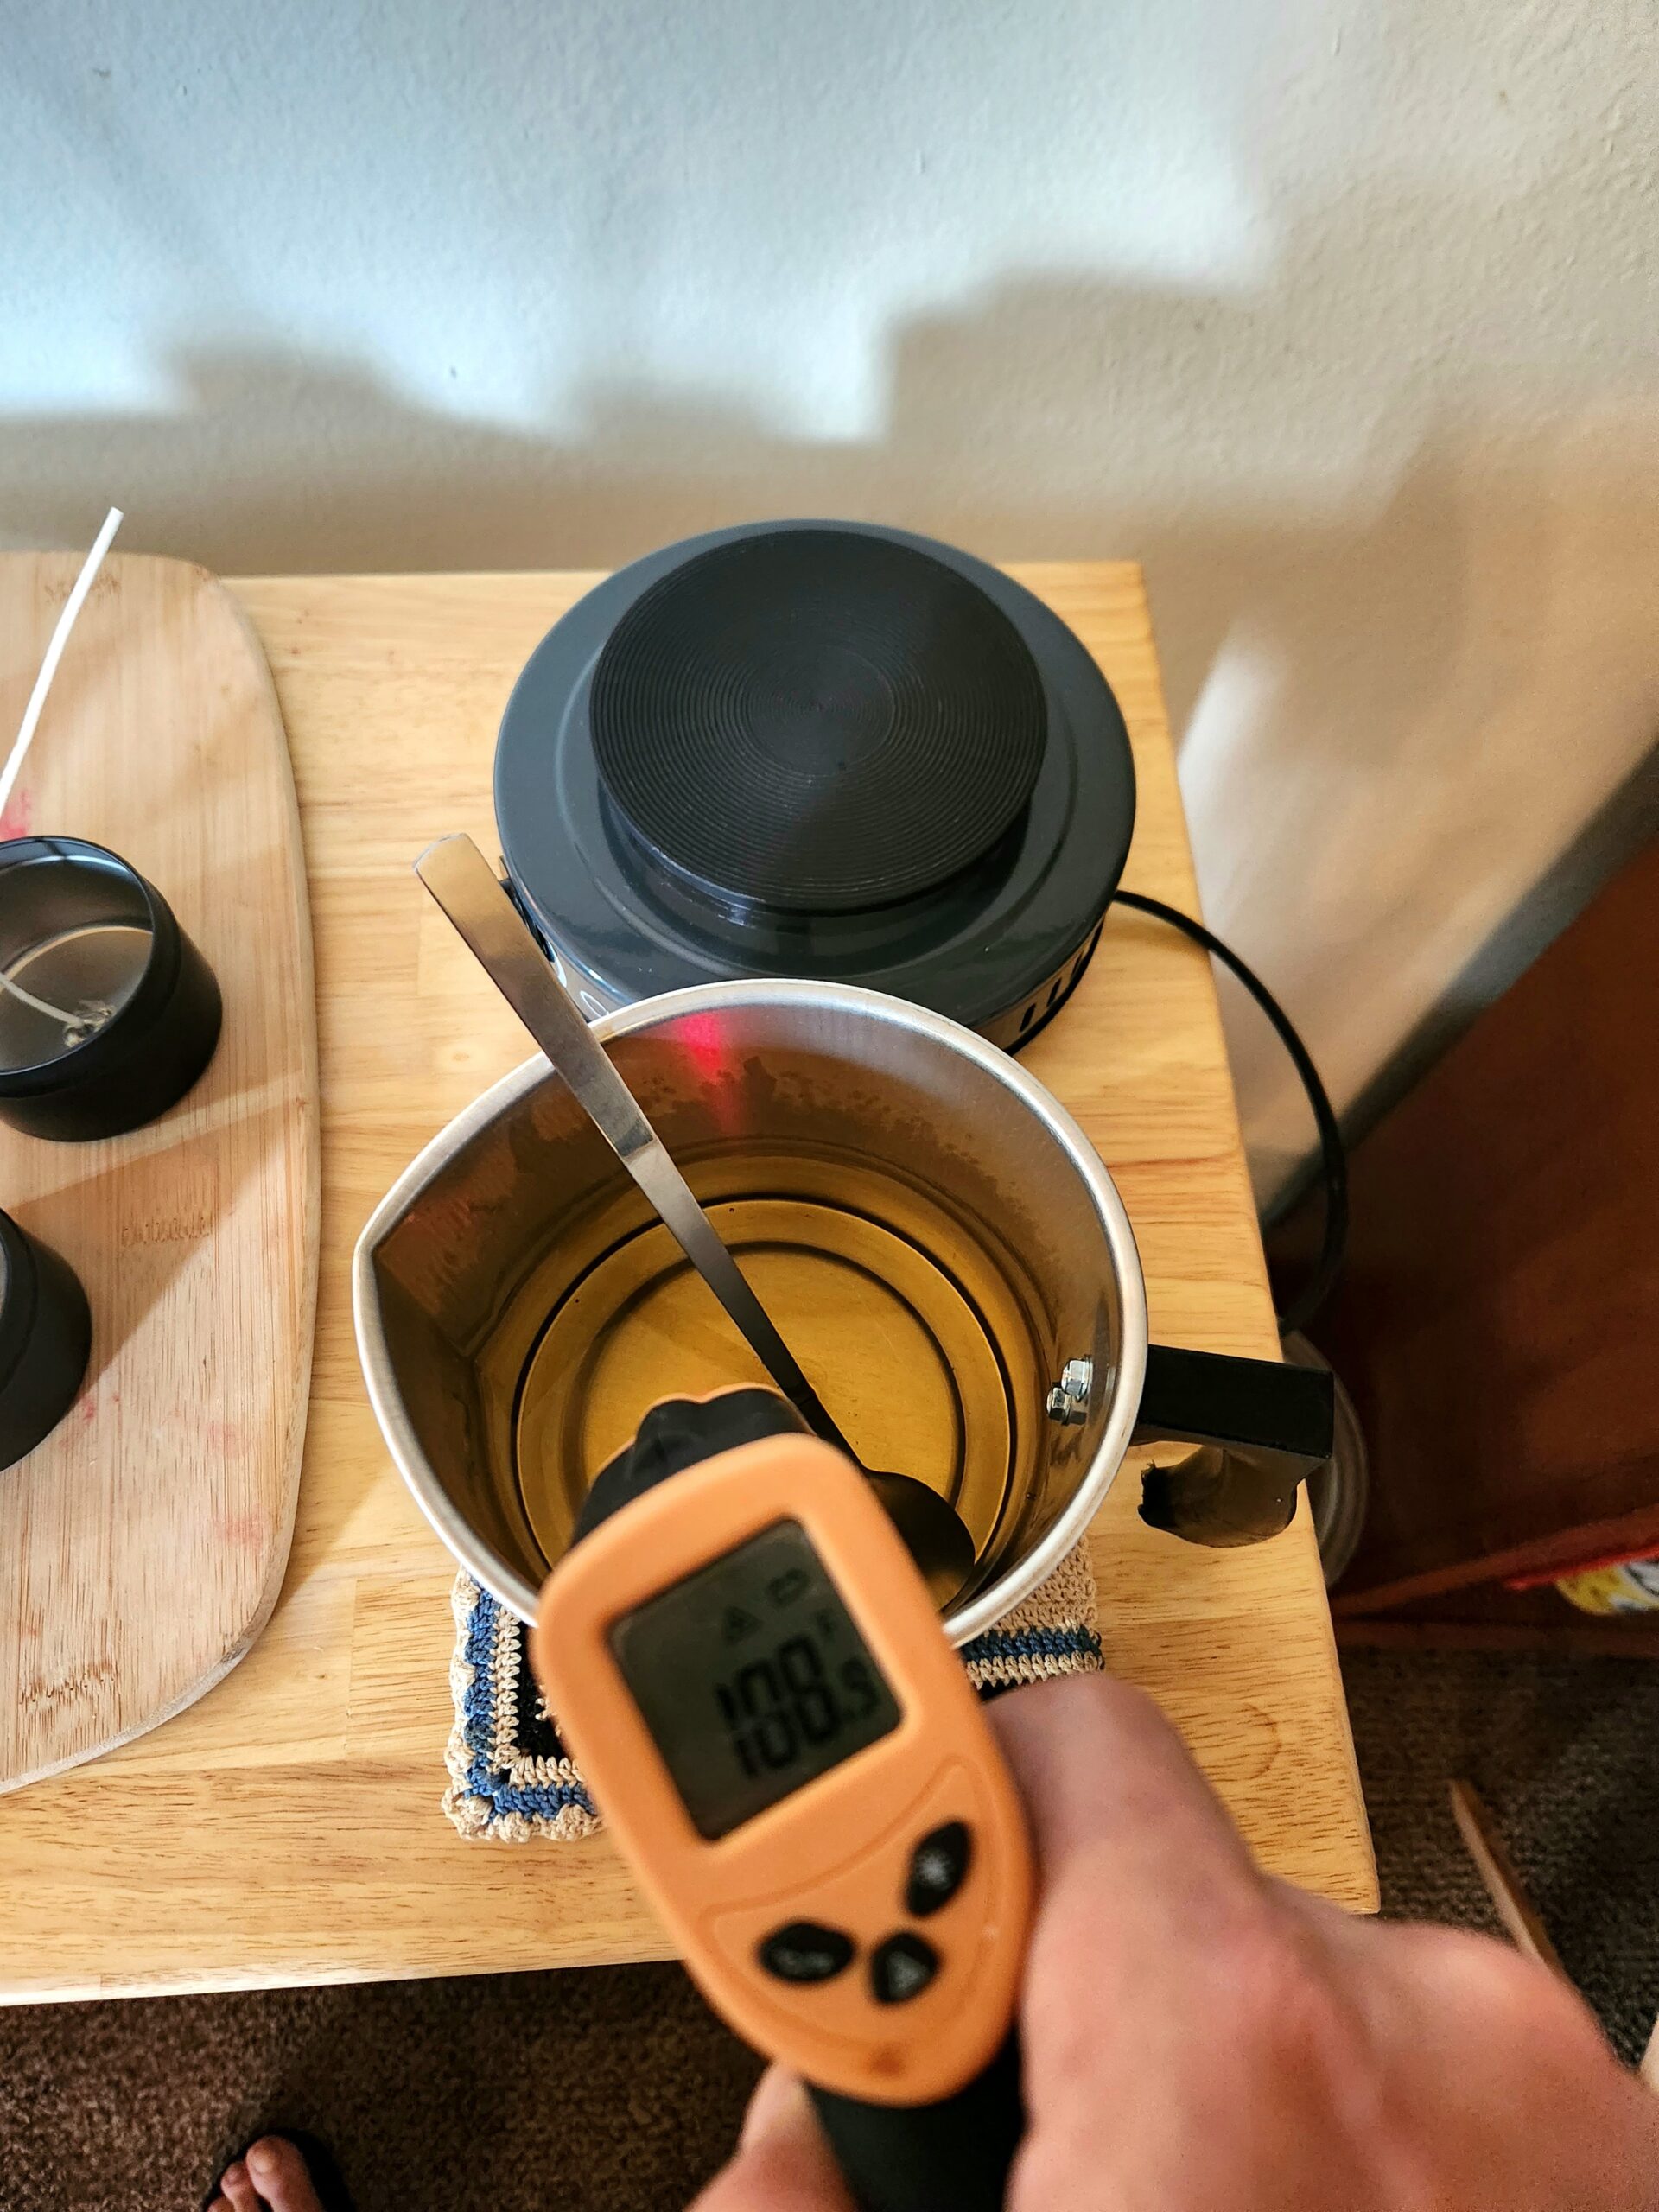
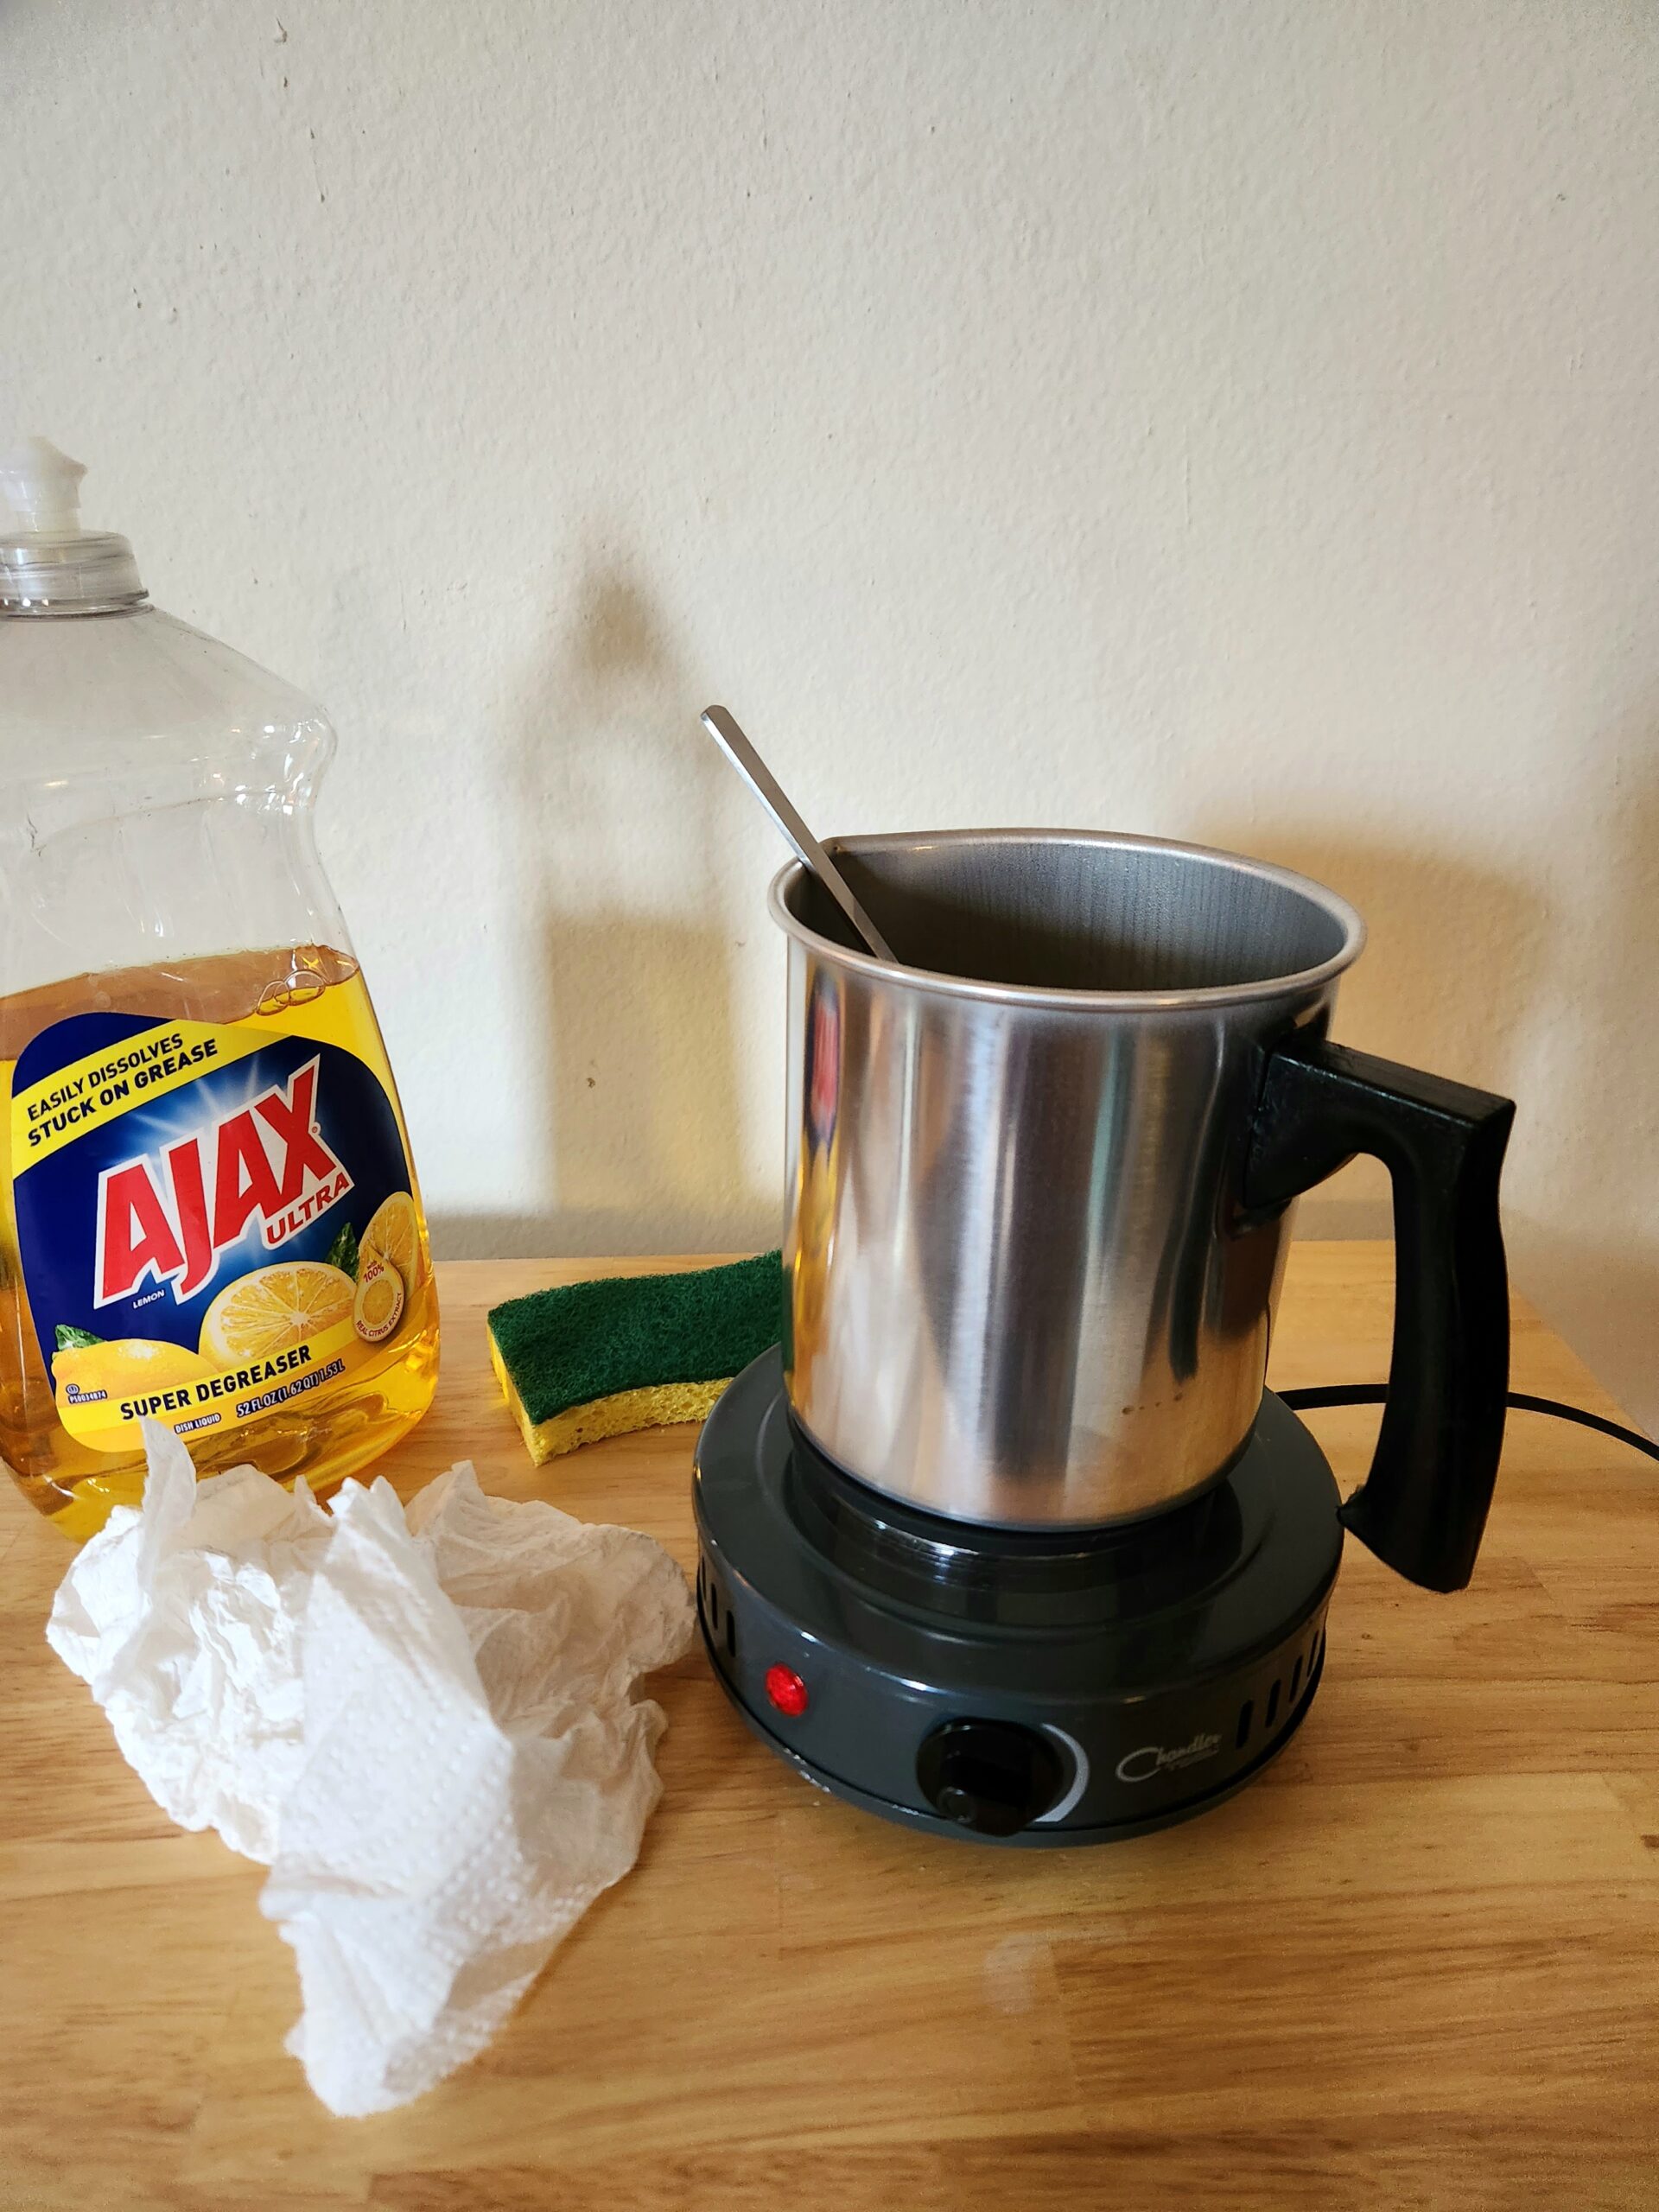
2. Plug in the electric hot plate, turn it on, and place the pouring pot on the plate. Pour the soy wax into the pot. The plate gets very hot. Be careful. The wax should be completely melted in 15 to 20 minutes.
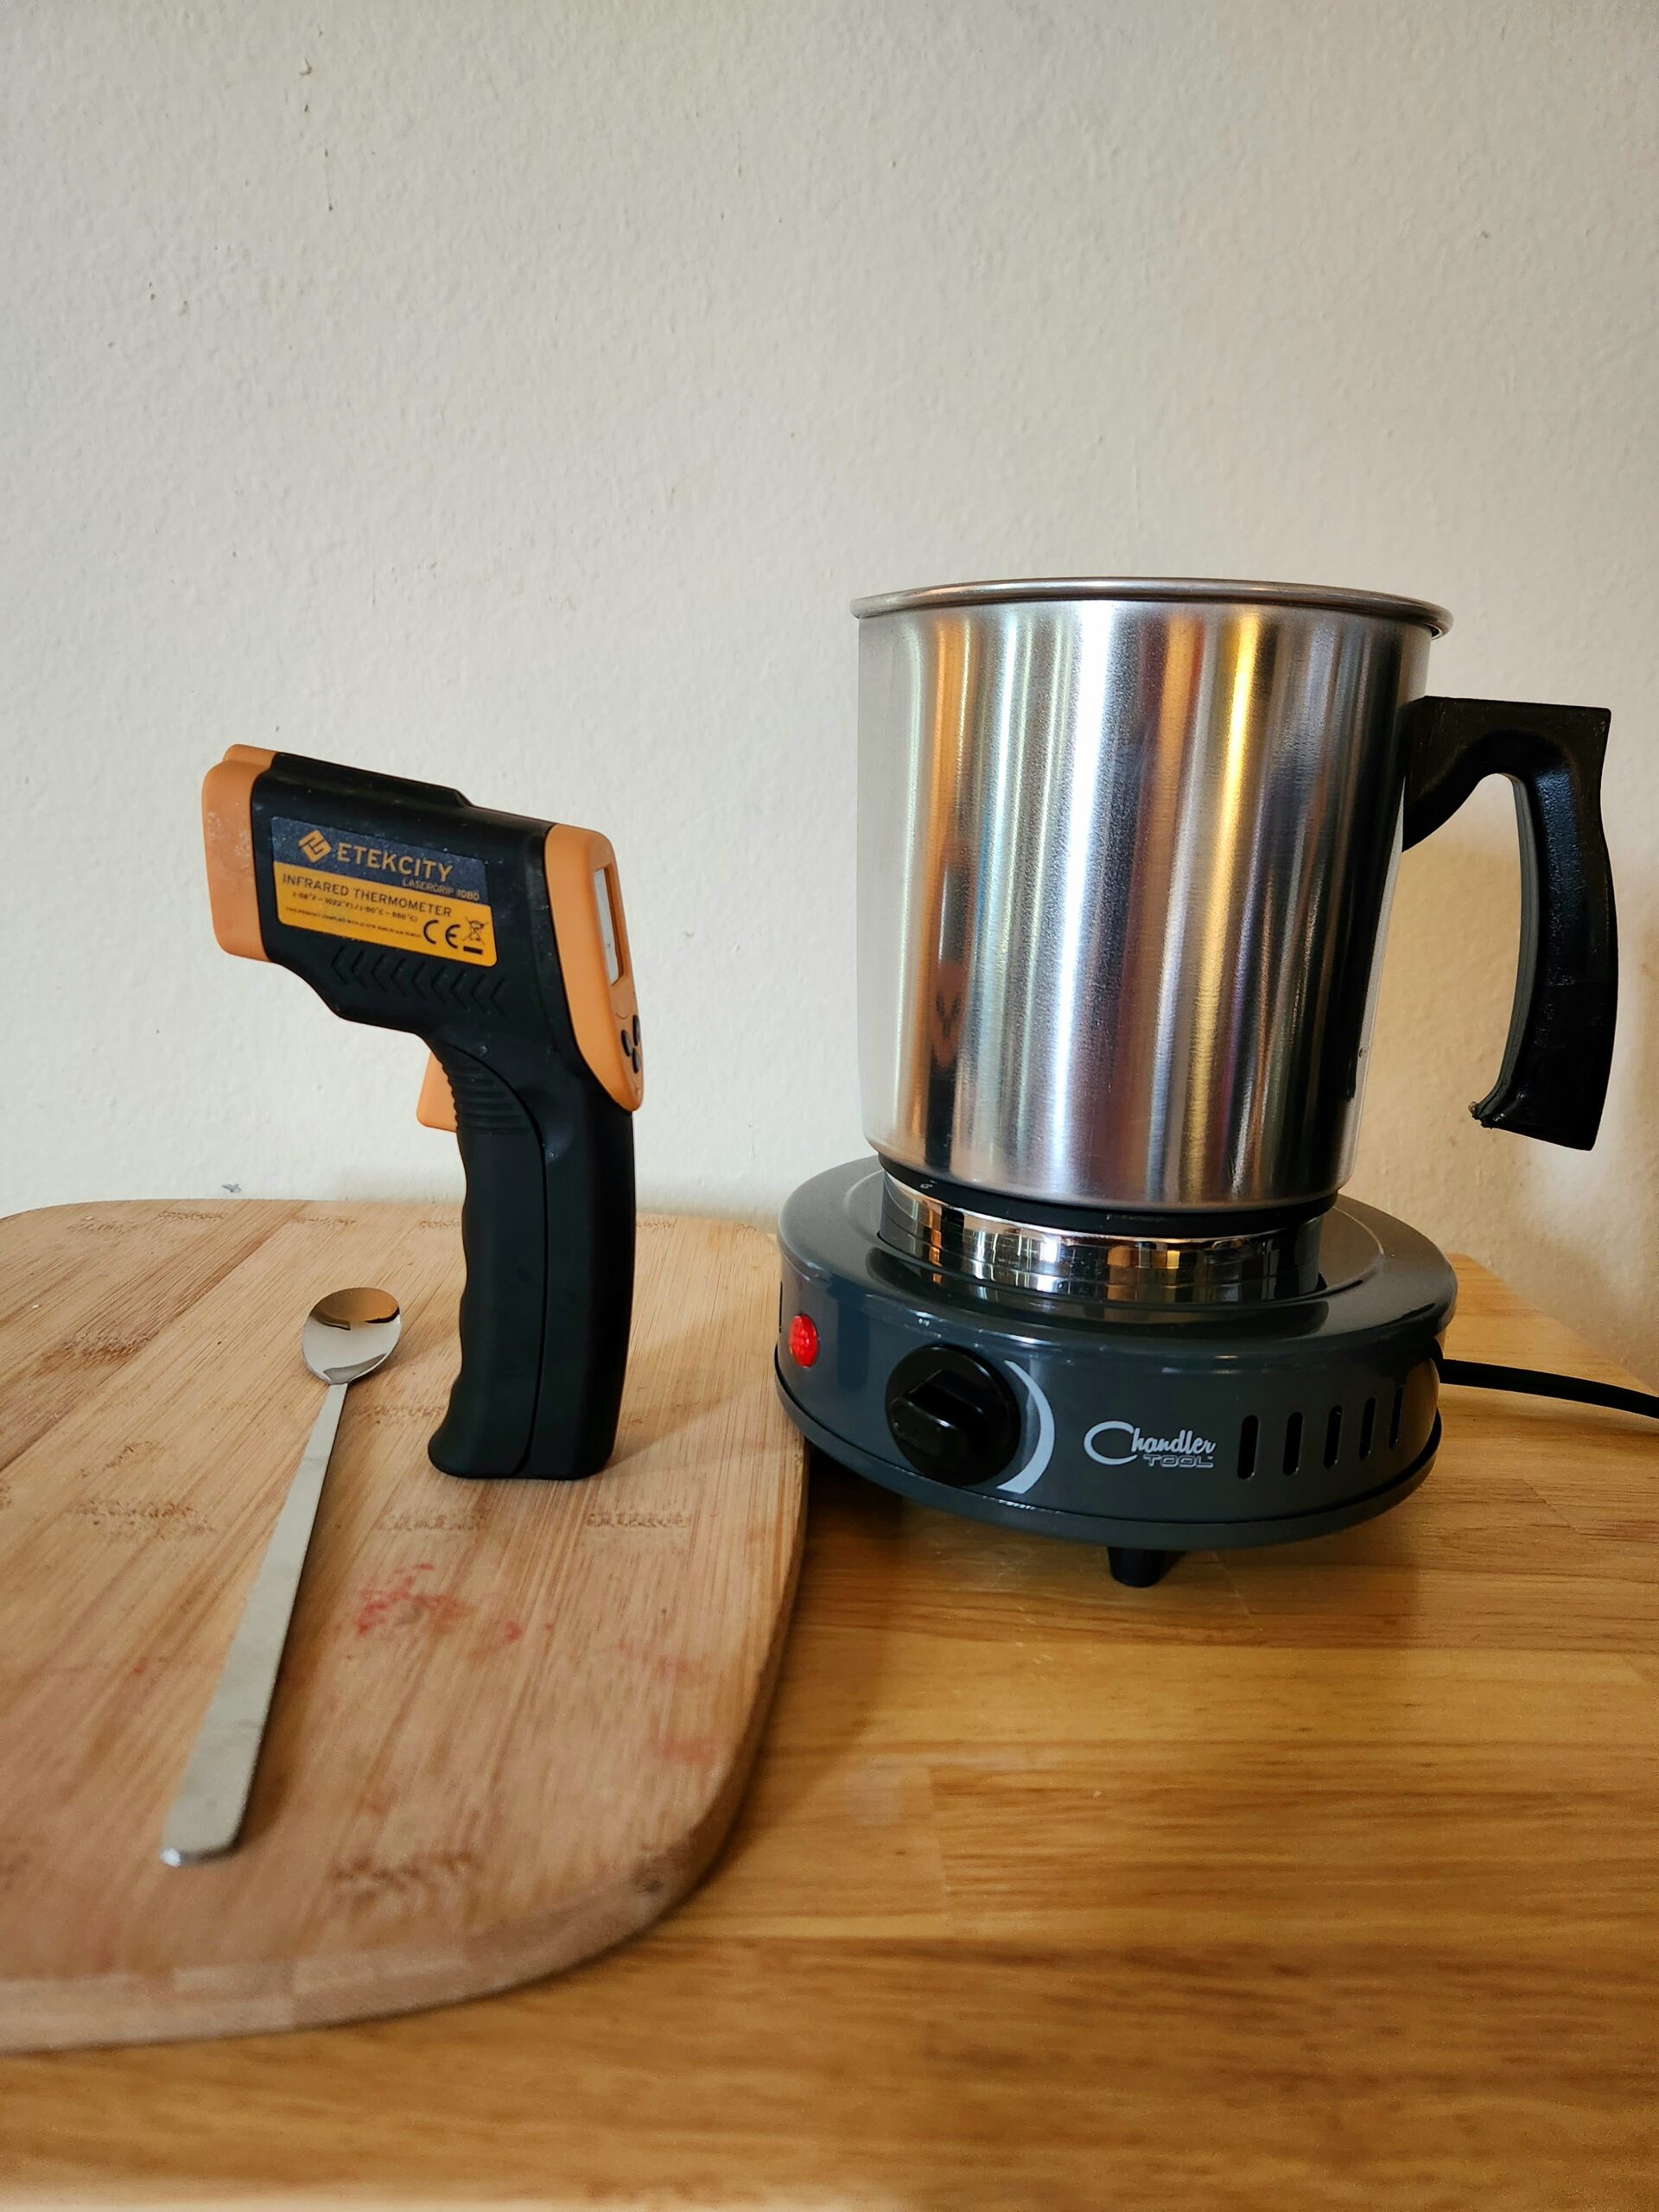
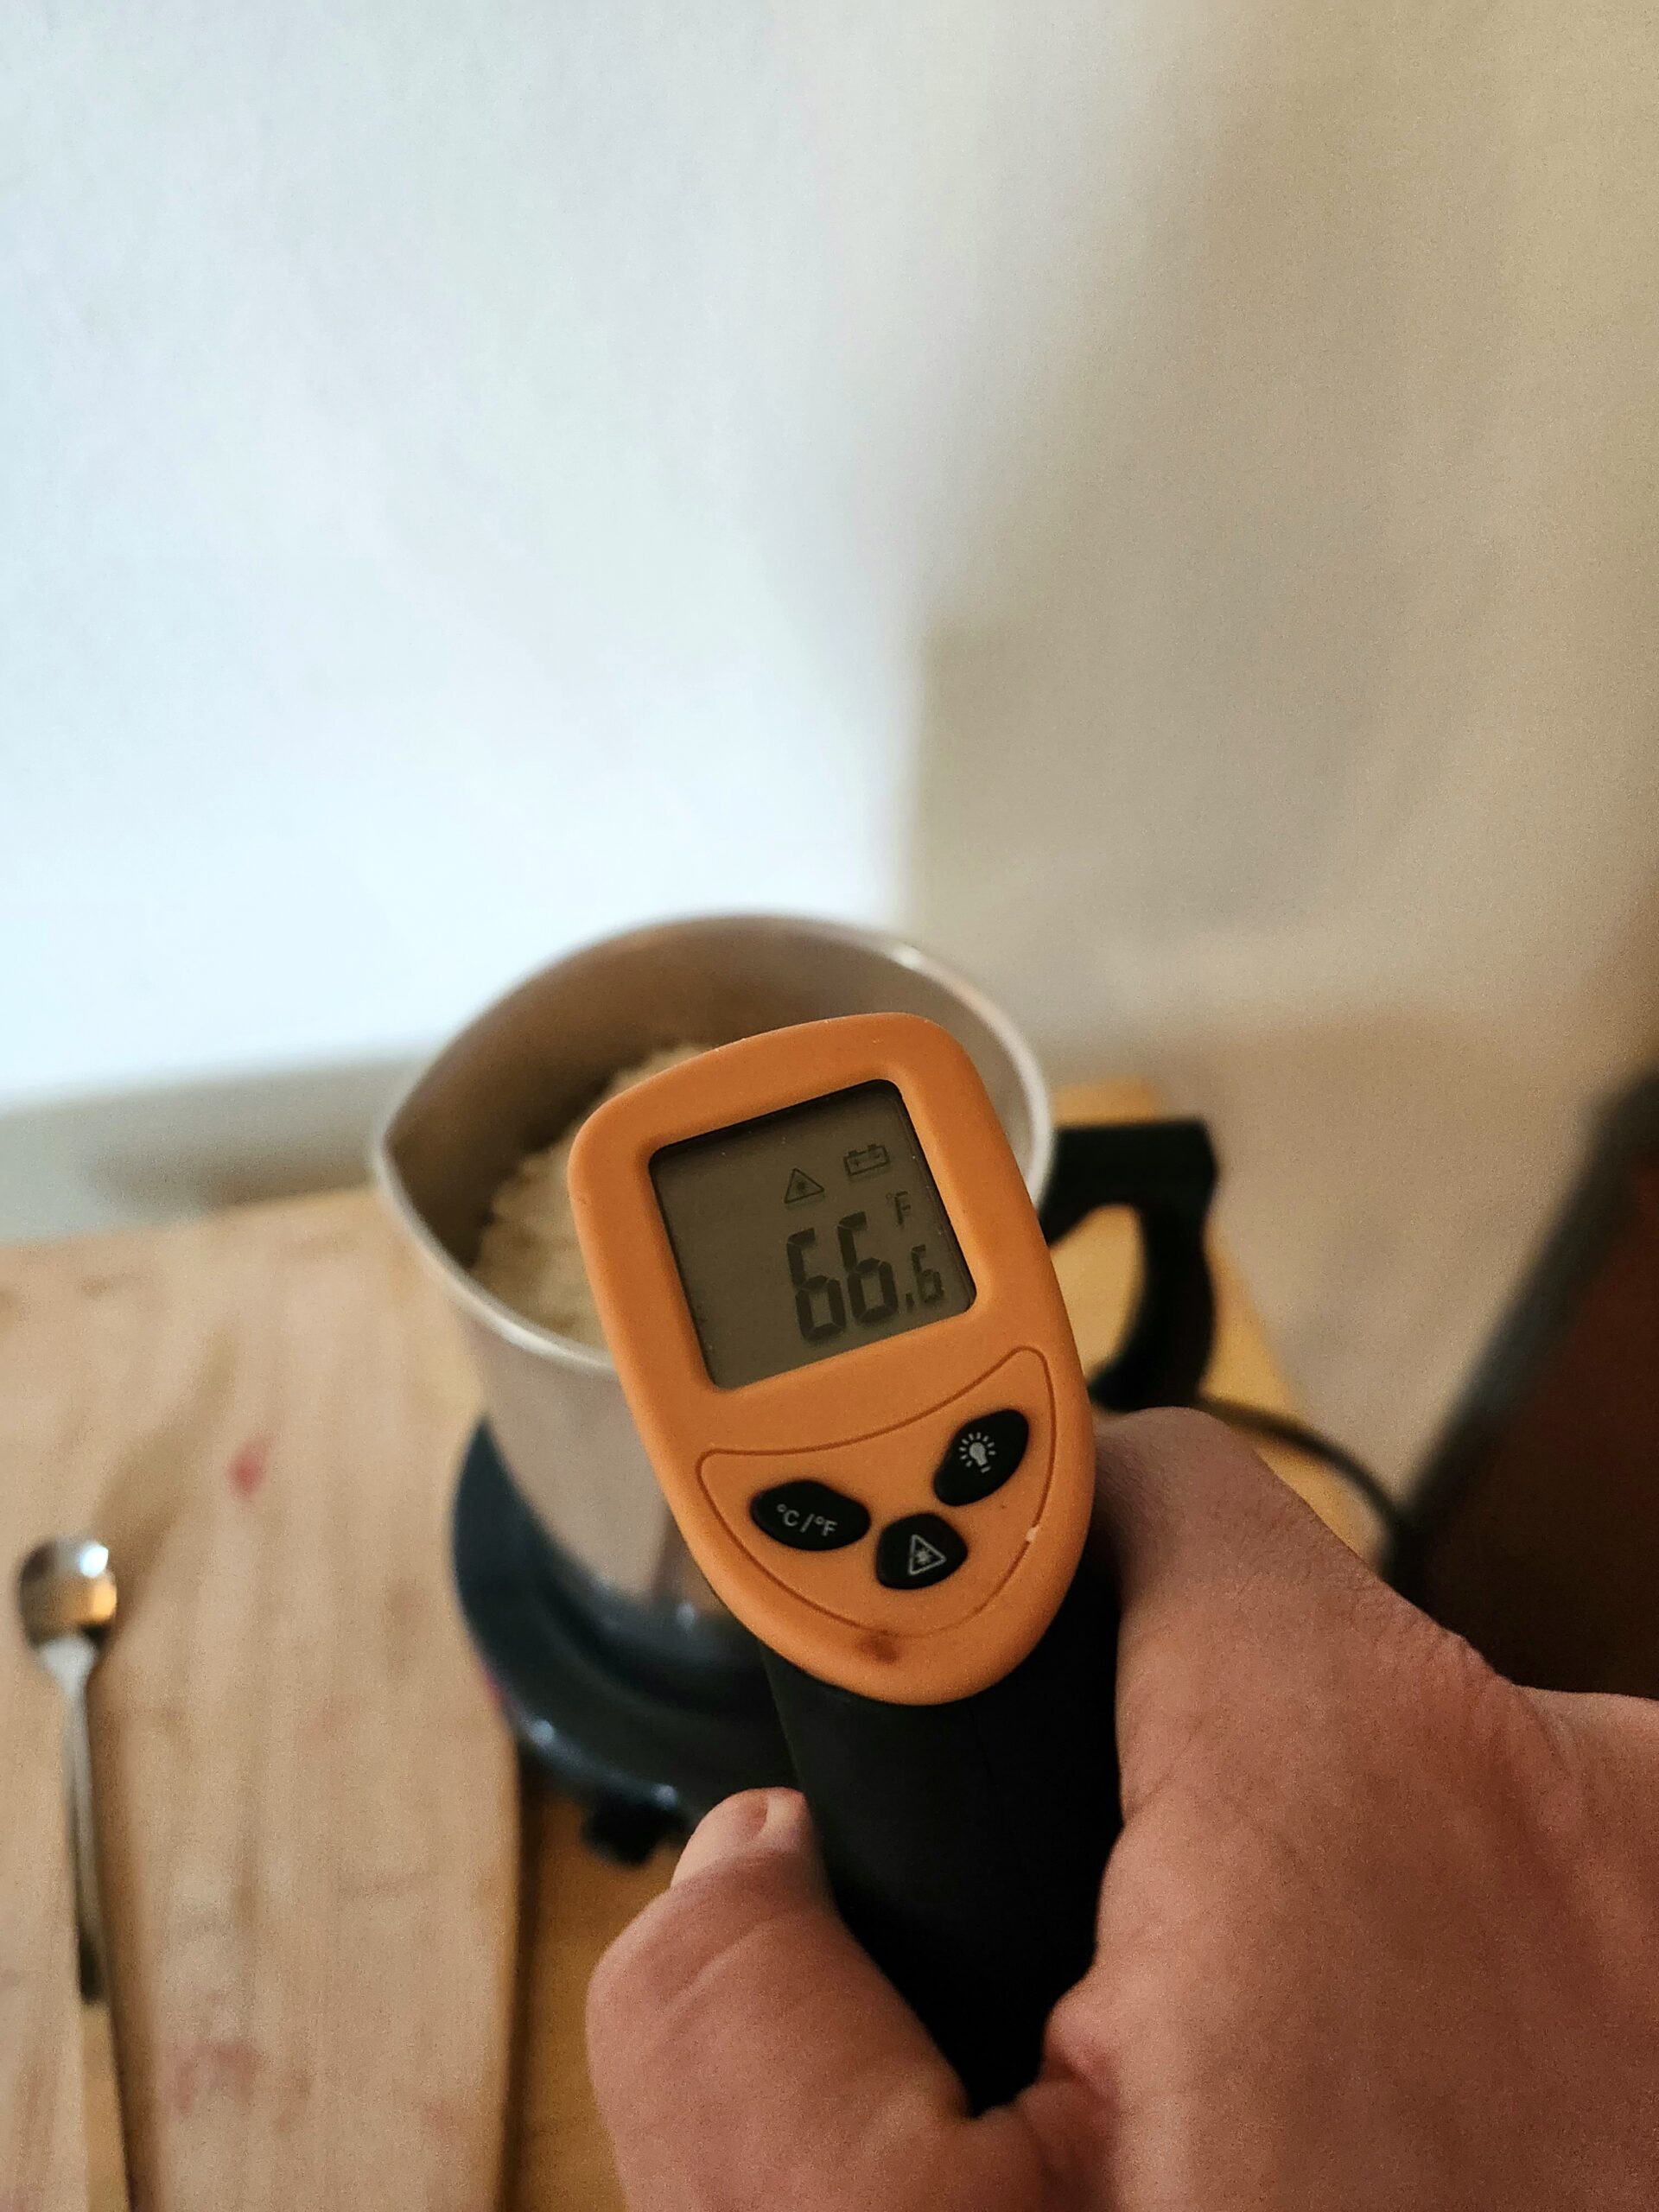
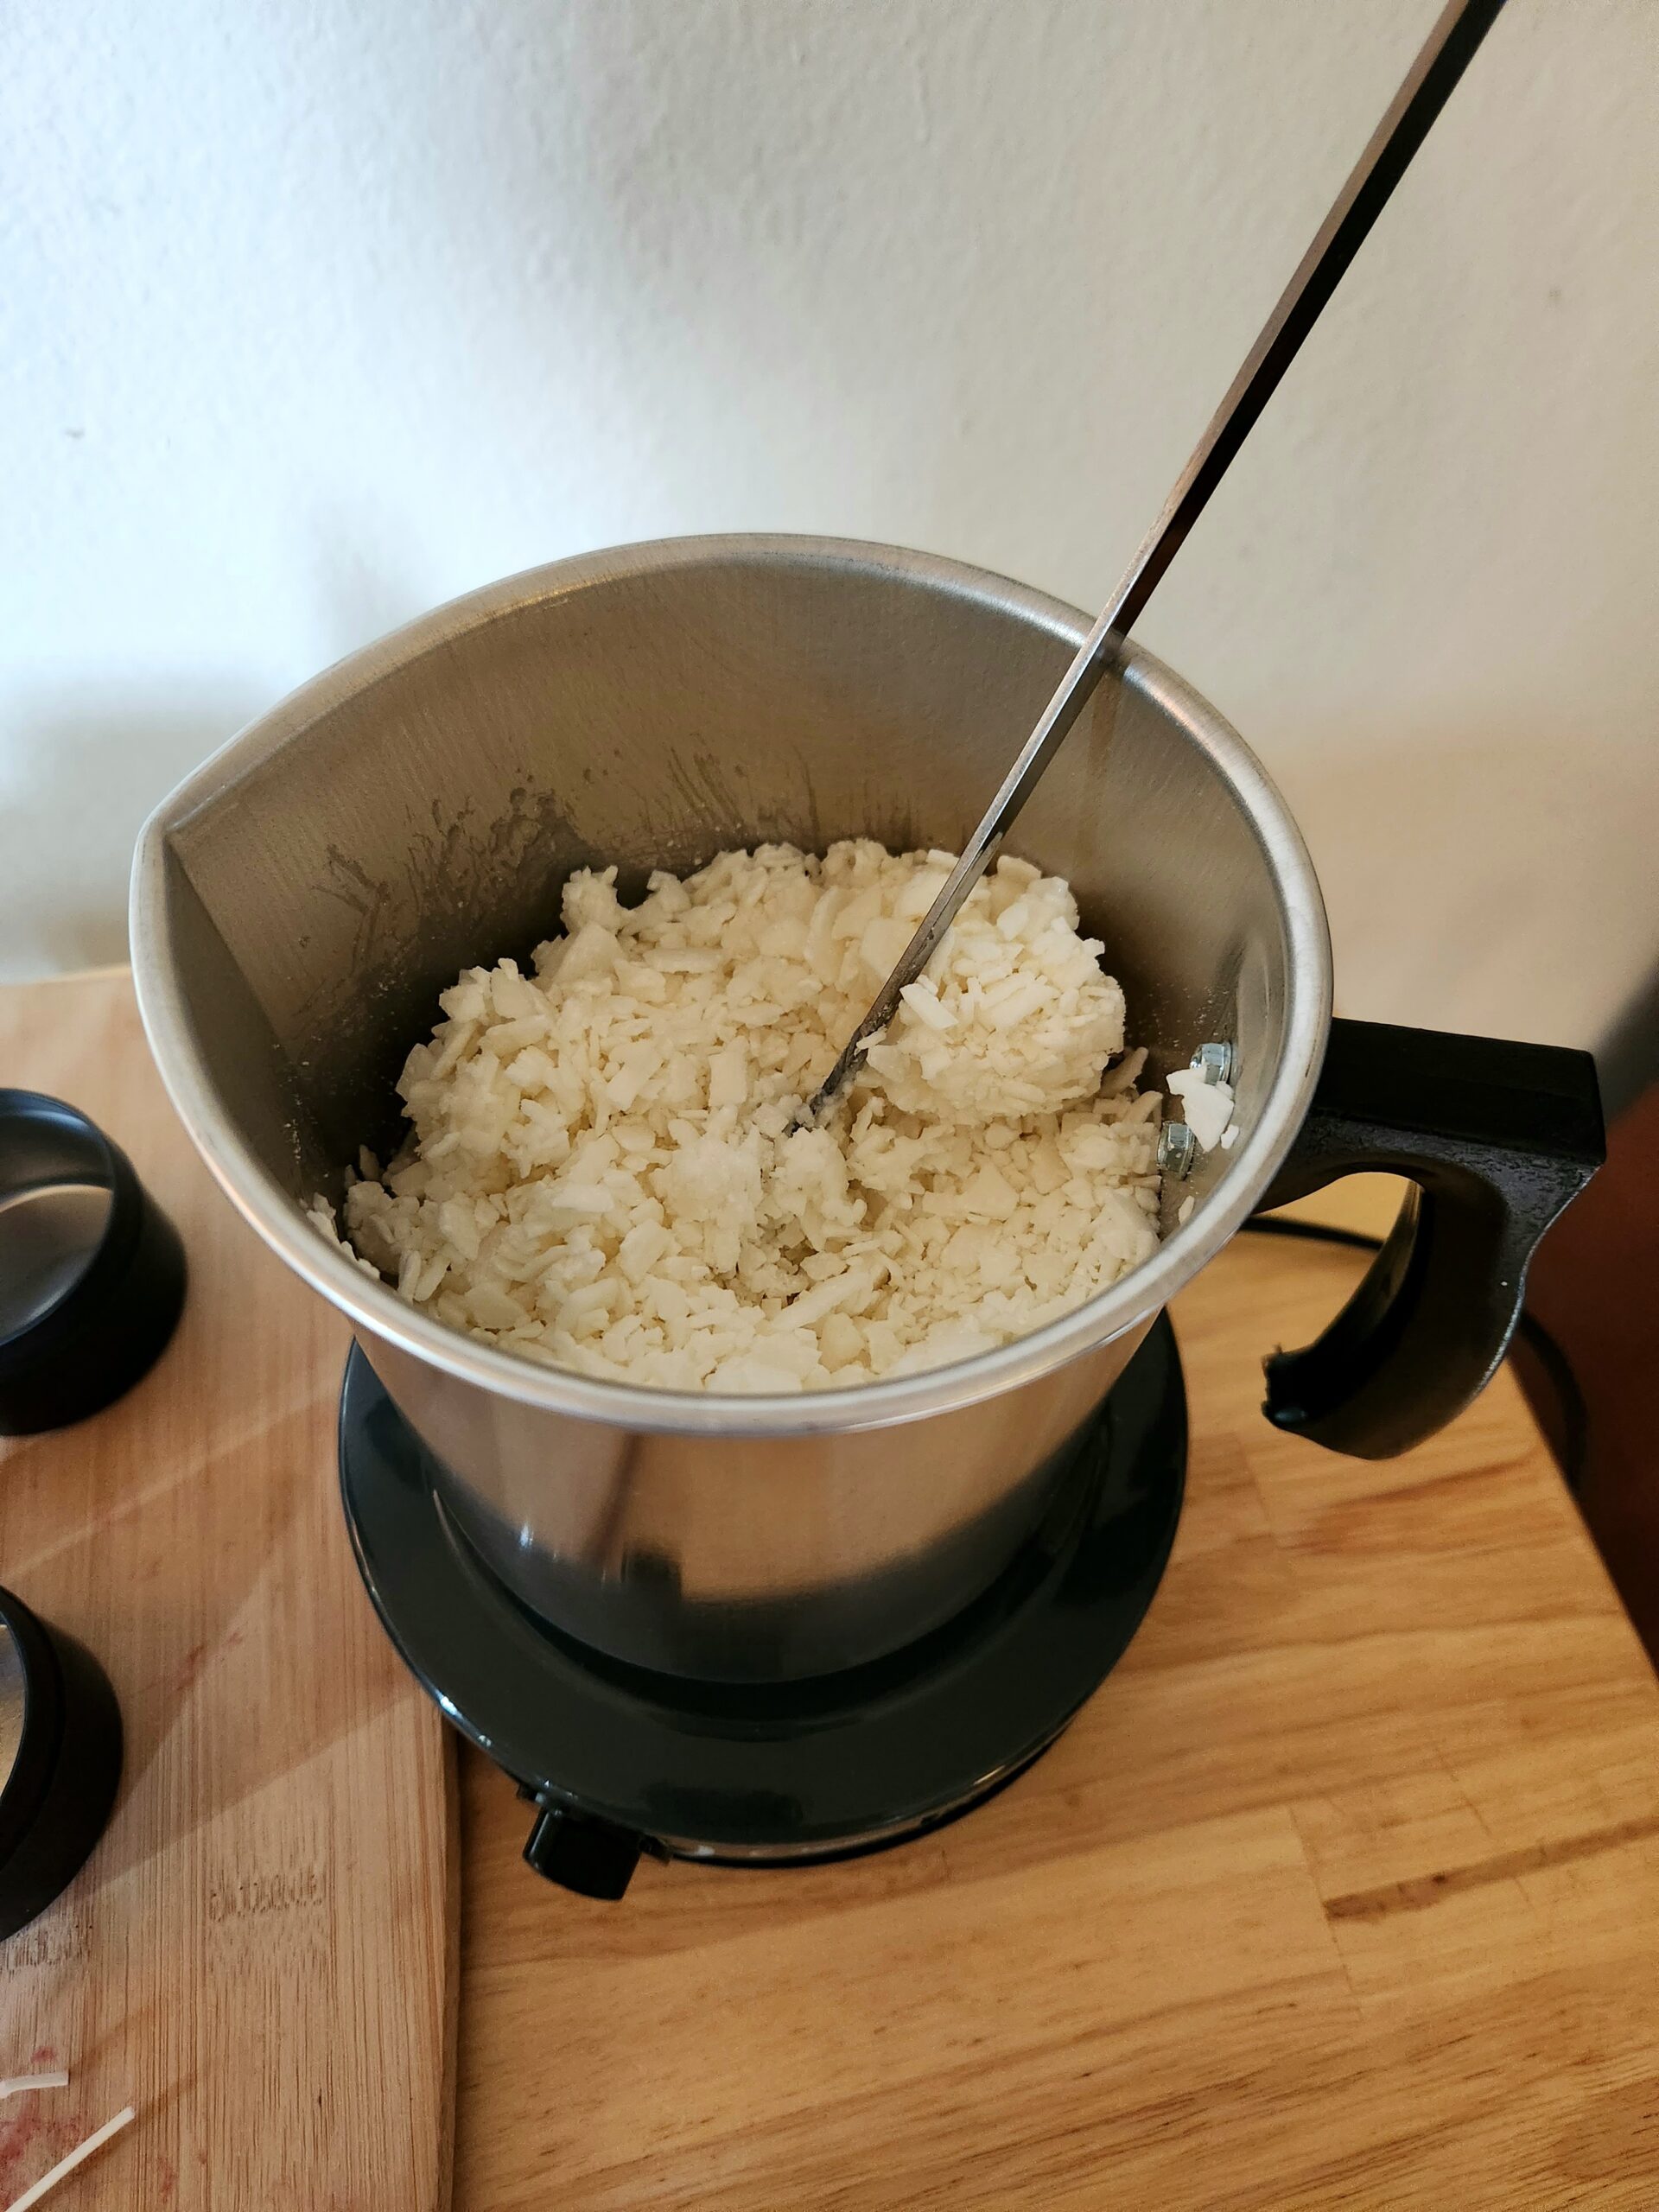
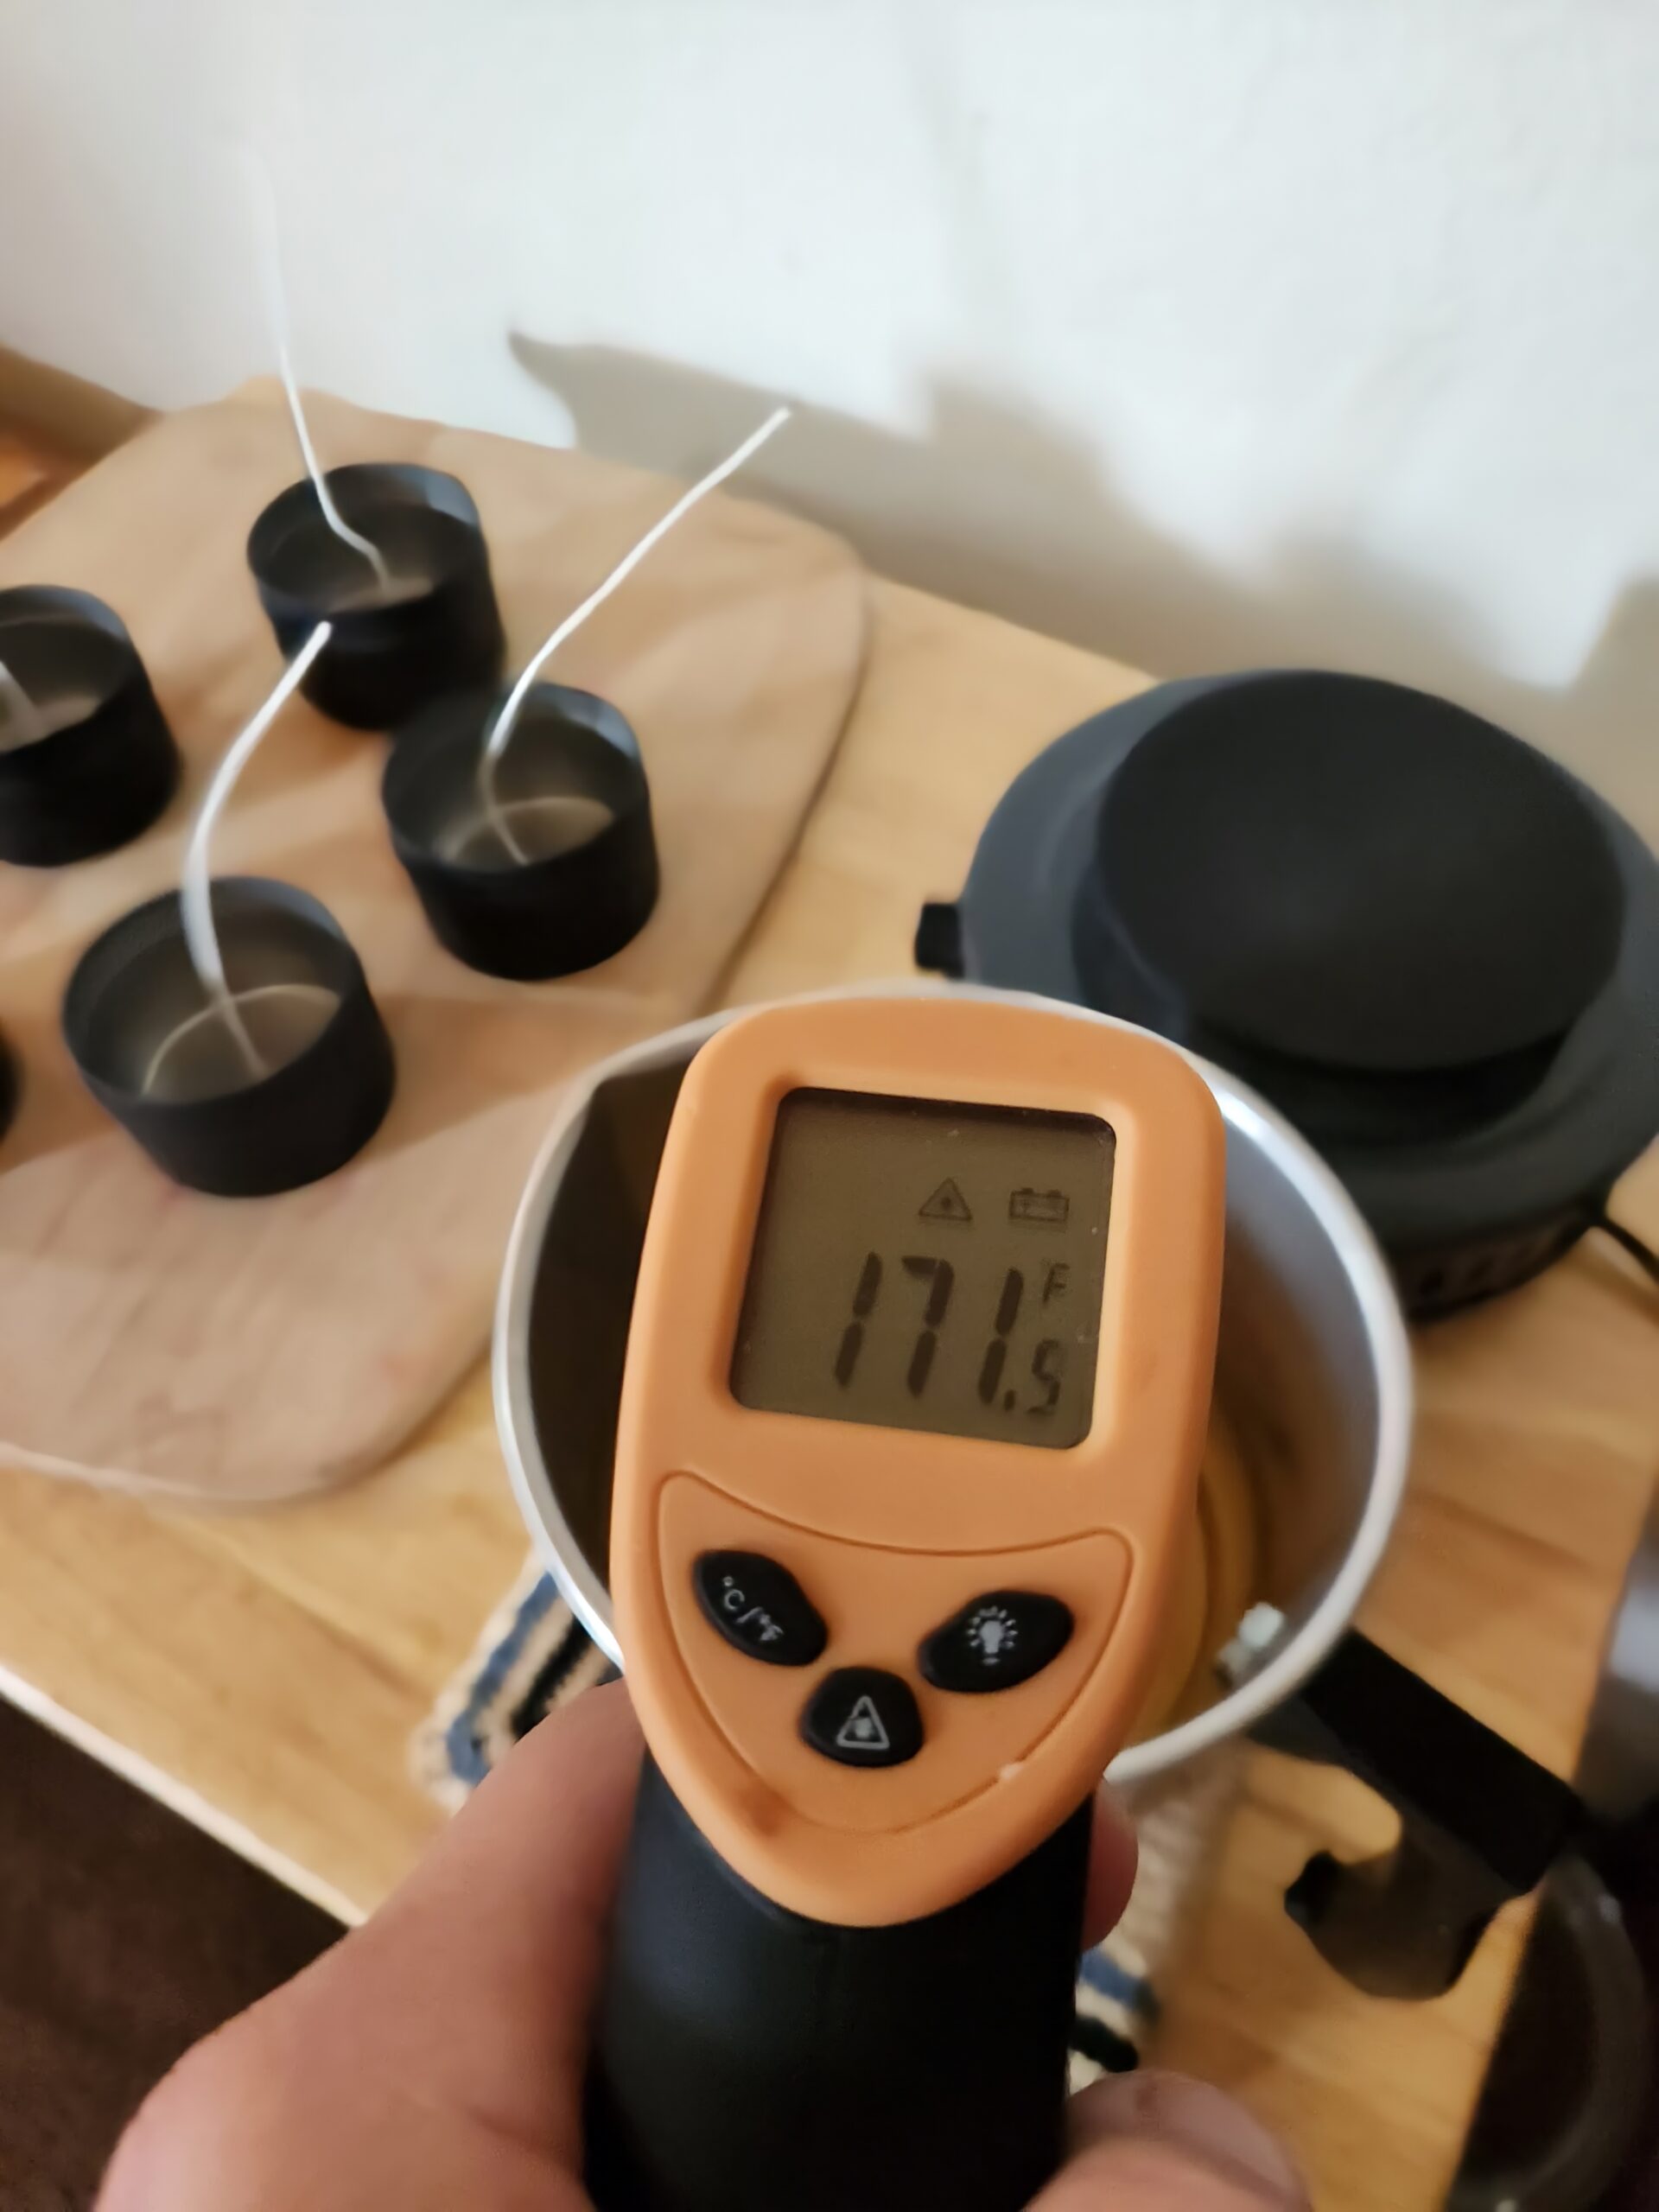
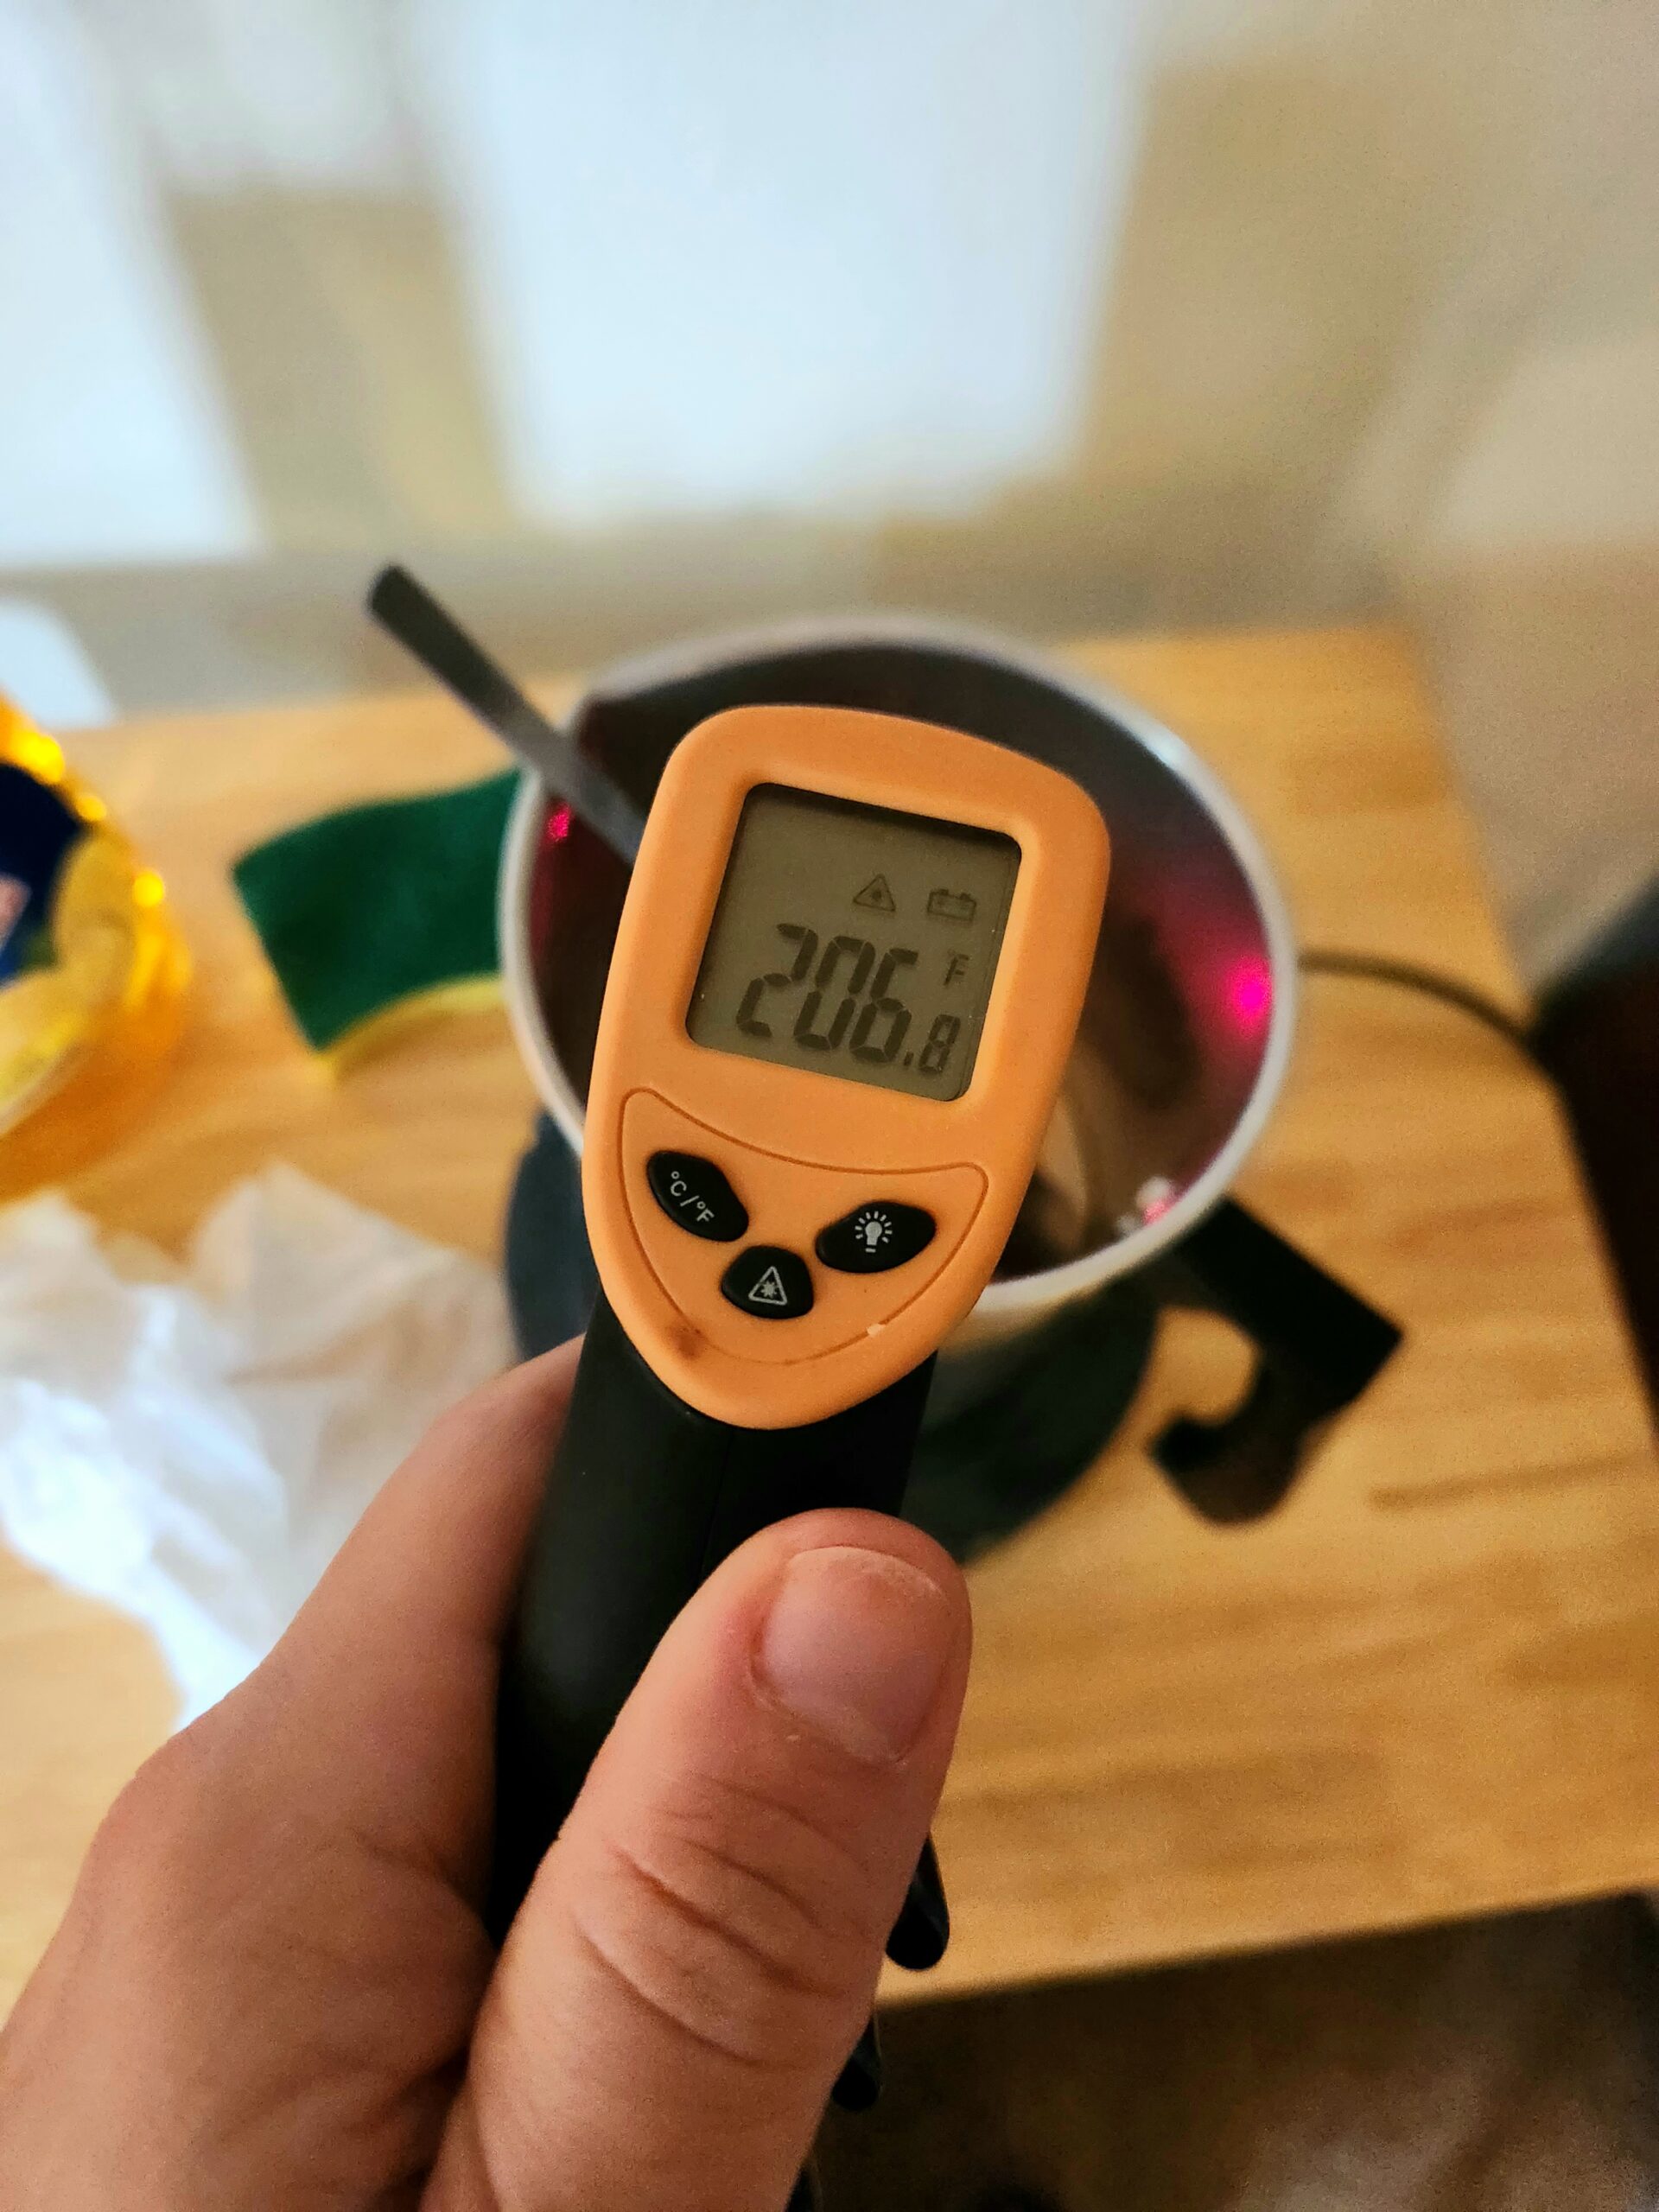
3. When the melted wax is between 185 to 190 deg F, remove the pouring pot from the electric hot plate and place it on a hot pad. Turn off and unplug the electric hot plate. Add all the fragrance oils to the wax in the pouring pot and stir thoroughly with the metal spoon.
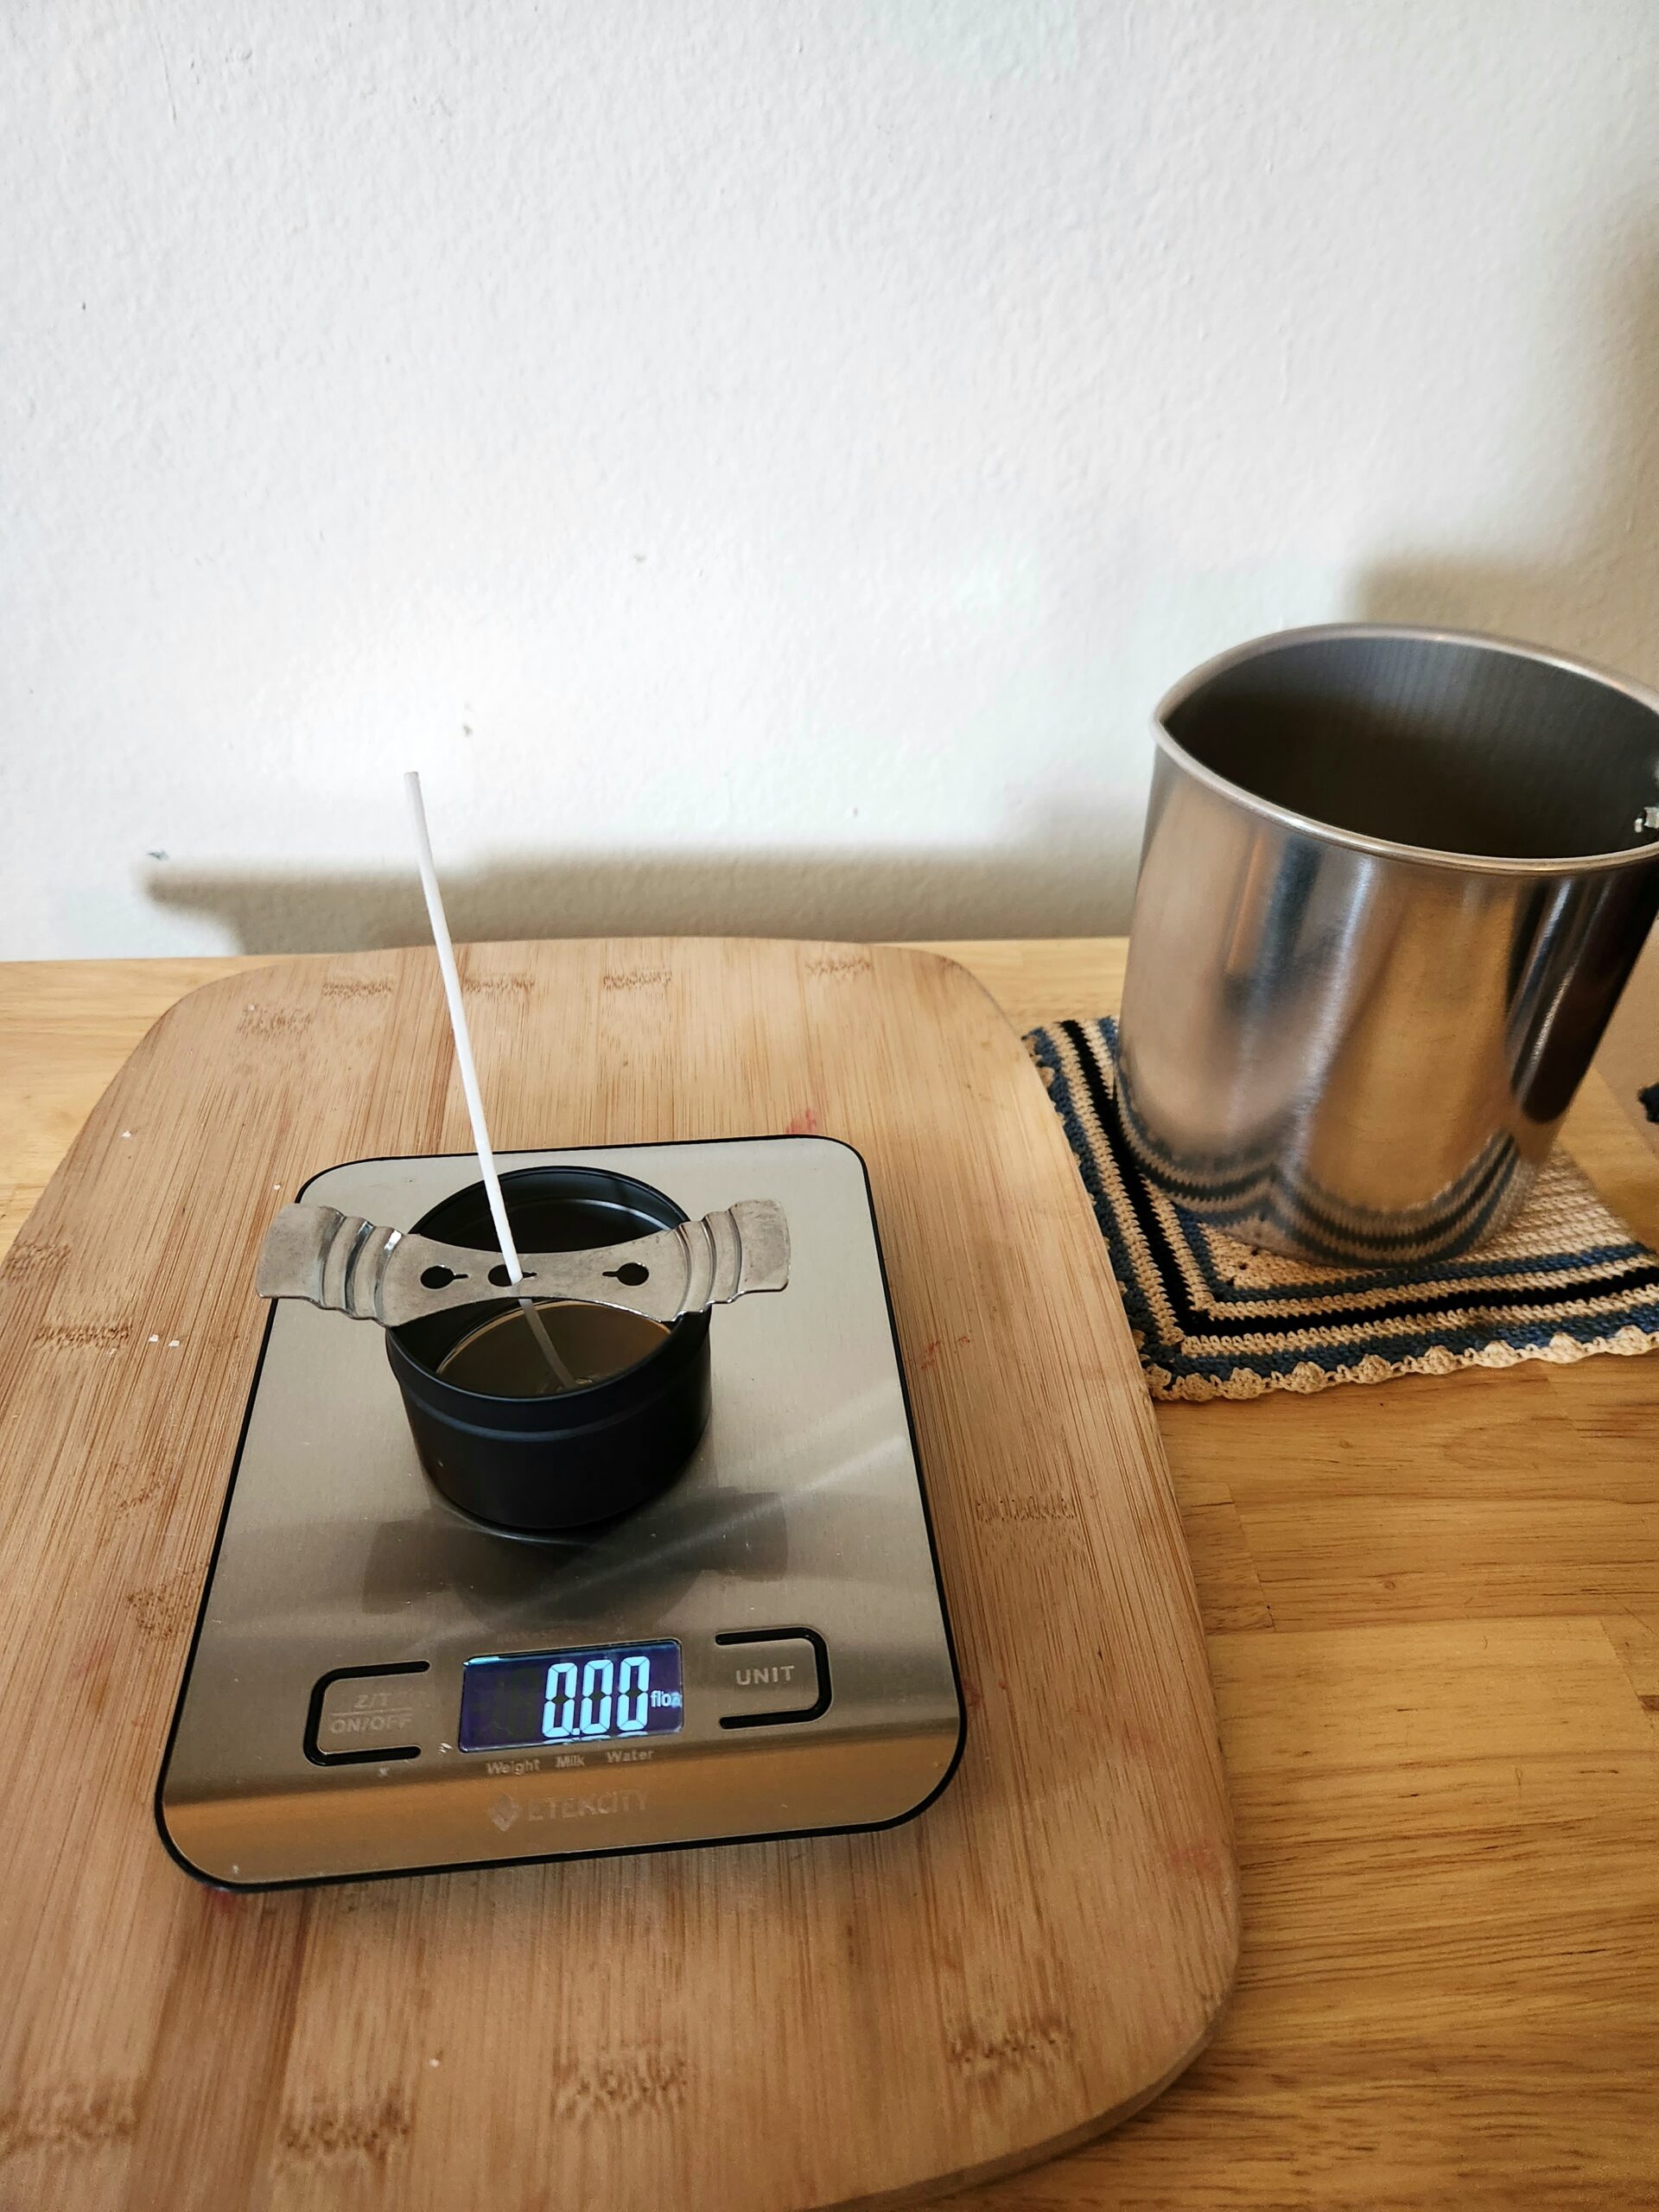
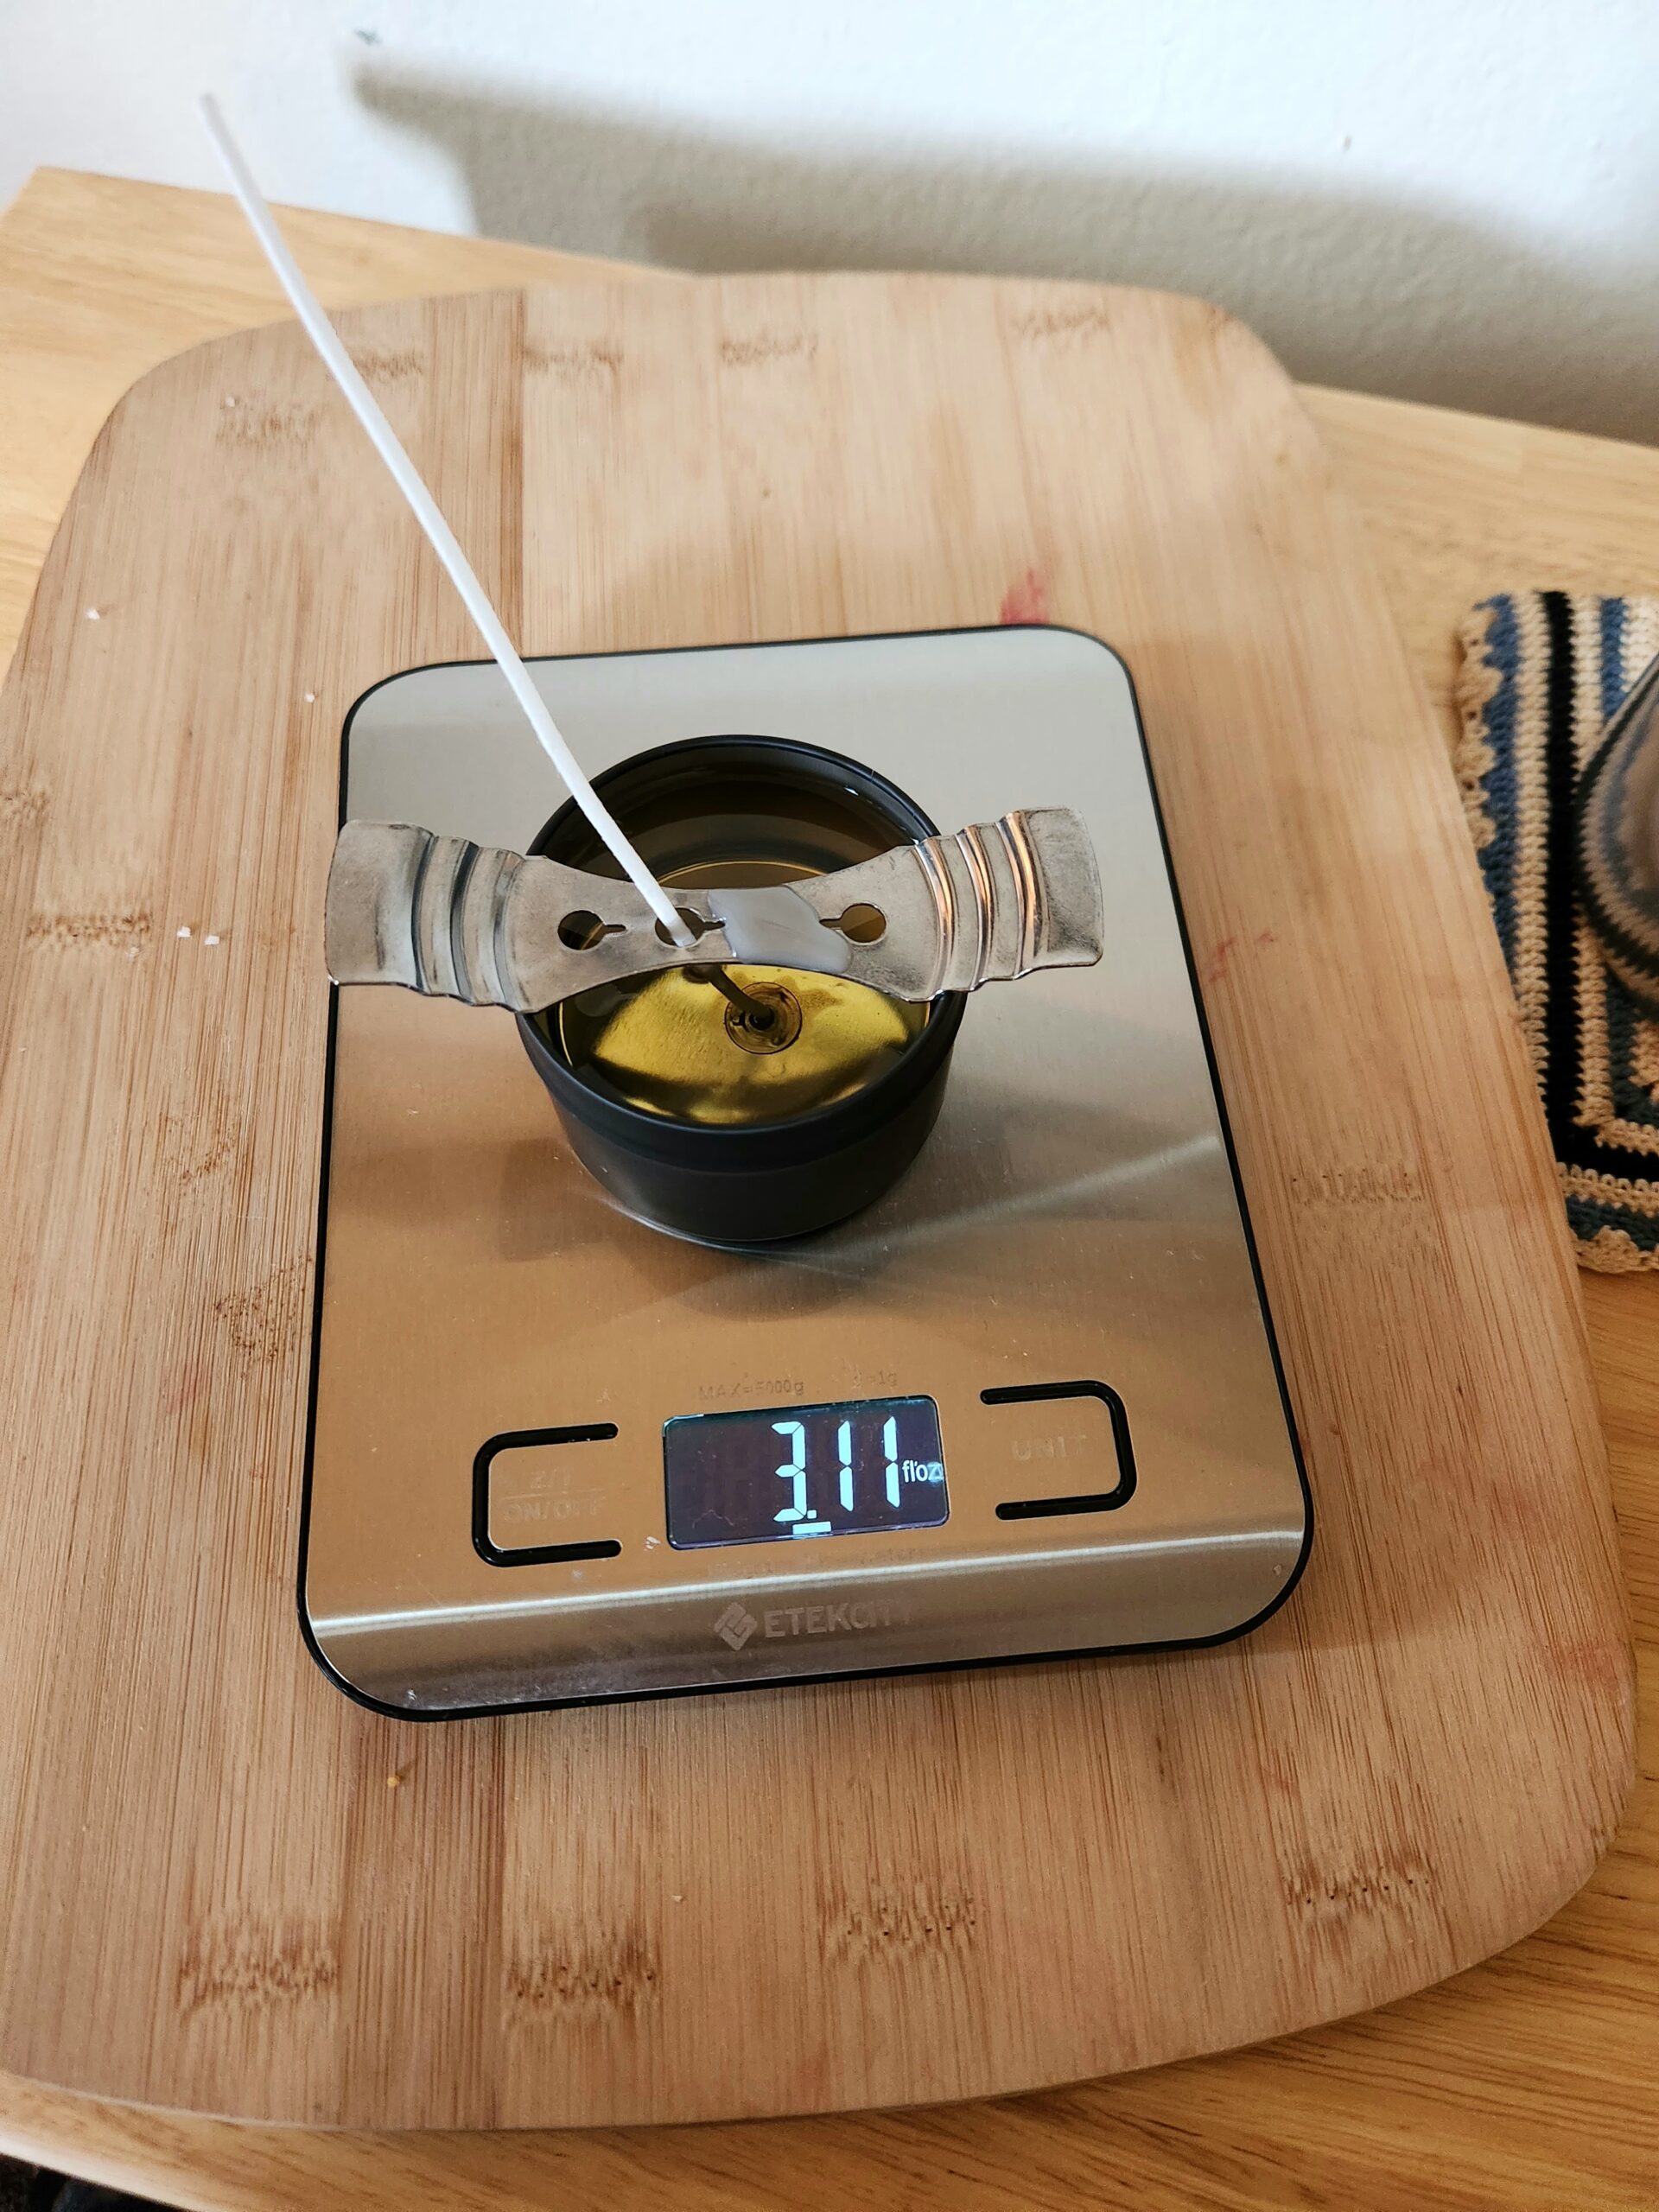
4. Pour the wax when the temperature falls below 185 deg F. Place the stainless steel centering device over the wick and tin. Place on the digital scale and tare the weight. Slowly pour 3.1 oz of the wax mixture into the tin. Carefully move the tin with hot wax onto the cutting board. Remove the stainless steel centering device. Repeat this step with the remaining tins.
5. Use the clothespins to secure the wicks as the wax sets.
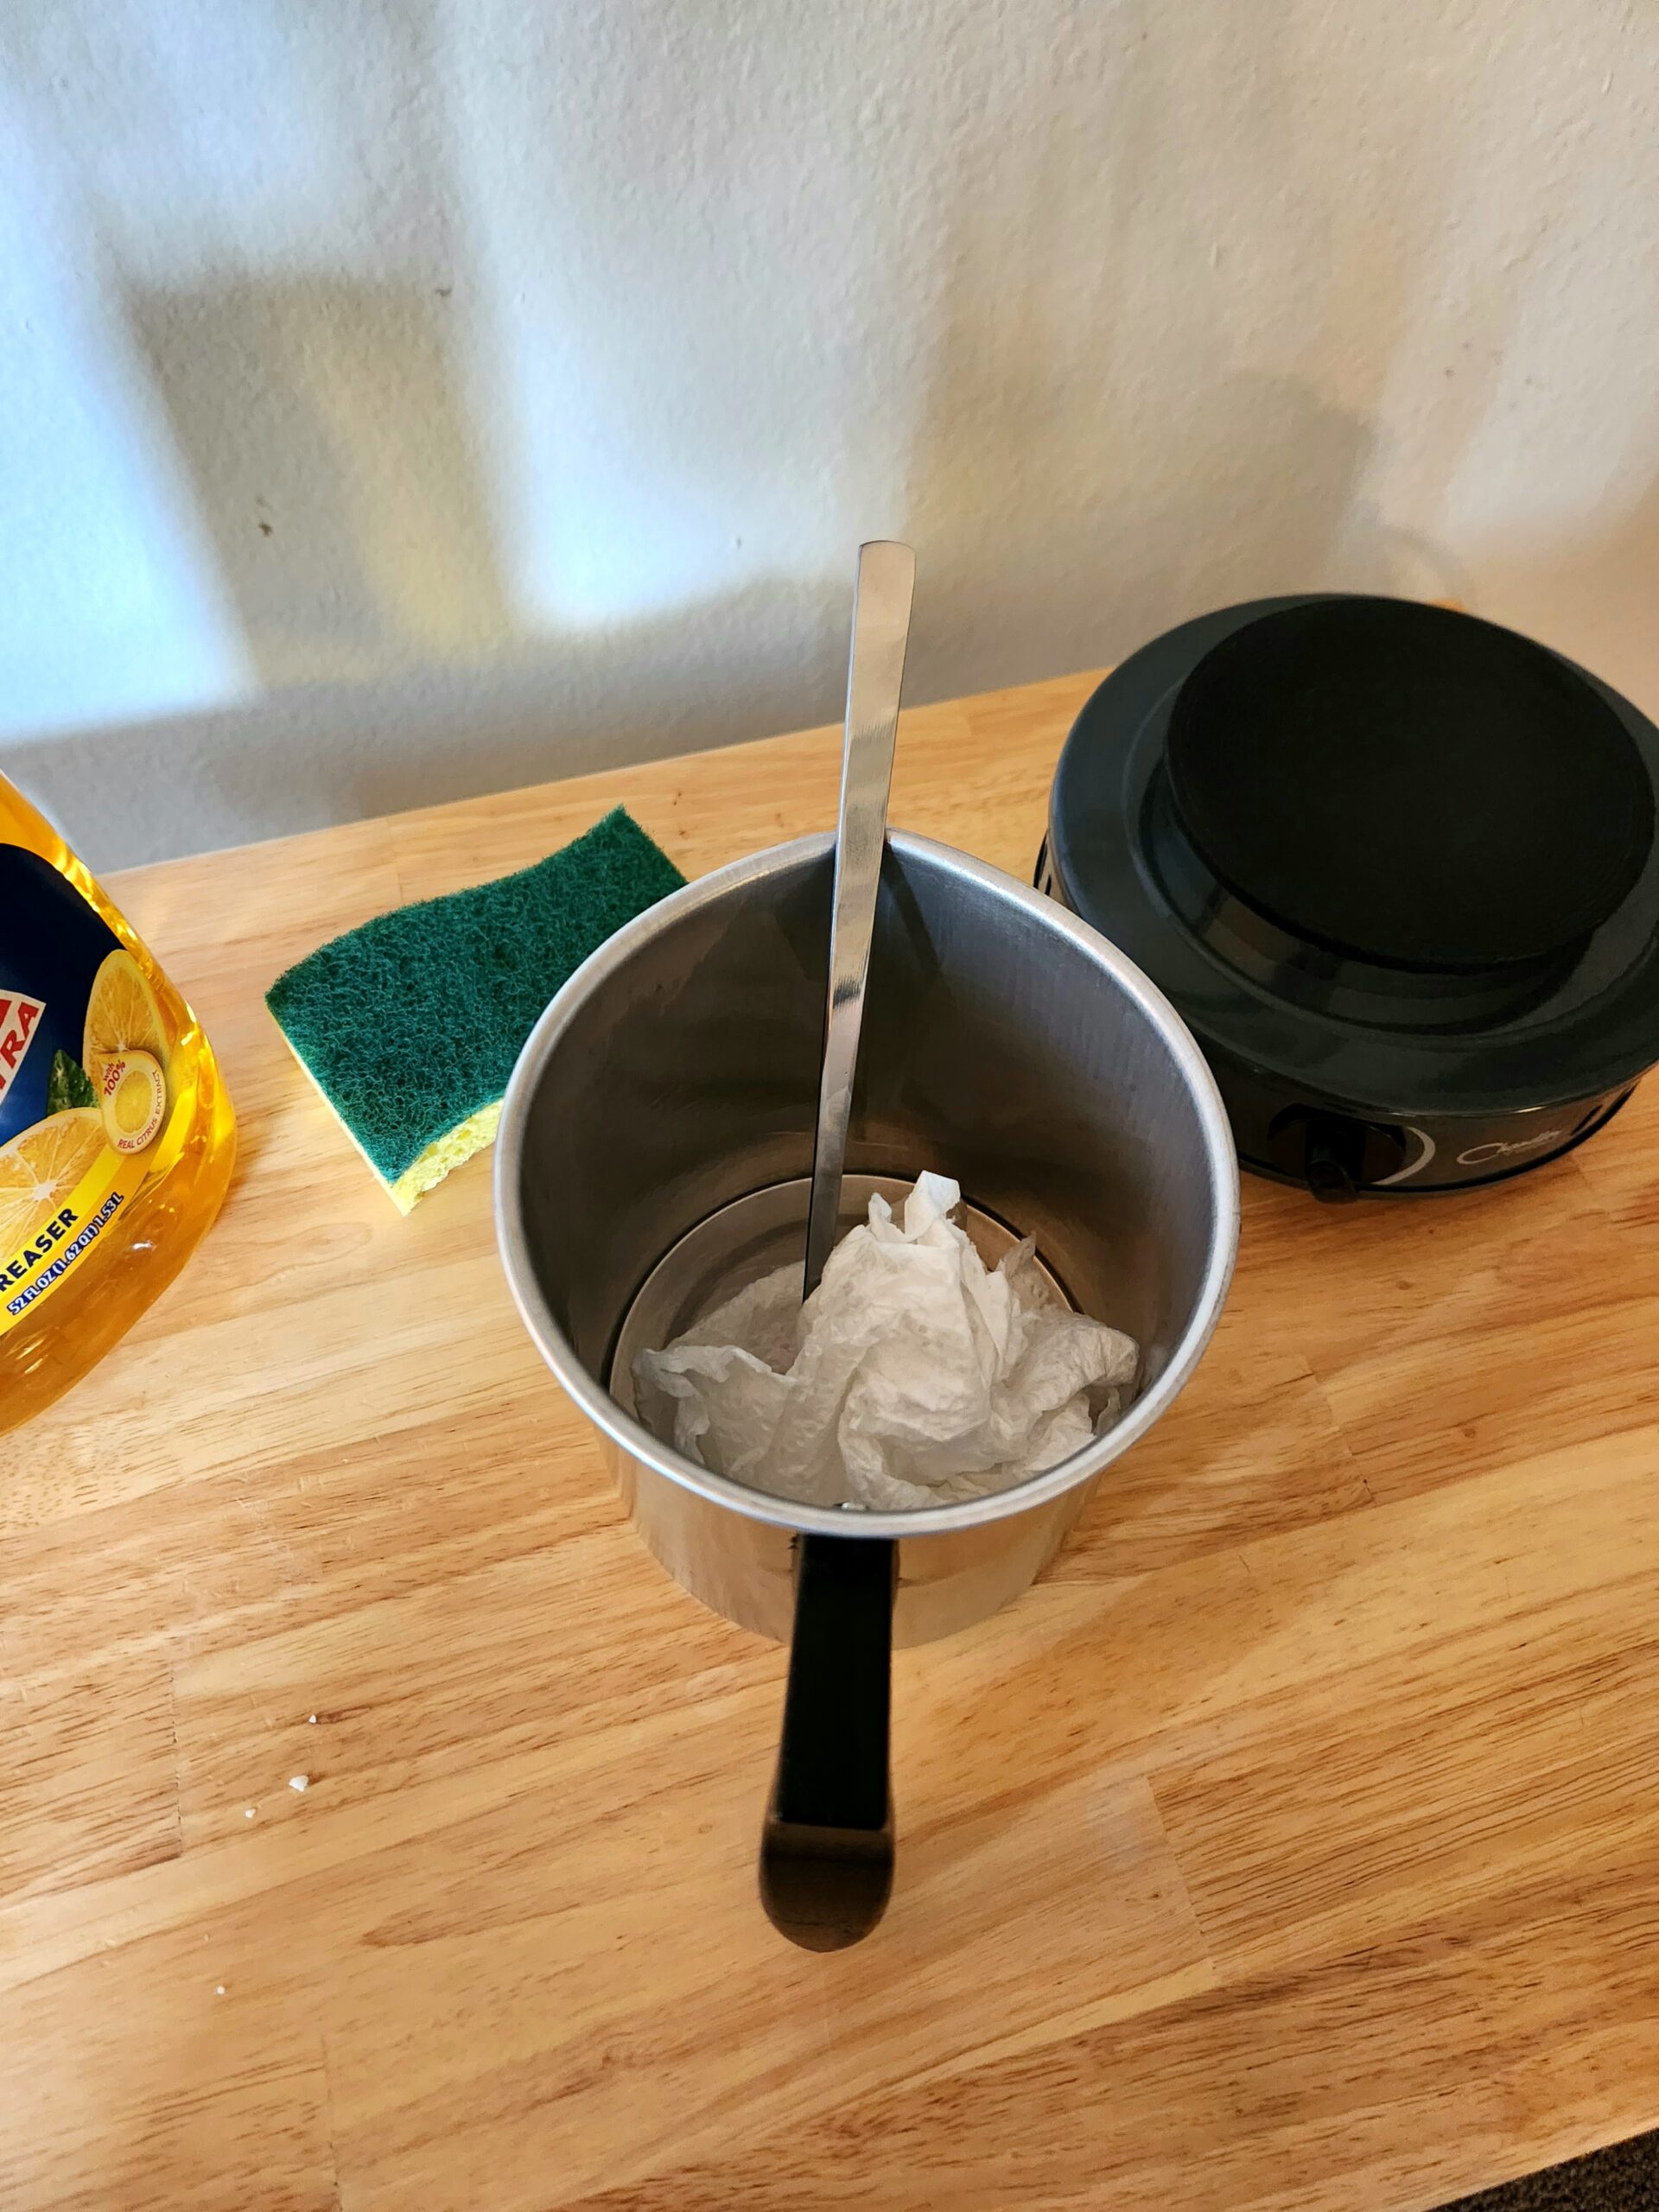
6. Plug in the electric hot plate, turn it on, and heat the empty pouring pot. It’s time to clean! When the temperature is greater than 200 degrees F, remove the pouring pot from the electric hot plate and place it on the hot pad. Place paper towels in the pouring pot and use the metal spoon to move the paper towel in the pot to absorb remaining wax.
7. Wash the pouring pot with dish soap and hot water. The pouring pot should be free of wax now. If not, repeat the step to heat the pot and wipe clean with paper towels and wash it again.
8. Let the tins rest for two days to allow the wax to harden.
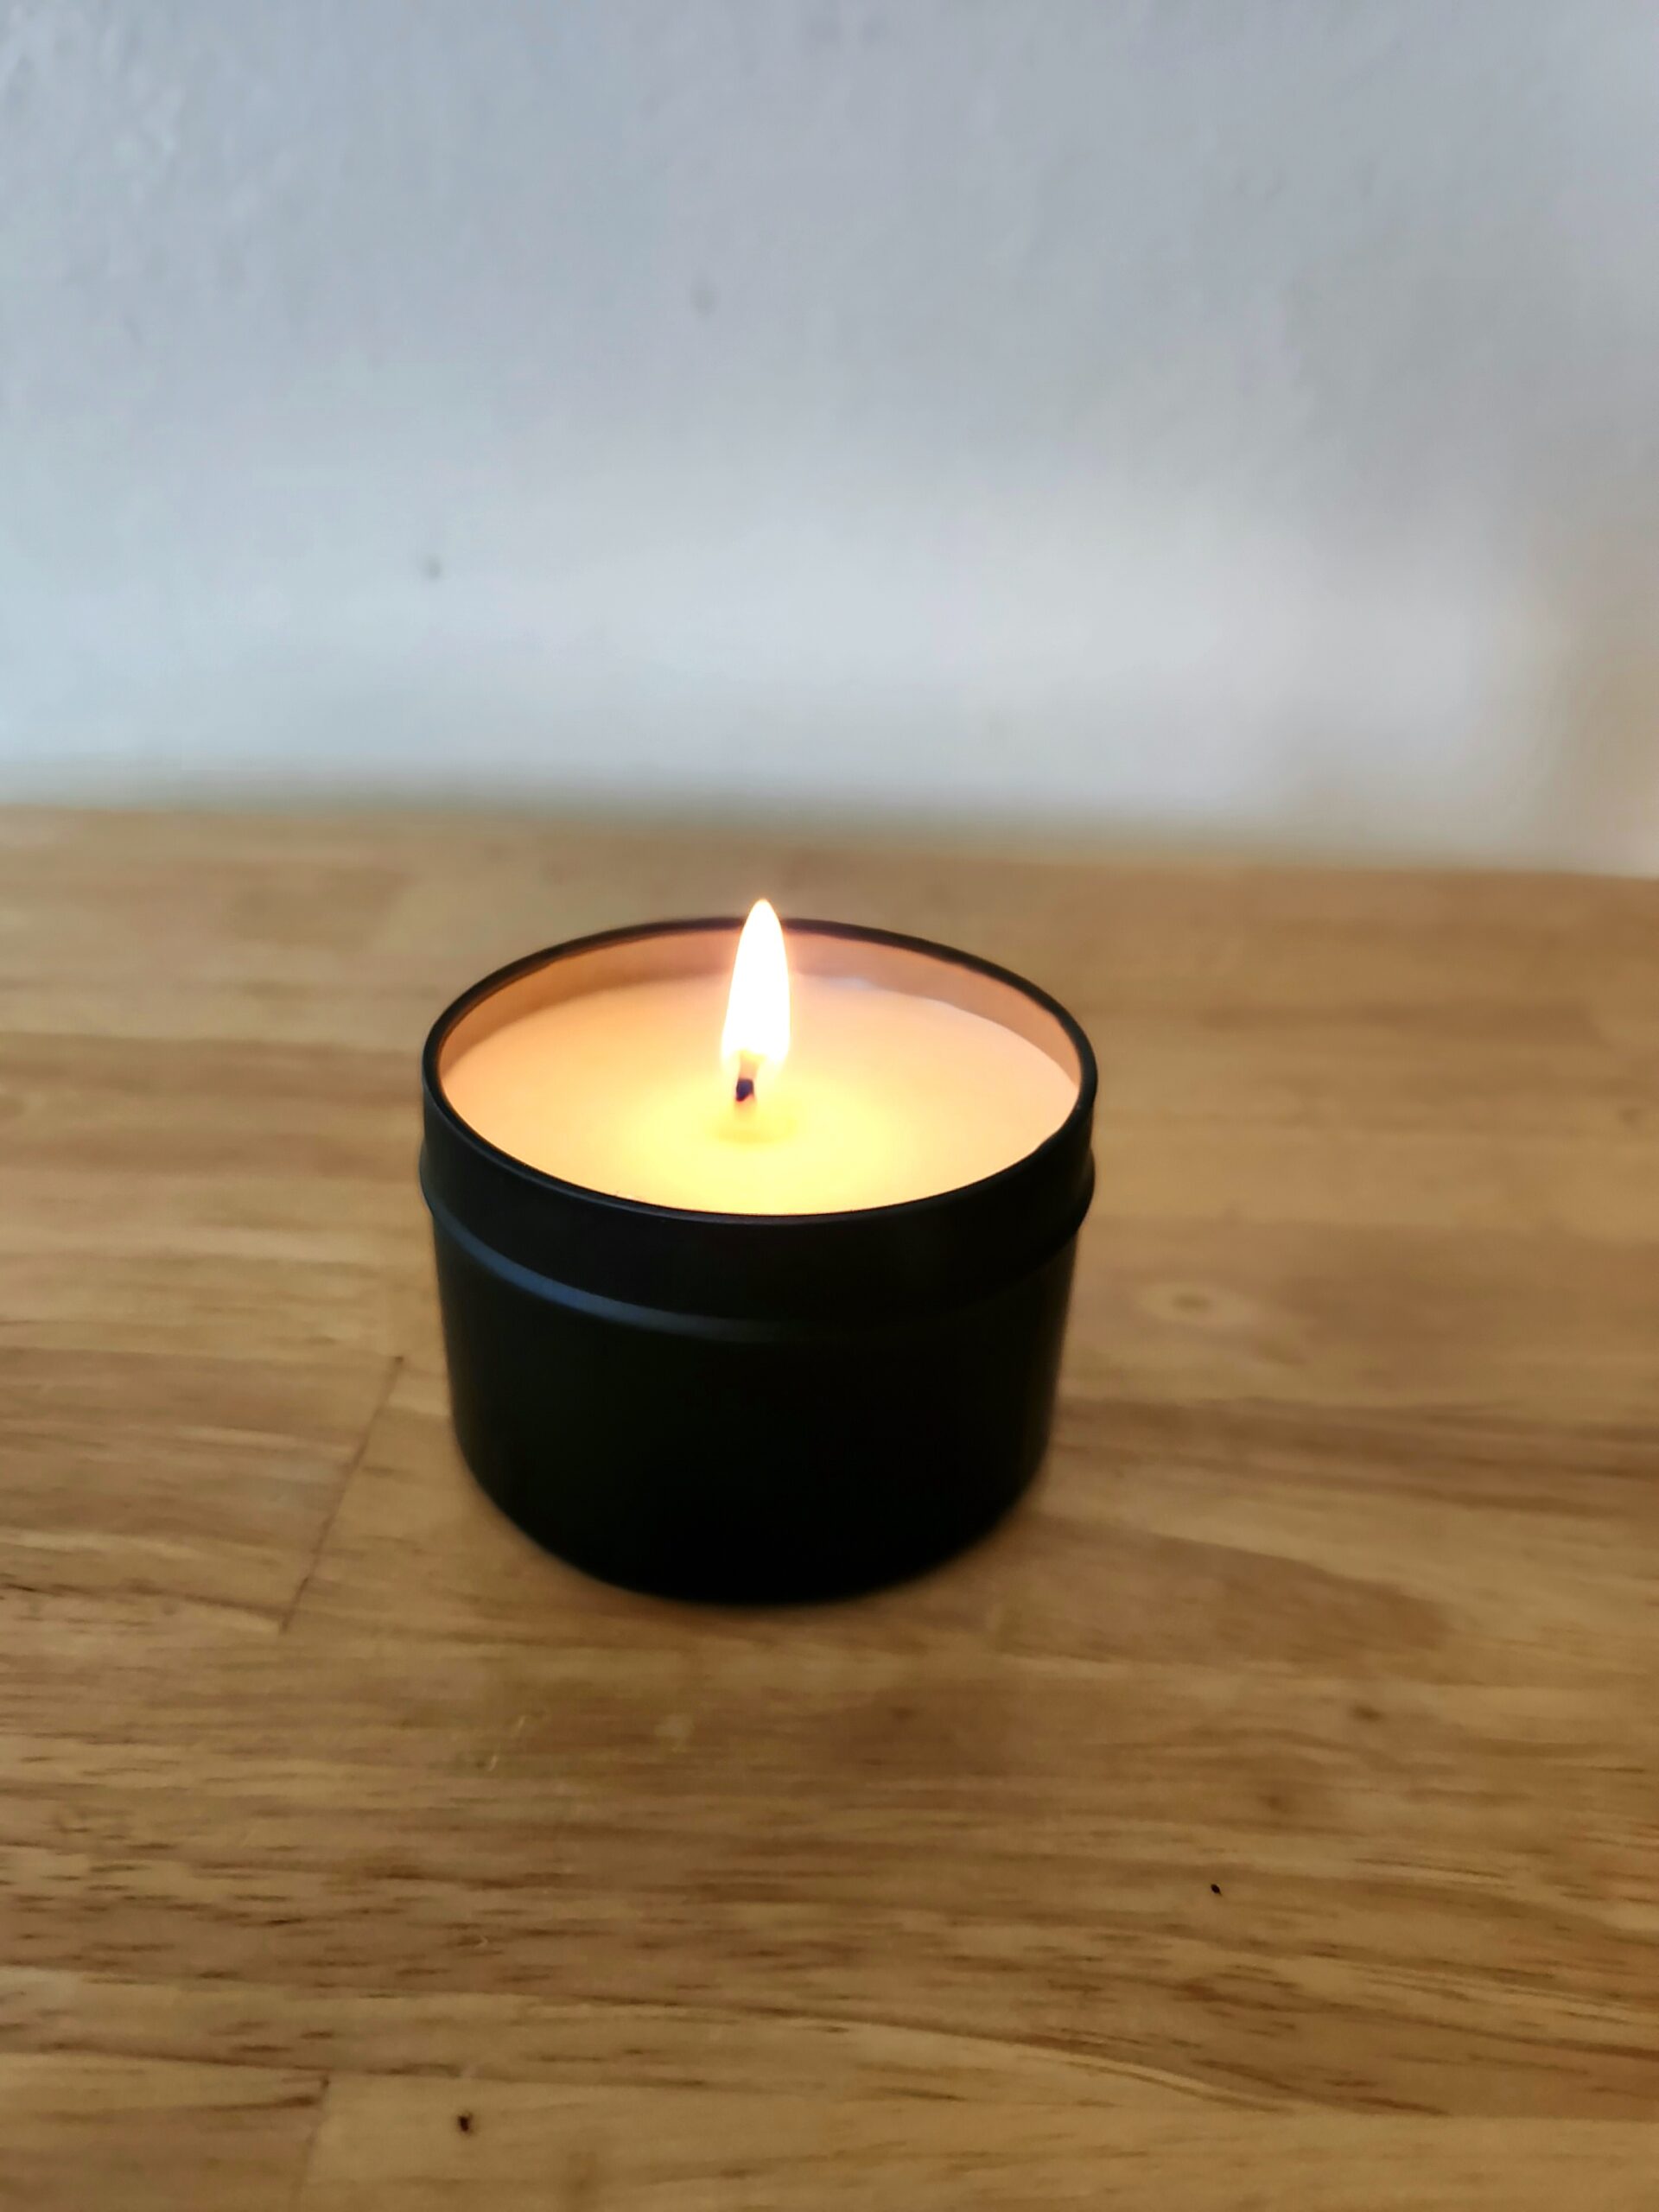
9. After two days, trim the wicks. Let the candle cure for another week. Now you may light and enjoy your candle!